Chicken House Framing
It has been a not-fun couple of days.
Yesterday we borrowed a truck and went to the lumberyard to pick up pieces for the shed. First the lumberyard got the order wrong (60 pieces of pressure-treated lumber rather than the 6 we wanted), then they didn't have the siding we wanted and gave us something else that was just Not Acceptable, then they didn't have the kind of nails we wanted for our nail gun (though that turned out to be because clipped-head nails don't meet shear requirements for California any more, so nobody carries them; we were eventually able to get full-head nails that work in a clipped-head nail gun). It was endless.
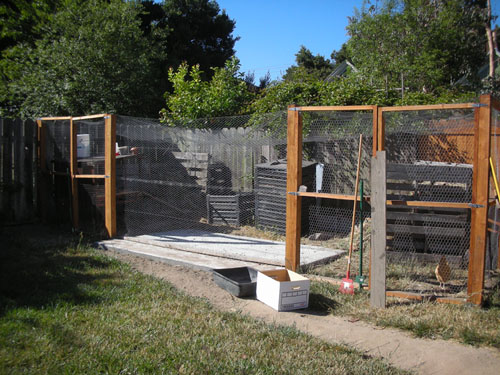
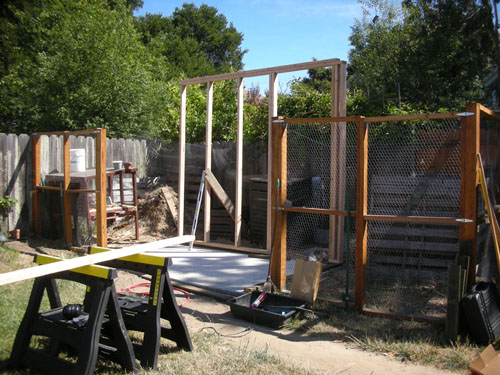
I did get some work done in the midst of that. Here's the chicken yard where we began. I removed the chickens to a little fenced area behind the shed (from which they promptly escaped, the little jerks), then I spent some time taking down the central panel of wire fence and pushing the aviary netting out of the way.
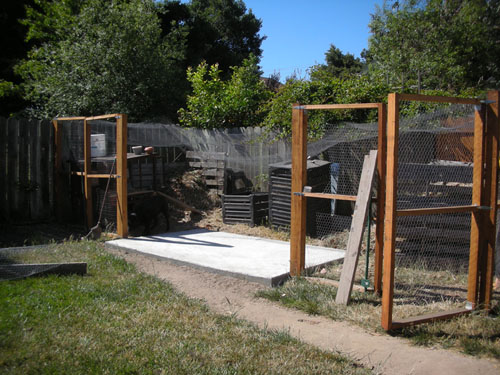
And here we are. I also cleaned the chicken poos off the slab, swept it clean, and raked some of the compost back into the piles.
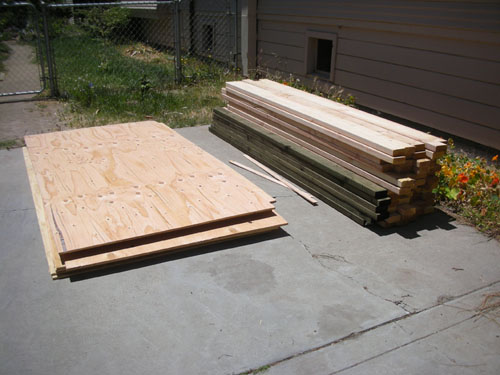
By early afternoon we had this: a pile of lumber with no siding. Noel got called off to work while we were obtaining this pile, so I moved the boards to the back yard by myself. I was already very irritated at the guys at Economy Lumber.
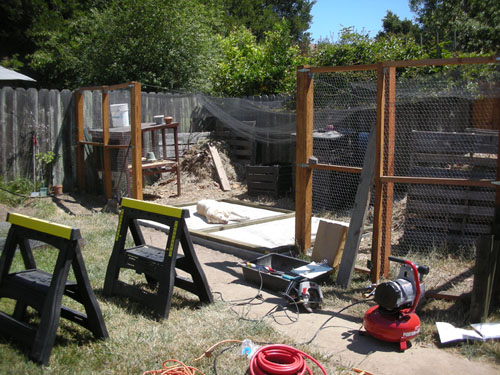
This morning, Noel went off to get nails (which is when we found the aforementioned round-headed nails for the clipped-head nail gun; they had them at Economy Lumber but we were just tired of trying to get the things we were asking for and didn't get them) and roof shingles (we had a Home Depot gift card and a coupon, so we got those there). While he was gone, I measured out the floorplan on the slab, and cut the pressure treated lumber to the right lengths.
Goldie helped.
You put pressure-treated lumber down where wood makes contact with concrete, because concrete is basically like a big sponge and because that piece of wood is close to the ground and its associated bugs and so forth that would like to eat your house.
When Noel finally got home from an epic journey through hardware stores to find the right nails, we were able to make quick progress on the framing. We put up the back wall, and once we had solved that problem and worked out how we were going to work (we assembled the walls on the lawn), the rest went very quickly.
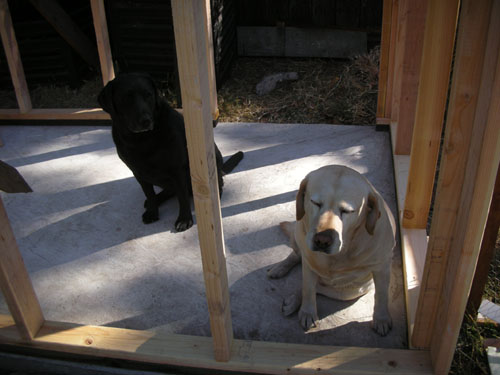
The real winner was the pneumatic framing nailer. While it took us some time to figure out how to use it and even more time to figure out that it didn't like our extension cord (but no problem because it came with a 50 foot hose), once we had it going it was a breeze. Nails just went right in, and fast. We framed up a wall in minutes, and even though we didn't even get started on the shed until after two, I took this photo of the dogs inside it around 5pm.
We spent half an hour trying to figure out how to get the foundation bolts into the concrete before we called it a day. Tomorrow we will try to find another truck to borrow to get some siding, and maybe a pneumatic wrench or just a larger concrete drill for the bolts. Then we will be adding blocking and headers/footers for the doors and windows, and framing out the roof.
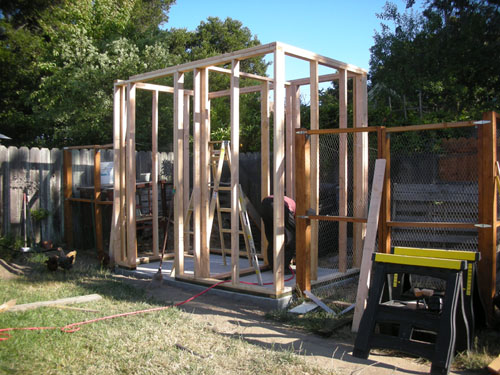
I've been going back and forth on the height of the shed. Something about the proportion doesn't feel 100 percent right, but at the same time I want an 8-foot ceiling in the shed, and I don't want a larger footprint taken up (to improve the proportions). We'll see how it looks with the roof on, but I think that when it has more scaling features like doors and windows it will seem less overly tall.
Technorati Tags: carpentry, chickens, construction, shed, urban farming
posted by ayse on 06/07/08