Wild and Wally Weekend
When last we left the pantry, we had just bought more drywall to finish the walls. But we had not installed it because we had some chicken house stuff to do (this working on two projects at the same time is not good: too much overlapping time).
There was one good reason why we were putting off the drywall work, and that was the nail-pulling.
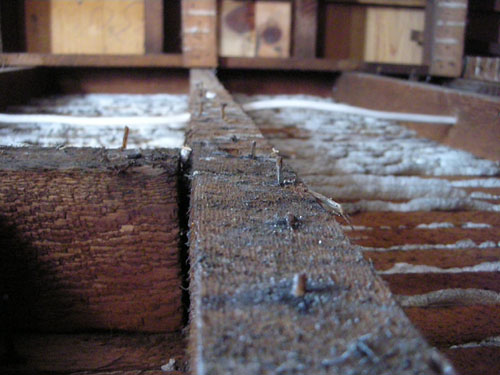
Old plaster is done as a system: thin boards called lath are nailed up to the studs, then a thicker, reinforced layer of plaster goes over and through that (you can see that plaster from the kitchen here, blooping through the lath), making the keys that hold the plaster in place. When you take that lath down, all the thin ancient nails tend to stay behind. So we spent some time pulling nails or at least nailing them flush with the stud so we could put up the drywall.
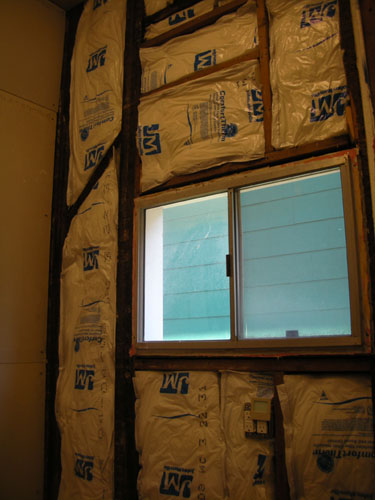
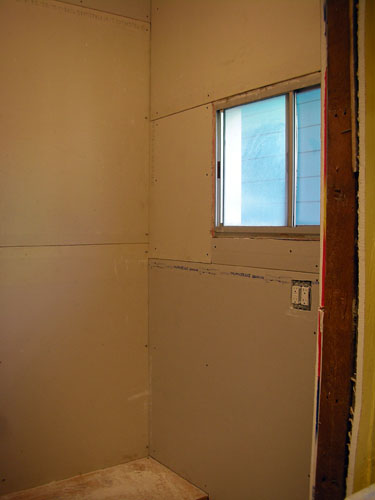
Actually, I lied: there were at least two reasons why we were putting off drywalling, and one was the need to insulate the wall. As you can see here, the pantry has a very nice view of the Fern Walk, but that wide gap can get a bit chilling in the winter.
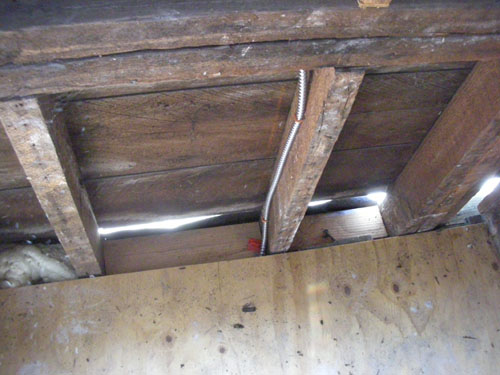
So a roll of insulation was obtained, and this afternoon we spent some quality time cutting it up into odd sizes to fill all the weird framing in this wall. (You may be able to see that the previous owners tore out a 9-foot window to install this tiny aluminum piece of junk, and then framed in the space with all sorts of random lumber.)
We set up an area in the dining room to cut the drywall to fit the room -- because the room is a little under eight feet by a little under six feet, and eleven feet tall, every single piece of drywall had to be cut.
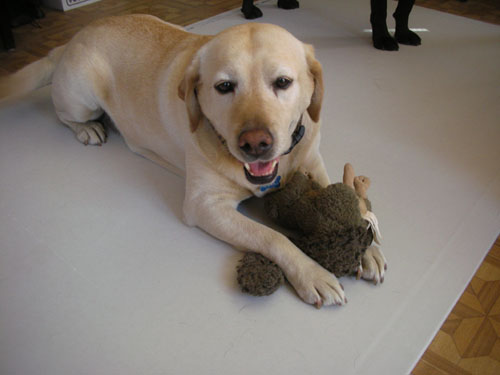
The dogs helped.
But at long last, after several hours of cursing and heaving, and only one or two major falling-drywall injuries, we had a room with walls. My task now is to prepare the space for mudding (and, well, to mud the space, as well).
Because our plan is to change the configuration of the pantries and kitchen and so on around dramatically in the not-too-distant future, we are making this drywall easy to remove. So instead of just mudding over the screws, I'm putting a drafting dot over each one so the drywall can be unscrewed from the wall when we're ready for the reconfiguration. It may not be reusable, but at least it will be less painful to remove.
(One of the results of going to architecture school is a collection of hand-drafting supplies that I will never actually use in my professional life, so I may as well come up with other uses, right?)
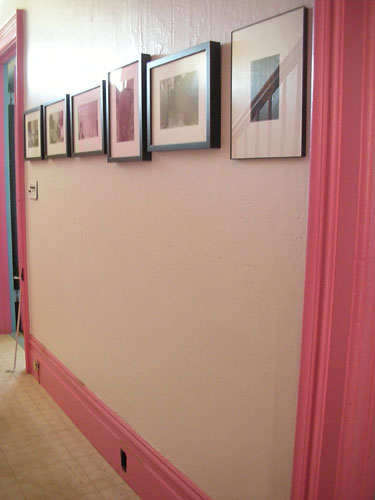
The big win for us is that for the first time in years we don't have several sheets of drywall leaned up against the hallway wall. Sure, removing that drywall means greater exposure of the pink trim, but it sure is nice to have open spaces around the place.
Technorati Tags: construction, insulation, plaster, drywall, renovations
posted by ayse on 08/03/08