Building a Pergola
For the last year we've been talking about the pergola we want to build in the side yard, as a transition point from the more public part of the garden to the more private part.
Last year we posted a little sketch that showed what we were thinking about. Since then we've spent more time examining the area and thinking about how such a structure can fit into the space.
For those of you who did not spend 3-5 years in architecture school, a pergola is a covered walkway. We're just doing a gestural pergola here: an interior footprint of slightly over four feet by four feet (wide enough to allow us to bring pallet loads of materials into the back).
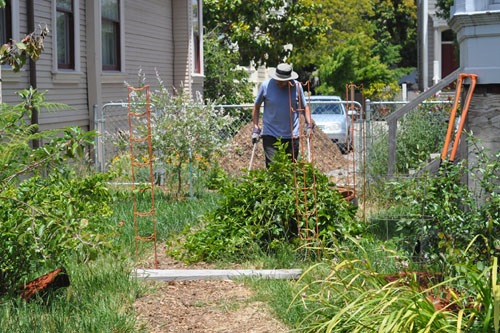
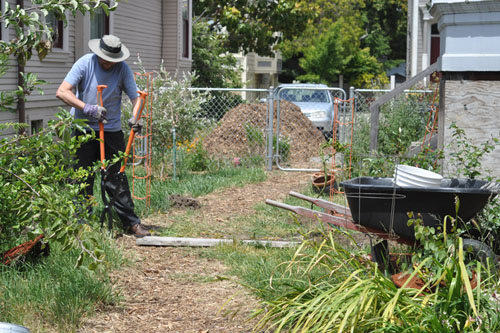
Yesterday, we dug the foundations.
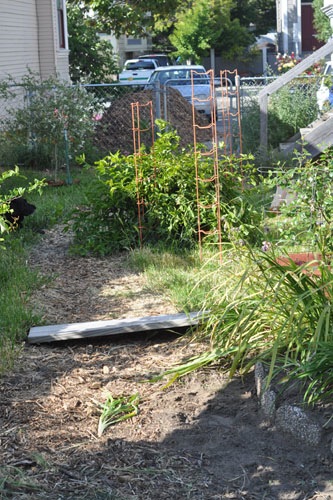
We started by pruning the passiflora vine heavily. That's that lumpy shrub thing growing over the path, making everybody crazy. We also had to move it a few feet, so it got both a heavy top pruning and a substantial root pruning. It was full of snails, so it was a bonanza for the chickens.
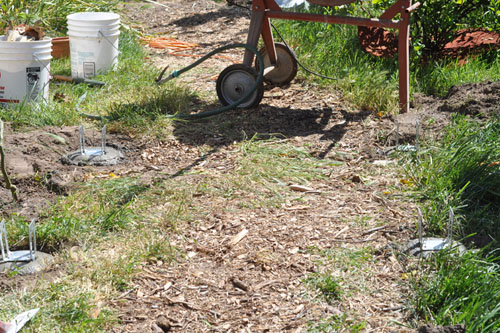
We spent quite a bit of time laying out where the foundations would go relative to our house and the neighbor's house, and relative to the rest of the pathway. That board there is what we used to measure the 4-ft width of a pallet; we left a little more room in the path (because a pallet might be a quarter inch off exactly four feet wide).
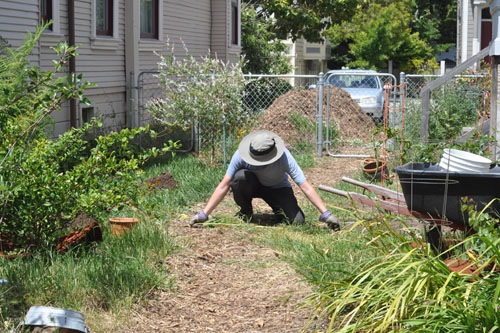
It makes sense to measure several times to be sure everything is where you want it to be. Concrete foundations aren't impossible to remove and replace, but they are a colossal pain in the butt to remove and replace.
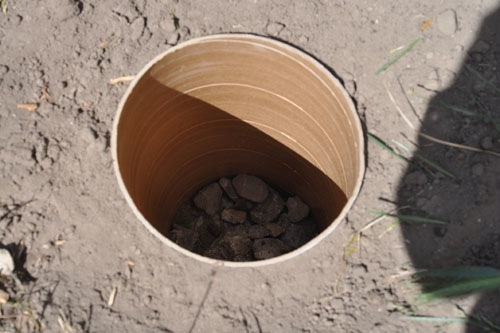
For these foundations, we used these cardboard footing forms you can buy at the lumberyard. Certainly they were more than we needed for the pergola, but we're using this as practise for building the deck that we plan to build this summer.
We also dumped some of our extensive rock collection down in the bottom to fill up some space and give ourselves the illusion that we were using the rocks for a useful purpose.
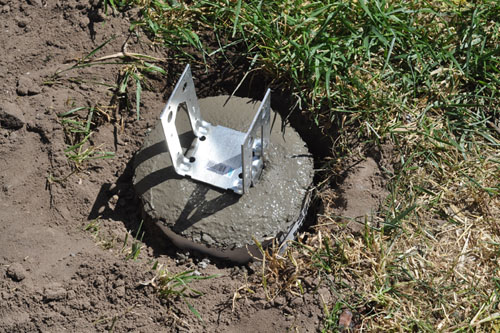
And here we are with a little smoothed-off dome of concrete and a brace to set the post into.
Surprisingly, when I set the braces in, thinking I would have to adjust them to be square and lined up with each other properly, I managed to set them right on square and parallel, which I could not have done if I had been trying.
The foundations spent the day setting up today while we worked on another project. We still need some lumber and connectors for the project, so it's not going up in the next post, alas.
posted by ayse on 05/23/10