Ripping and Stripping
So I ended up with this cabinet. A client of mine wanted to sell it and it was clear from the condition (major water damage from sitting in a damp garage for years) that she would not get much for it from either dealers or junkers. I first offered it to a friend of mine, who passed because while it would fit her needs, she had nowhere to refinish and repair it. So I took it.
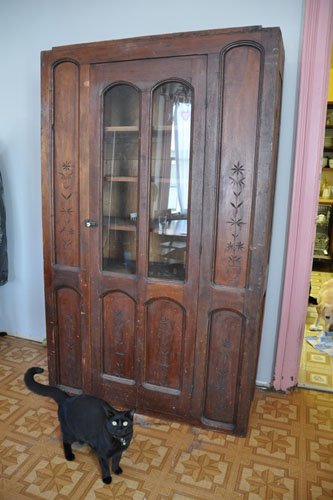
The cabinet is old, but has been taken apart and repaired and refashioned several times over the last hundred years or so, so I didn't feel too bad about my intentions (tear it apart and rebuilt it from a solid base).

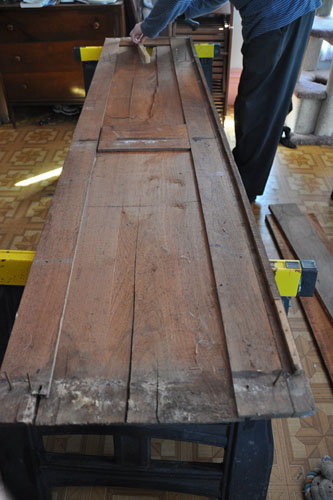
The glass front is a retrofit -- at a previous point the cabinet was a wardrobe with a solid door, but the two top door panels were removed and replaced with this sheet of glass, and shelves installed.
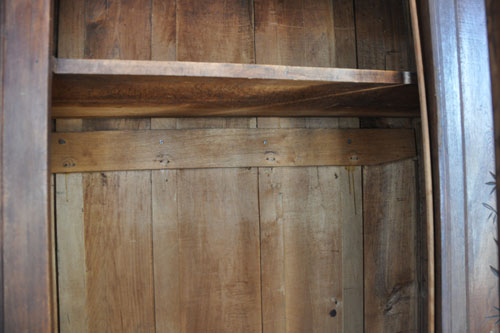
You can see in this photo, after we removed the added shelves, that there is an upper shelf that was semi-original (more on that in a moment) and a rail with hooks for clothes. That's how people hung things up before hangers.
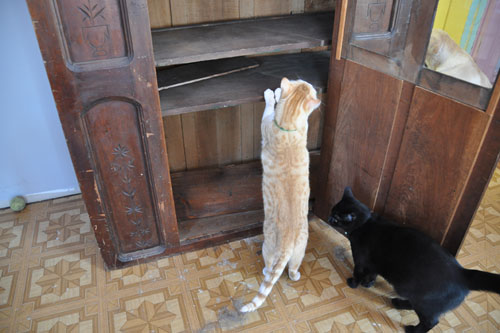
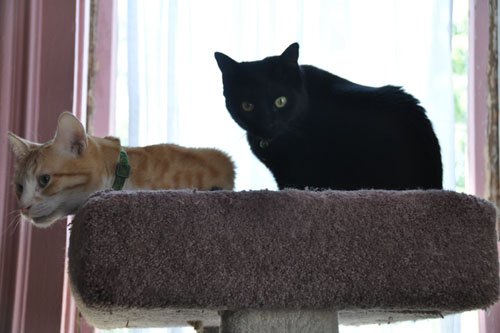
As is usual for indoor projects, I had lots of helping hands and interested noses. Well, you can see Goldie staring into the kitchen in this photo because Noel was making bacon for lunch, but at least I had two cats to check the inside of the cabinet for mice. (Declared mouse-free.)
We started simply for taking the cabinet apart: knocking out the added shelves first, then peeling off the back, then the front, then the sides. As we worked, we found lots of evidence that the cabinet was made of pieces of other furniture and had been taken apart many times. The nails used to hold the exterior on were easily twice as large as they needed to be, and the job of nailing the thing together was very rough.
Also, the upper shelf, which was nailed in so well that we had to remove all the exterior to get it out, looks like it was originally used as a cutting board in a kitchen. Since this side was facing down and five feet off the floor, I'm pretty sure the cutting marks happened before it was nailed in place.
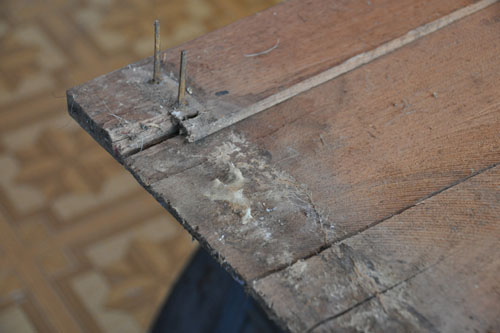
The bottom of the cabinet is in pretty dire shape. That white stuff is mold growing on the wood, which is pretty much the end of its useful life as a piece of wood. Fortunately, we have enough of it that we can copy the pieces that survived and make enough to have a whole cabinet. See those gigantic square nails? Those were what they used to nail this cabinet together, a cabinet that had no piece of wood thicker than a half inch.
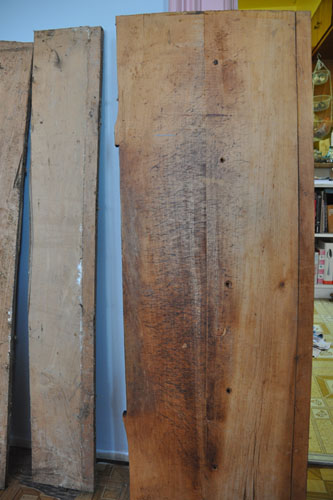
The side panels have taken the worst of the beating, with rot at the bottom and buckled and cracked panels (where they are not outright missing). Noel knocked out the nails and we set the panels aside to repair.
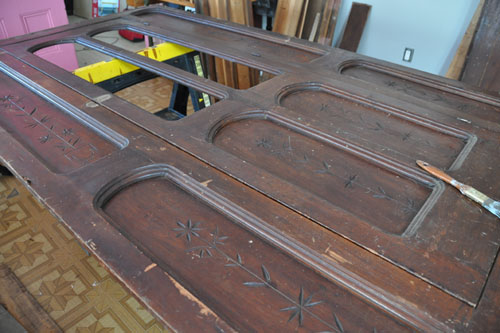
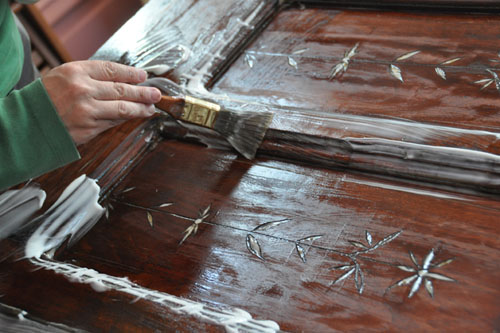
I decided to start my refinishing with the front. Sometime in the 1950's, somebody stripped a portion of the finish off the front and redid it, leaving the older stuff on the edges and tough carved bits. The front was also scuffed and scarred, and needed repairs from the nails used to attach it to the carcass.
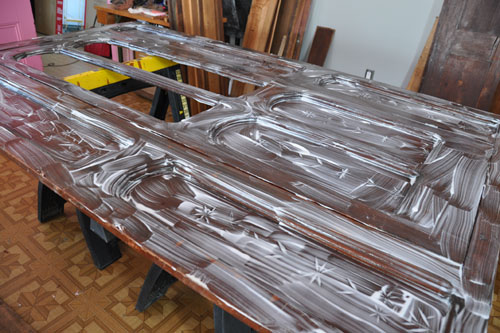
I used the large bottle of Safest Stripper a neighbor gave us, and applied it liberally. Half an hour later, the majority of the finish came off (mostly the stuff applied in the 50's).
Usually I would do this sort of project outside, but since I've been working inside, the cats are fascinated and have been watching from the sidelines as I work (well, Mr Kitty and Dash at least; the other two could not care less).
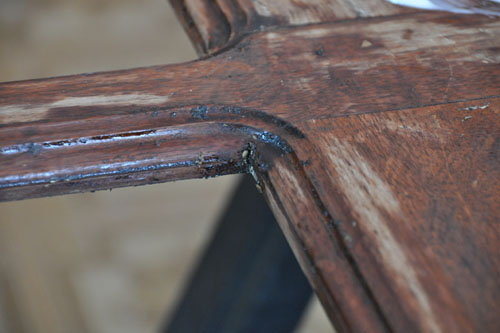
The rest of the evening and this morning have been spent working on those cracks and crevices that are gunked up with both the original finish and the later refinishing (which also went over a layer of dirt, awesomely enough).
posted by ayse on 07/10/11