Ceiling by the Inch
Noel did some work on the upstairs bathroom ceiling today. This after we had a brief discussion of him mowing the lawn -- it's knee high on even tall people now -- and were dissuaded by angry bees. They calmed down quite a bit later in the day but any lawn work was out of the question and probably should be for a few days. They've had enough trauma without the lawnmower. So indoor work it was.
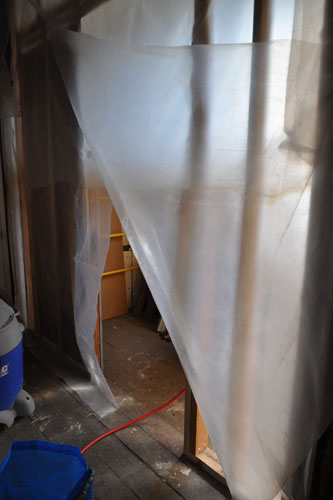
In the winter we put up the plastic drape to make it not quite so cold. With the ceiling open the demolition hole was acting like a massive chimney. Now that the weather has warmed up quite a bit that chimney effect actually isn't so bad.
We've been talking about taking the drape down, but it's almost certain that as soon as we do that the weather will turn cold and drafty and we will regret it. Maybe we'll get the framing done and inspected and just put the darned ceiling in place.
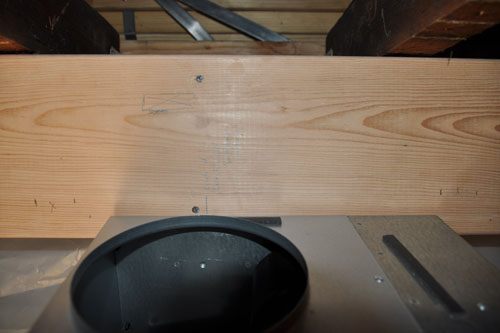
We'd marked the location for the joists before we left, but that whole week we were super tired and too busy with trying to prepare for the trip and it's entirely possible that what we did was not so sensible, so Noel double-checked against the fan boxes.
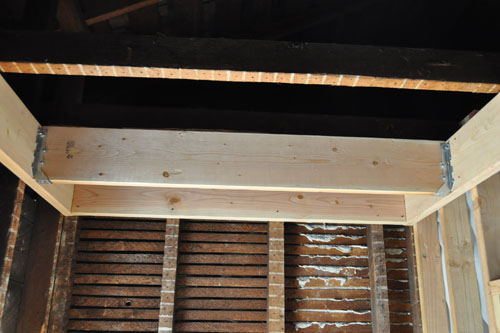
We'd originally talked about started the joists on the shower side of the bathroom and working over from there, but the spacing worked out better at exactly 16 inches on center starting from the toilet end of the room. The first joist went in like a dream.
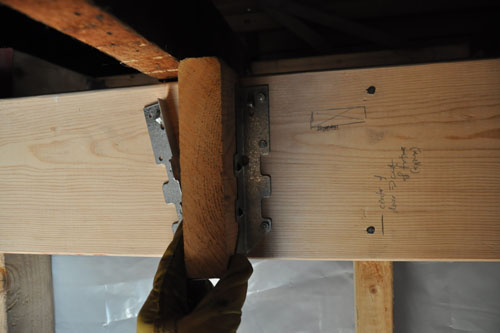
The second joist was a little too short to just tack in place before attaching the joist hanger, so Noel used a simple trick: attach one side of the hanger using a scrap end as a guide, then you can just set the joist in place and nail it up.
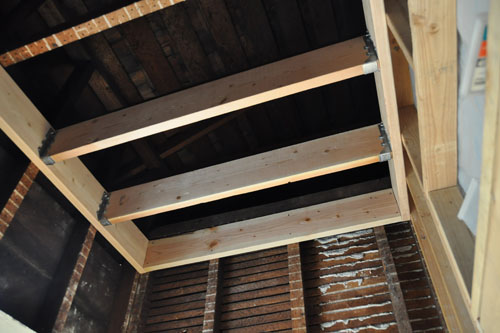
And then there were two joists. This is going to be the slowest bathroom ceiling ever.
posted by ayse on 04/28/13