Doors Framed and Plugged
I thought about breaking this into two posts, but what the hey. Noel had kind of a door theme day, working on doors at the far extremes of the property.
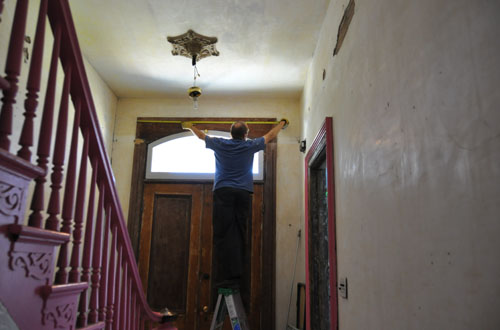
First up, the front door. Kids, do not stand on ladders like this at home.
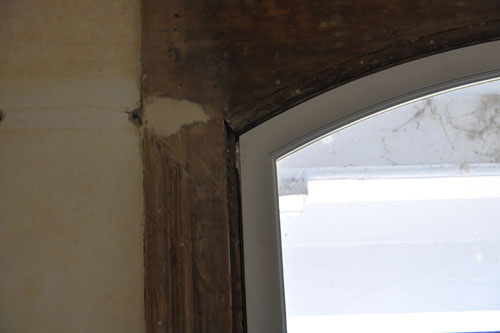
Over the last couple weeks Noel has slowly been repairing the gouges in the trim wood with putty, and today he was ready to install the edge trim we salvaged from the upstairs bathroom (the inside of the door up there will be trimmed with tile, so we had almost a whole extra door worth of trim).
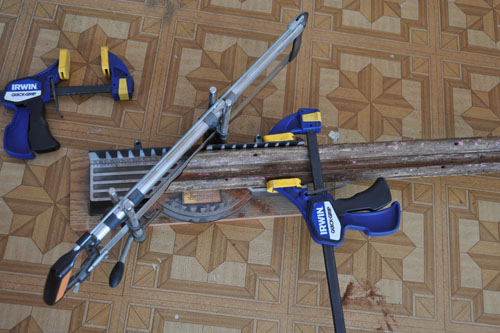
The only extra pieces we needed were the two side pieces: the previous owners had reused the upper piece when they lowered the ceiling, and we were able to reuse it as well.
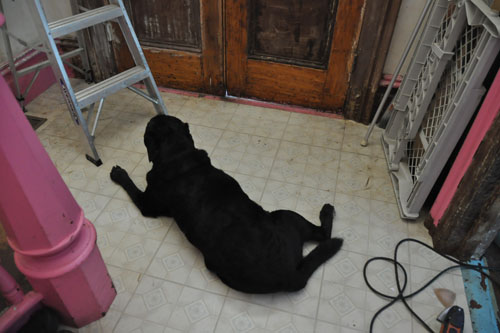
The fiddly parts were making the pieces fit together neatly. We can, of course, patch it with wood putty, but it's worth a little extra effort to make it fit together nicely. You can tell the dogs are Old Dogs because after a bit they gave up following Noel up and down the hallway to the makeshift workshop in the dining room.
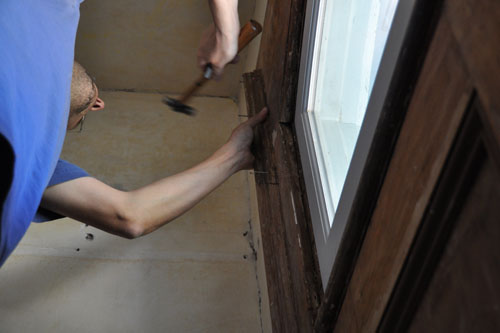
For the first piece we had a brief discussion about predrilling and then Noel just did it, because the worst case scenario is that the wood, which we know is splitty and fragile, would fall apart and lose all the work he'd done.
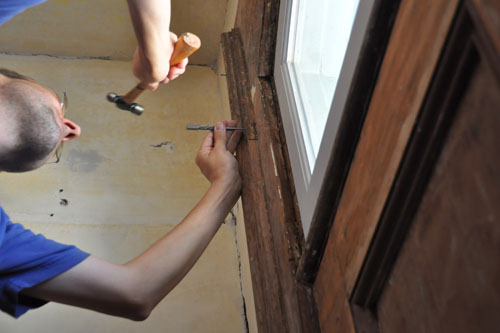
After getting the nails in most of the way, he used the nailsink to sink the nailheads in the wood. When they are covered up with wood putty, sanded, and painted, the nails will be completely invisible.
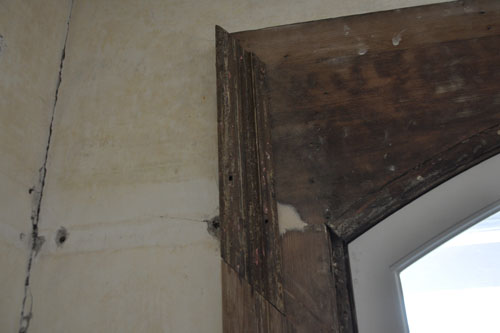
Looks pretty good, huh?
Then we shifted focus for a while. I needed to do an inspection on the beehives, and because of the physical restrictions of my stroke recovery, I needed Noel's assistance (I'm not allowed to lift more than 10 lbs at a time, which is basically one full frame of honey). The bees seem to be doing well, though one hive is building stupid comb and I am going to need to deal with that sometime soon.
While we were outside, Noel noted that it would be easy to plug up the old lock hole on the shed door.
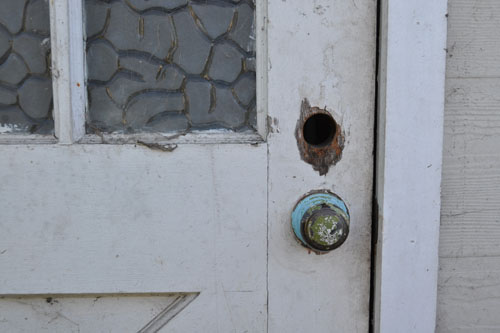
The chicken feed is very appealing to the neighborhood rats and while there are better avenues to get at it (like, say, walking in the door to the chicken room during the day), some of them have made attempts at entry through this hole, leaving some weird scratches on the door.
For those who would poison the rats, believe me, we live behind a small grocery and there are plenty more rats where the adventurers came from. Rats are an inevitable part of life, and the idea is to encourage them to stay where we want them, rather than kill them.
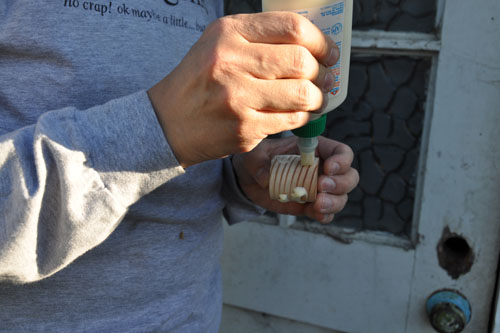
Noel used the band saw to cut a plug to size -- he scribed the circle on the wood with my cheap plastic circle cutter, which has gotten way more use than I ever expected. It fit very tightly, but a bit of wood glue will keep it in place.
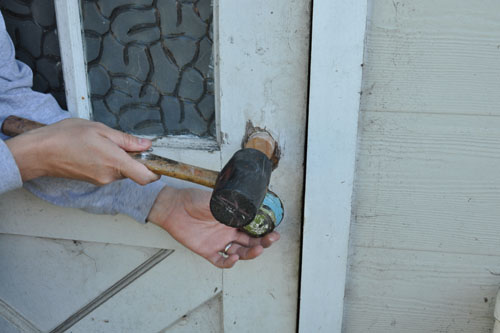
A few quick whomps got it into place.
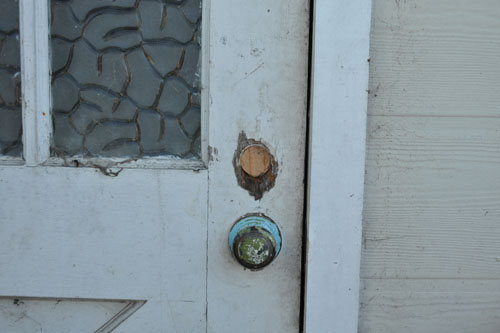
And the hole was securely plugged up.
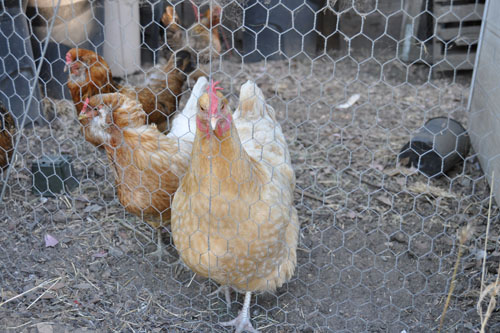
The residents were very appreciative. Though to be fair that hole only gets you into the toolshed half of the chicken shed, so really the plug is more for us than them.
OK, with all the daylight outdoor things finished up, Noel moved back inside to the front door.
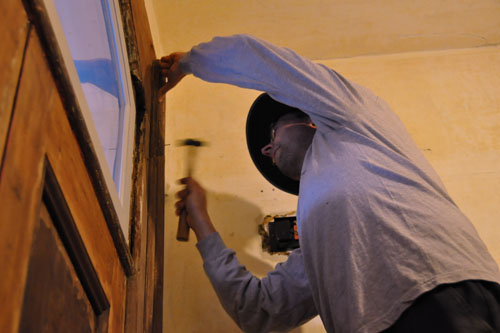
The second side piece of trim took less time to prepare.
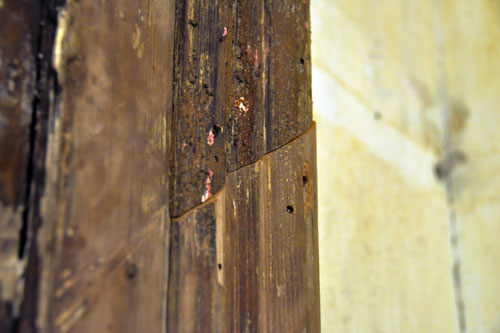
But it turns out that the existing lower side piece of trim on the right is a little proud of the depth of the other pieces. It's even more than it looks here because the new patch piece needs more stripping. Noel decided to install the new patch piece and just sand the lower piece to taper it into the patch. The tapering would have to happen somehow, anyway. Might as well do it on the wall where you can see how it's working as you do it.
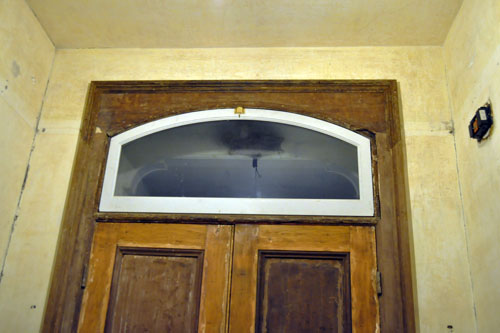
With that, only a small amount of fiddling was required to fit the top piece to the ends of the side pieces of trim. And now there are only a few more pieces of inside window trim to replace.
posted by ayse on 07/07/13