Surface Preparation
There are two things always true of work on our house:
1. It takes you as much time to prepare the surfaces for the work as to do the work, and
2. The framing is going to be bizarre.
And both were true this weekend.
First, we spent a bunch of time going to lumber yards trying to find a Simpson Strong-Tie part that is in their catalog, but is apparently a special-order all over the place. It's a hanger for double 2x joists that can fit into a tight inside corner; the flanges turn in rather than out. We found a hanger for 4x stock with the concealed flanges, and finally bought those figuring we could make up the width with 1/2" plywood.
(For those not in the know, standard, surfaced 2x stock is 1-1/2" wide, while a 4x is 3-1/2" wide, which makes sense if you know how lumber yards work, but seems to make people new to home improvement think the world has gone crazy. So a bracket for two 2x pieces is 3" wide, while one for a 4x piece is 3-1/2" wide. If you work with unsurfaced lumber, there are no mass-produced brackets available for you.)

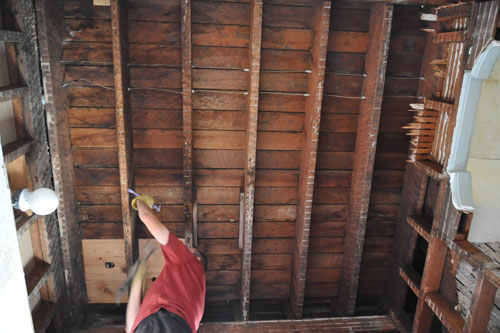
Then this afternoon, Noel got up on the scaffolding and took out all the rusty nail ends, plus these trips of lath that we'd left up there after that demo. A tedious, filthy job.
And then the real problem: how to install the framing for the new ceiling. Because this house is not framed how a modern house is framed. The floor joists above are fastened into the sides of the studs that run up the outer walls of the house. But they pass over the interior studs. So any beam that we want to have run from side to side in this space can't both run straight and attach into both studs.

We already knew that, actually. So the plan has been to put board flat against each stud wall to attach our new framing to. But the new floor joists are running perpendicular to the old joists (so they can also hide the plumbing), and I don't want any framing that could not take the weight of the floor if necessary up there.
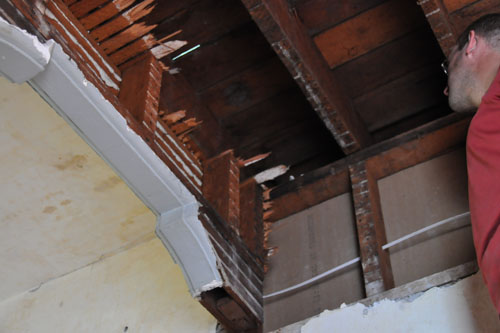
But how to attach the end of the board? I don't want to leave it just hanging there, but there's some lath and a little weird chunk of non-structural wood in the way.
The answer to that was to knock that piece of wood out, which also gave Noel the chance to remove some of those lath ends more easily. It came out better than I expected, without destroying the plaster wall on the other side of the lath.
And with that, we no longer need to use concealed-flange joist hangers. Which means we either keep these ones for some other project, or one of us has to bite the bullet and go to Home Depot to return these fittings.
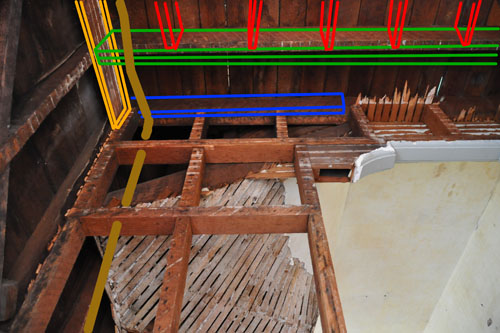
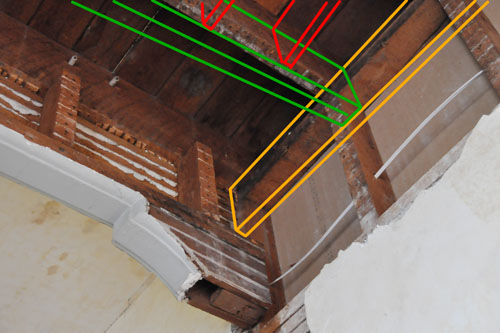
Here's how the framing is going to go together:

In the yellowy orange we have the board against the outside wall of the house, nailed into every stud.
Hanging off of that, in green, is a beam made of doubled 2x8s that will support all the new floor joists.
The new plywood floor upstairs will be supported at this end with some blocking (shown in blue) attached to the floor joist that is under the upstairs wall.
In hideous brown is the waste drain line, which turns down inside the very top of the closet. (Yes, I went there.)

Against the inside wall, we have the same board against the studs, with the doubled green beam hanging off it and holding up the new joists.
Our next little stumbling block is that one of the existing joists hangs about 1/4" lower than the others. Do we notch it, shave it, or just install the new ceiling lower than that and shim it tight?
posted by ayse on 09/22/13