Return of the Air Return
It was kind of a warm day, we had our new air return duct, so there was nothing to do but power through moving the air return.
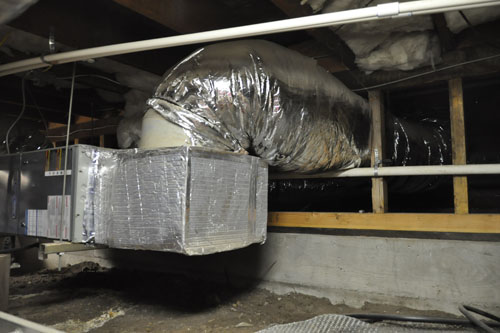
So we'd talked about rotating the air return on the furnace, but in the end we didn't, because the drain line for the sump pump -- our backup drainage -- gets in the way.
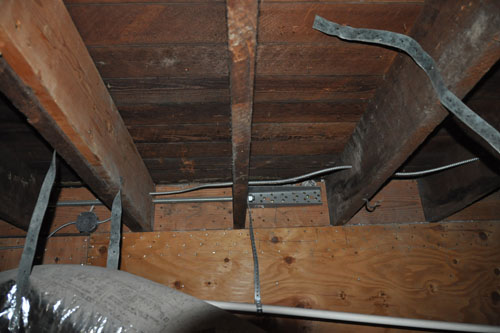
We went down in the basement and talked through what needed to get done. There was an electrical circuit going through the joist we needed to cut, so that had to be disconnected. As it happens, that connects to our doorbell, so everybody better knock loudly until we get it reconnected (we can't hear normal knocking from the back of the house, which probably saves us from endless solicitor visits).
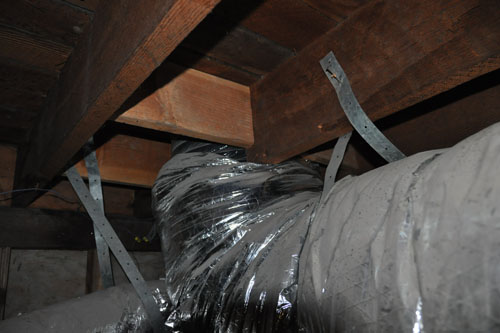
And it turns out that the framing around the old air return is even worse than I thought it was. They just kind of nailed up wood around the hole, with no support whatsoever, which means that for the last several years part of the load for that joist has been supported by our main gas line. Ugh.
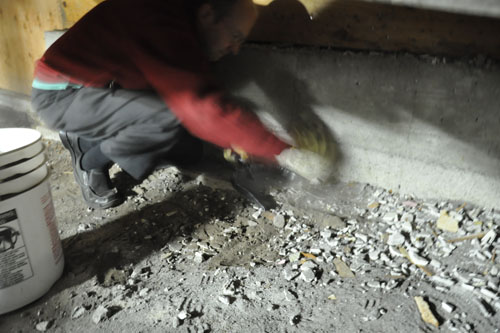
While we were in the basement Noel cleaned up a bunch of plaster that had fallen through the wall into the basement during demolition. It takes a certain kind of obsessive to sweep up a dirt floor, but there you have it.
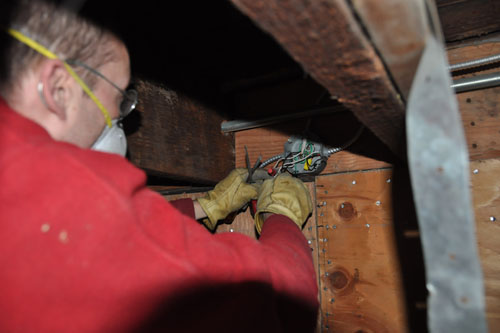
Then Noel disconnected the wire going through the joist.
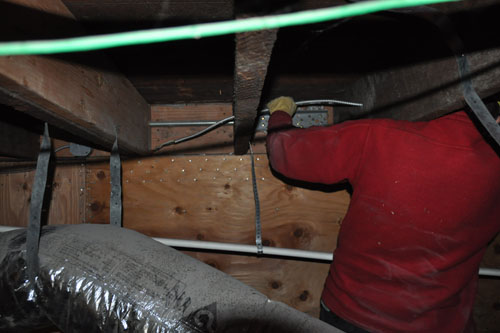
The end of the joist also has a hole in it for a seismic connector, so we decided to just cut the joist off a little before that and not mess with it. The joist is not structural in any way.
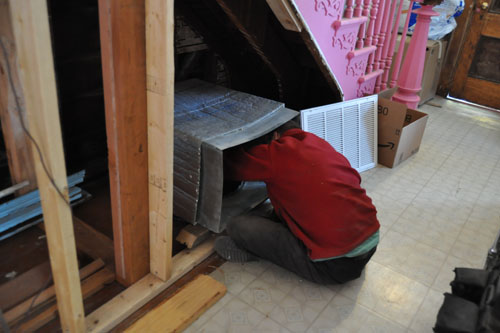
Then I left Noel alone and went to get some Strong Ties and lumber for the next steps. While I was out he disconnected the old air return.
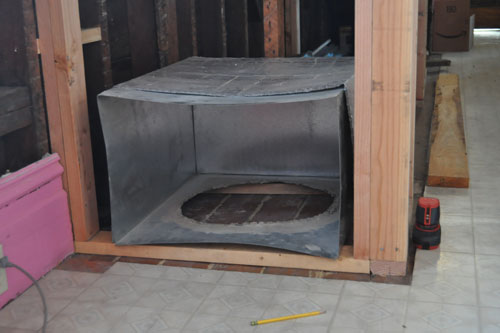
Rather than just guess where the hole should go and how big it should be like some people we know, Noel used the old air return box as a guide to where to cut.
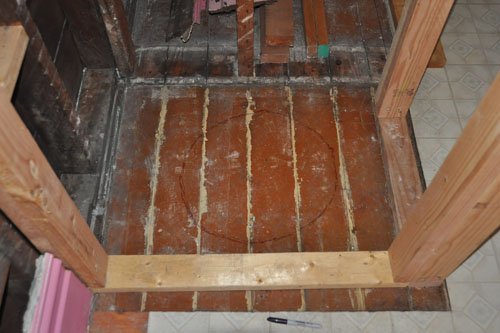
He traced the hole with a sharpie.
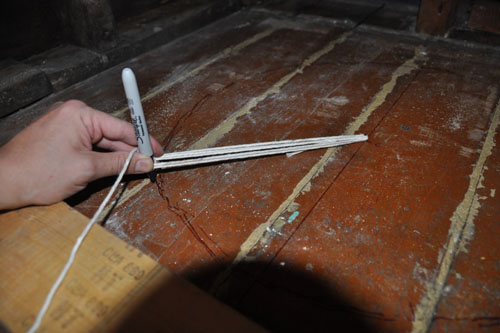
Then he use a string and nail to make sure the hole was the right size compared to the ductwork we have.
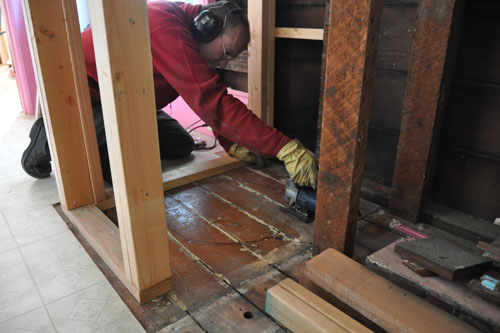
I got home as he was using the jigsaw and dremel tool to cut out the hole.
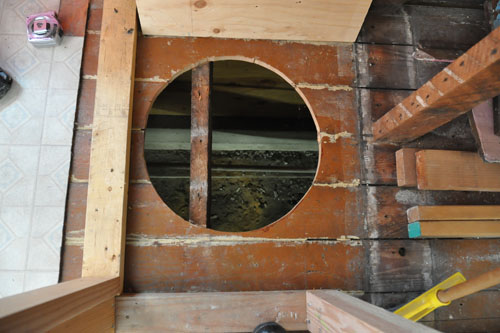
And there's the joist we needed to remove.
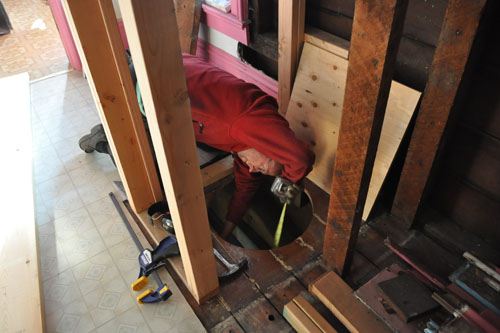
Since we had only one 2x10 that I'd just bought, there wasn't much room for error. Noel measured the required length for the doubled header a couple times in the basement, then a couple times from upstairs before making his cuts. And then he cut long and trimmed down to the right size.
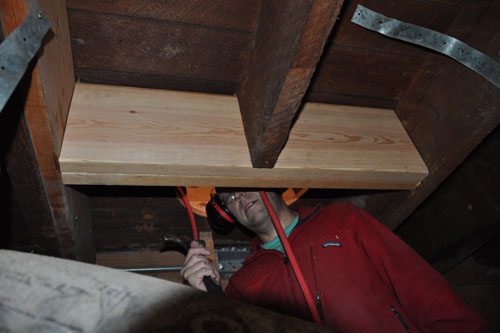
Which meant that the header fit perfectly in place.
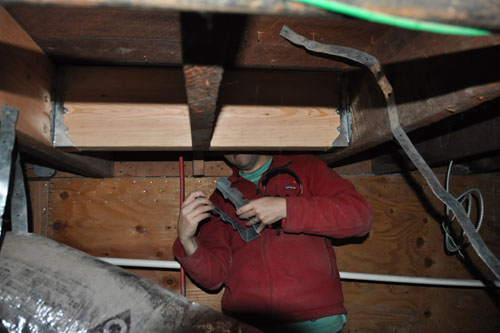
Nailing the joist hangers in place was quick work. Economy Lumber carries the R-type hangers for rough-cut wood, so we could even get the appropriate hanger for the existing joist to hang off our new header.
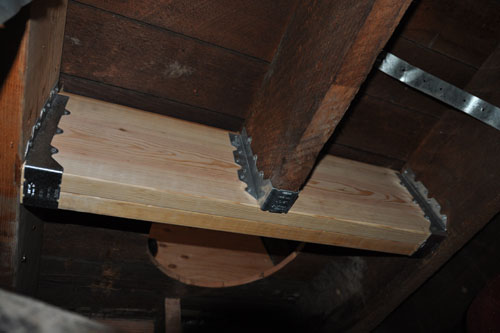
That is what a properly framed hole looks like. (We're not sure whether we need to double the joists on the sides; they're oversized for the span so we'll see if the inspector has any objections.)
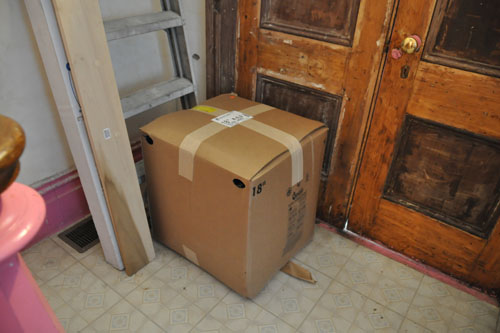
Then it was time to get the duct into the basement. It came compressed in this box.
The first idea was to try to stuff it down the hole.
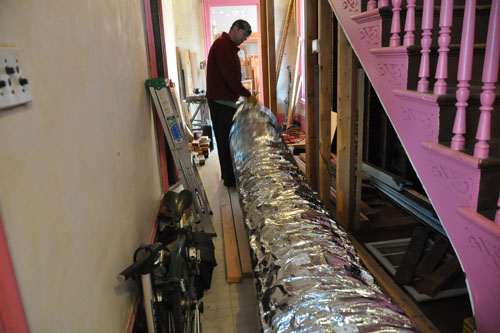
That was amusing but did not work, so let's draw a curtain over this post and leave up to your imagination two adults stuffing an enormous puffy duct back into a box that seems just a little too small.
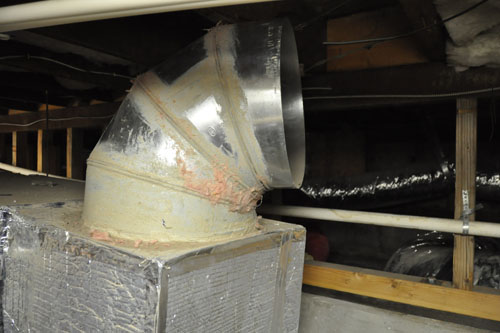
I removed the old duct from the furnace. The furnace had been raised up so that the duct was pressed hard against the bottom of the joist above it, and we ended up having to lower it to get the old duct off. Also the duct had partly been glued in place.
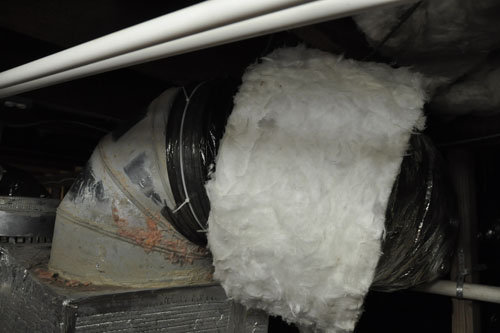
We put the new duct on in much the same way that the old was connected: the inner duct was cut back about 24", then zip-tied onto the sheet metal duct coming out of the furnace.
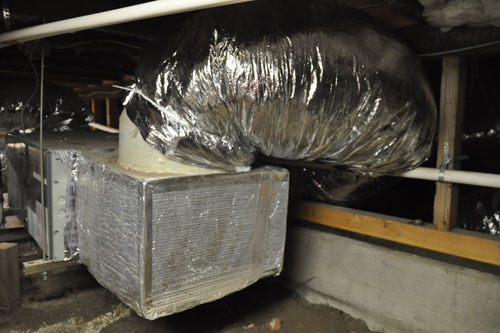
Then the insulation jacket was pulled down over the sheet metal and zip-tied in place as well.
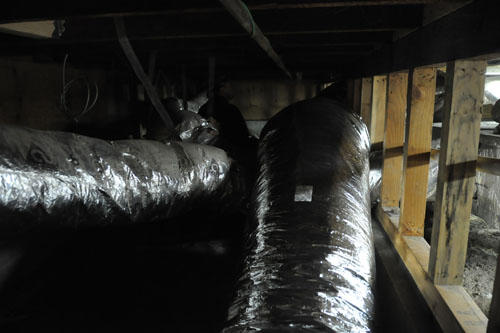
We then rolled around in the smallest part of the basement, filled with all kinds of ducts, getting the new air return in place. There was some extra length, but we decided to leave it on and live with it rather than accidentally cut the duct too short.
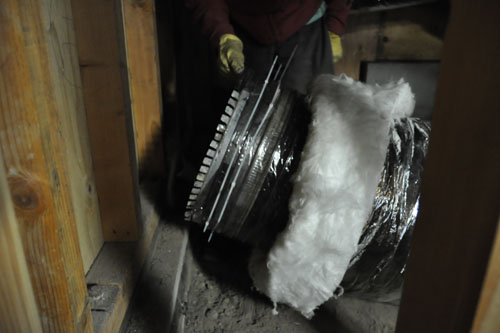
We did a similar routine with the other end: the inner duct was zip-tied to the sheet metal connector.
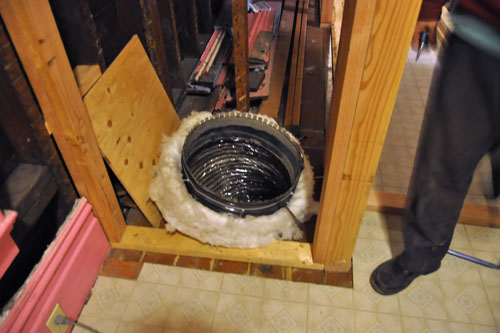
Then we stuffed the whole deal through the hole in the floor. Which was lots of fun.
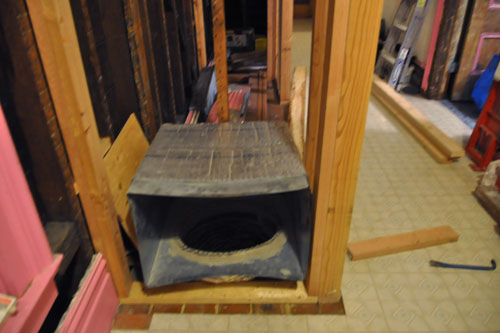
The air return box attaches to the duct with little fold-down tabs. I am also drawing a curtain across our lying on the floor with our fingers in tight, potentially dangerous places, stuffing tabs into the right place.
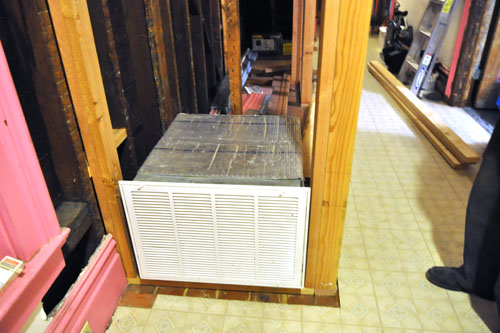
Then we put on the anti-cat defense system (erm, filter), and turned on the heating system to test it out. It works without a whistle or sound of rushing air, so yay!
Now to wash the fiberglass insulation off, if that even works.
posted by ayse on 11/09/13