Blocking and Blockages
The cold weather inspired us to get back to work insulating the walls. You can't see it very well below, but there is actual daylight showing through the siding boards, which is good fun.
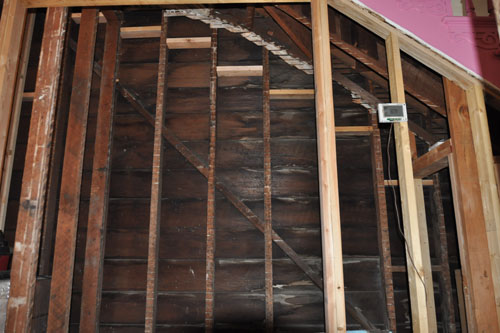
Noel installed blocking along the ceiling in the understair bathroom. The California Building Code requires blocking at the top and bottom of every wall, and every 10 feet inside the wall for walls taller than 10 feet tall (all of our walls are at least 10 feet tall). The inspectors are usually pretty understanding about retrofitting blocking into balloon-framed walls, so we installed it at a point where we could actually fit the tools in to do the job.
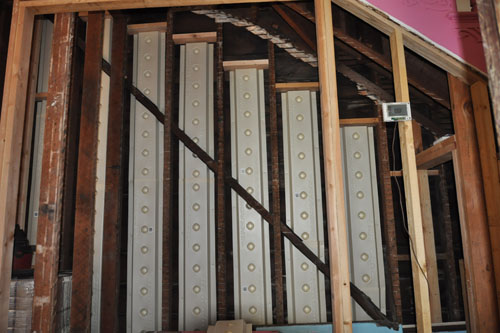
Then we put in our usual drip channels, which keep wind-driven water from being soaked up by the insulation, and give the water a route to travel out of the house.
Then the thing you can't see in these photos, Noel cut off the lath ends that were sticking out under the stair stringer so we can install drywall in there.
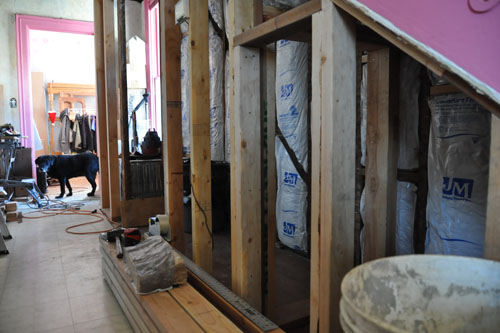
That was last week, and since then we've been installing insulation in the wall cavities slowly. We've gone back and bought a few more rolls of insulation a couple times, including one New Year's Day impulse purchase of three rolls of insulation four minutes before closing time. Do we know how to party or what?
Noel also picked up some more lumber to frame the closet, since apparently the one thing we are really terrible at is figuring out exactly what we need and buying that.
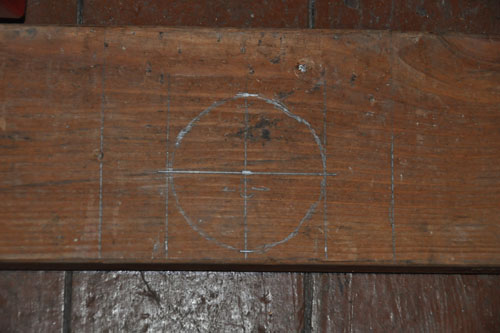
Our next big move is the rough-ins for plumbing and electrical. The first thing to do is get the drain/vent system set up, because that is the largest and hardest to reconfigure thing to be installed. As a start, Noel decided to install the wall tank for the toilet.
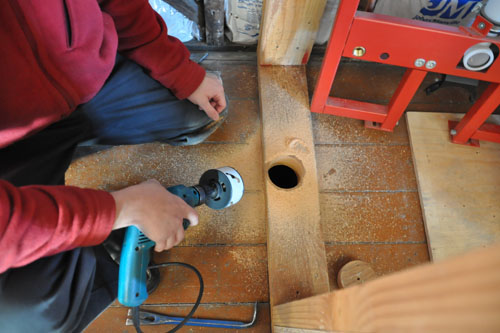
He marked out and cut a hole in the floor (he had to make a run to Pagano's to get a new 3 1/2 inch hole saw).
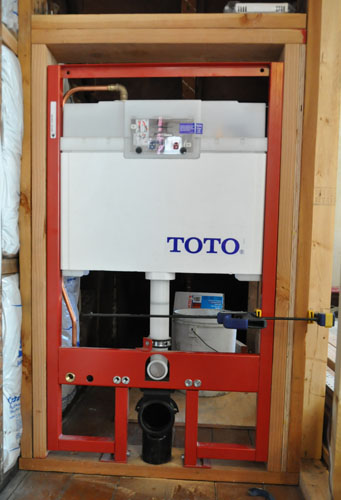
The fit was a bit tight, but soon he was able to clamp the tank in place so we could see how far down the included drain pipe would reach.
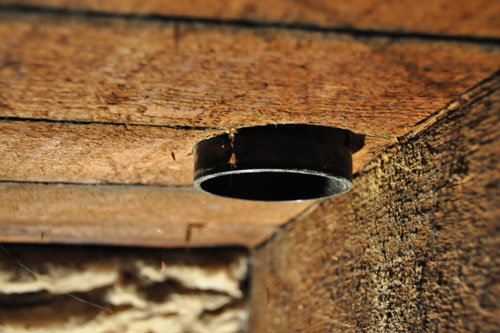
It was not very far below the bottom of the floor boards, and the fit was quite tight. Too tight to install a fitting onto it properly.
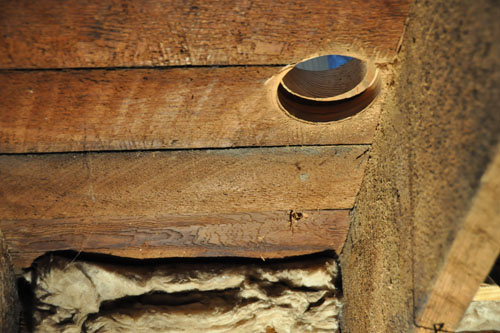
So Noel crawled under the house and cut the hole a little larger from the bottom, becoming filthy and miserable in the process.
The irony? We got the toilet out and checked how high it would be, and it turns out the manual was wrong and we need to raise it by 1 1/4 inches so it is high enough to clean under it. So he needs to cut the whole hole larger, and tomorrow he will go buy another new hole saw to replace our dull and bad 4 inch one, and he can cut the new hole from the top.
With the tank in place for now, he moved on to his next project for the day.
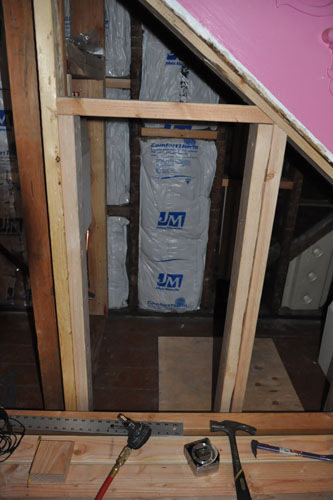
The little door to the hidey-hole under the stairs was actually a little too narrow for Noel to fit through easily. I fit through it just fine, but today he widened it by the width of one stud so he could get in there more easily. We are going to have an access hatch for the back of the toilet tank in there, and some storage, so it'd be good for it to be a place where larger people can fit, too.
We spent the evening working out a diagram for the drains and vents, and tomorrow we hope to buy some pipe and fittings and get started installing them.
posted by ayse on 01/04/14