Prime Time Gluing
Most work nights we don't get much actual labour done on the house. Usually it just doesn't work out that way for any number of reasons. I don't think it's sensible to plan on working a full time job then work as many hours as possible after work, and certainly we would not have lasted at this as long as we have if that was our approach.
But this evening we decided to knock off some quick work to make up for basically not getting anything done for two weekends.
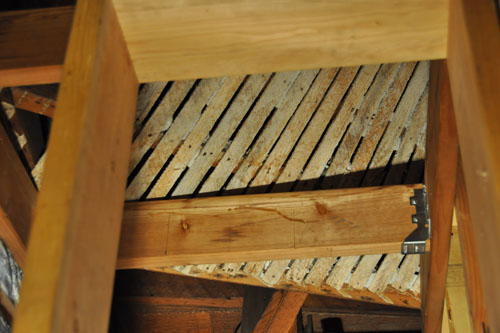
Our project for the evening was installing the downstairs bathroom fan/light, then finishing the vent from the toilet over to the main vent stack.
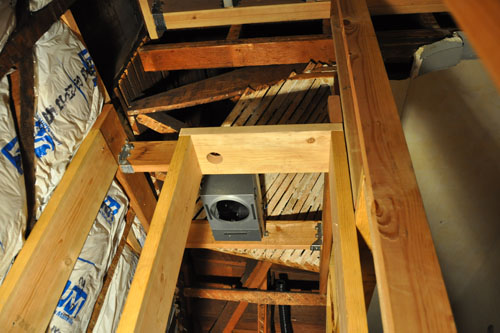
Noel marked the ceiling for the fan after some careful measuring so it would be centered and right about where I want it over the sink. You can just throw things up wherever you want and they'll be fine, but if you want a design that has a pleasing symmetry and doesn't cast weird, horrible shadows, you pay attention to where your lights are installed.
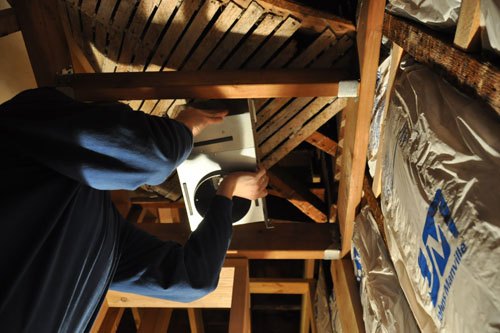
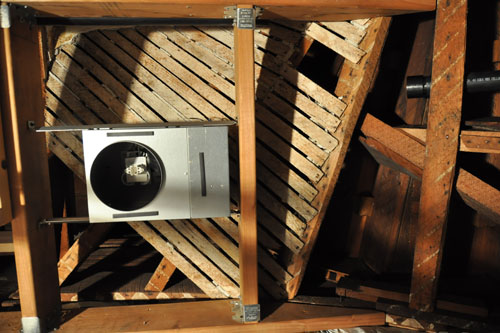
The fan itself went in very quickly. This sort of thing is designed to be installed in quantity and very fast, so it's not a fiddly process at all, unless you are very particular about where you want it.
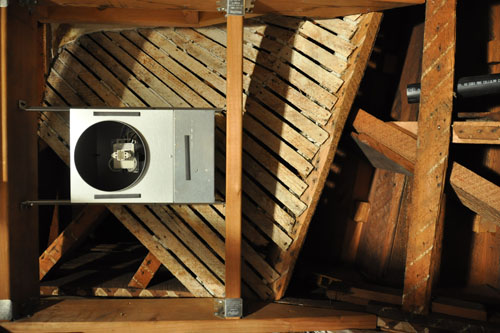
And there's the ceiling fan. The next part of the project was to finish the vent from the downstairs toilet over to the main vent stack. You can see the stub where we ended our last day of work off to the right in this photo above.
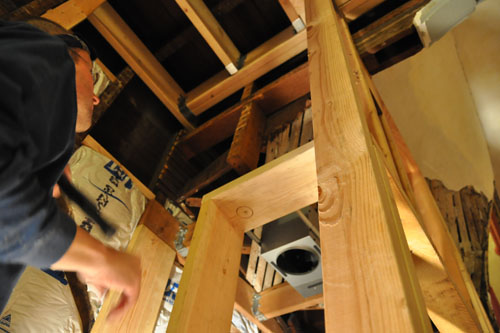
The first part of the vent was from the downstairs sink. Technically this is the bottom of the main vent stack, because there is nothing further down that is a vent. The vent is going to do a bit of jogging, because we have to get around the existing framing.
Noel marked the framing for the hole location, then used one of our smaller hole saws to drill halfway through the top plate here.
Then he knocked out a piece of framing that was literally just hanging there (it looks like a stud but was not resting on anything, a surefire sign that it is bearing no weight) for better access, and drilled down the rest of the way. The hole saw has a central drill bit that helped him line the two approaches up perfectly, and then we had a nice neat hole perfectly sized for the vent pipe.
The next thing we did was extremely subtle. We took that stub of a vent pipe and extended it with a short piece of pipe (after enough experience, you stop giggling when you call it a "nipple"), and turned the angle with a couple of fittings rotated just so.
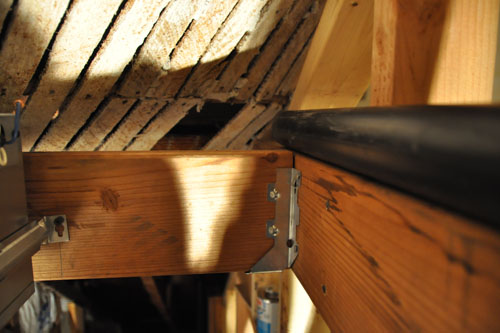
We planned to run the vent along the top of the ceiling joists, but there was a random odd piece of framing there, which you can barely see here behind the lath. Noel cut a slice out of that wood (it really exists only to hold the lath up).
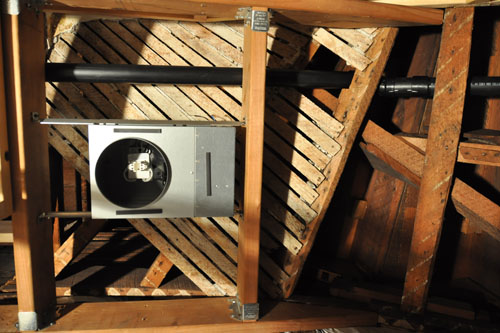
Then a bit of fitting and fiddling and more gluing, and we had a vent cross the ceiling.
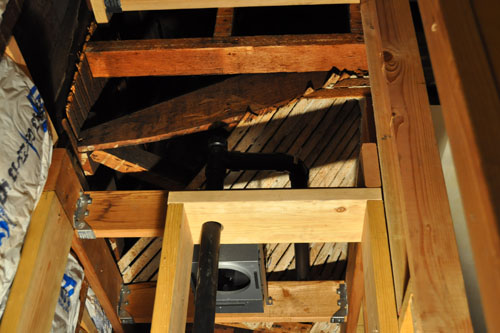
And a little more tied the toilet vent to the sink vent on the sink end of the ceiling.
We considered doing some more on the main toilet stack, but we have to saw apart more framing before we can do that. Pretty much all the wood you see in the photo above is not holding anything but itself up, so we're going to cut into it for access. Plumbers have this reputation for just cutting enormous holes in everything (there's this construction joke about the framing on a house being ruined, not by termites, but by plumbers), and this sort of thing is why. This is why you have your plumber come to meet with your carpenter before framing, if you are sensible.
Now hopefully this week we will manage to get to the plumbing showroom for some floor drains. Curse these places that are only open during work hours.
posted by ayse on 02/24/14