More Handrail
The carpenters are hard at work putting together the handrail/guardrail for the back staircase!
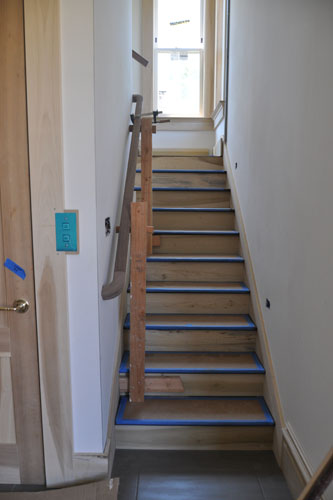
The code requires the handrail be mounted at a graspable height (I put handrails at 36" above the finished floor unless I have a really good reason to move them to the top or bottom of the allowed range), and be continuous for the entire flight of stairs. That means we have a bit of a funky-dunky spot where the stairs go around the elevator shaft, but I think it will work out.
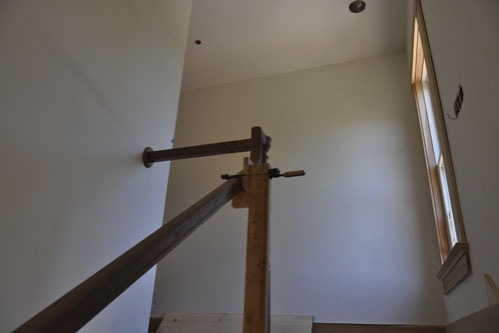
The top of the handrail ends at the guardrail at the top landing. Guardrails have to be 42" above the finished floor, which means you end up with a transition between the handrail and the guardrail (this is residential stairs only, note; other occupancies have a slightly different set of requirements). This is solved by using a piece called a gooseneck, which transitions down in a smooth line.
The guys are working out the layout of the handrail/guardrail first, then they will fit all the balusters and the newel posts into place.
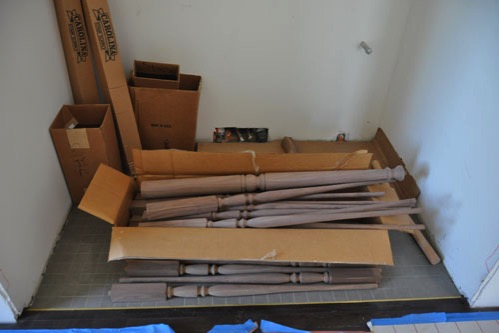
Here's our little stash of balusters. We had a little site meeting and discussed how we wanted to align the bottom of the balusters, and the guys are going to do some research to see if a part that would be needed to do the stairs one way is available or not.
Basically, on the front stairs the balusters step up, step by step. The pieces we have are a little short in the corners to reach up to the handrail while stepping up like that, so we're going to see if a longer baluster is available. Otherwise, we'll have the balusters slant up smoothly. (I will try to find some pictures to describe this better because I know what I'm talking about and I'm not sure I got that.)
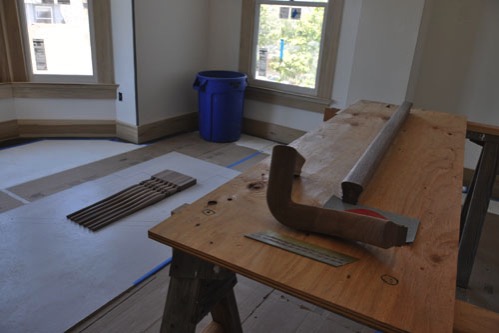
The bay window bedroom, previously used for tile layouts, is now in service for stair layout. You can see in the background the balusters lined up. On that sheet, they've drawn the existing steps and the handrail as it needs to be installed, and we ran through some baluster layouts there.
Finish carpentry is really fiddly, detailed work, and I'm glad to have some very experienced people doing it.
Some other news around the house:
The vanity for the powder room is in place.
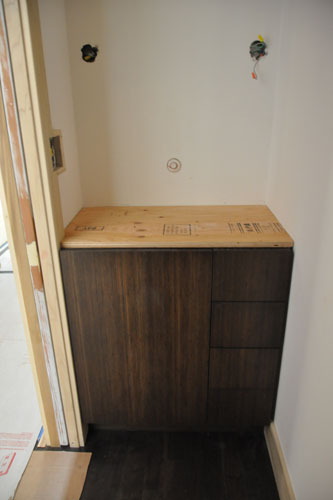
This vanity will have a custom-made stone sink. I just need to get that fabricated. I wanted to see the vanity in place before I did the final design, though.
This vanity is made of carbonized bamboo. It's kind of neat.
The trim is on the Harry Potter Room, too.
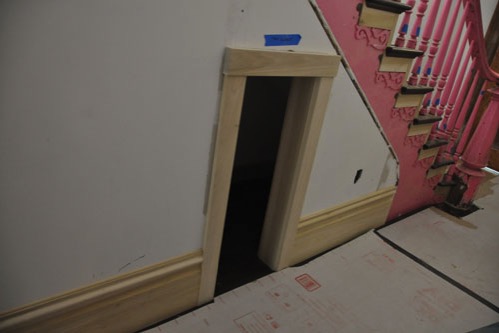
A little less dramatic, but we're inching towards being ready for painting.
And outside, the shrink-wrapped scaffolding is slowly extending around the house. What with the house having eaten the poor scaffolding contractor, there's a bit of a delay on installing the rest around the side porch, but it will happen.
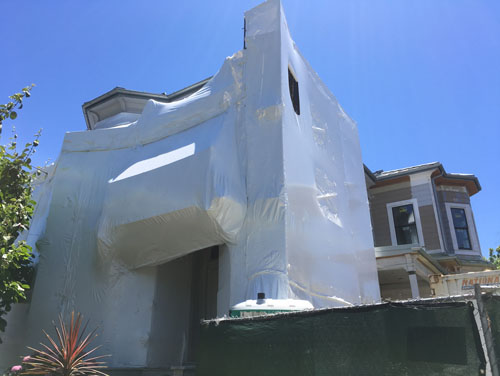
The shrink wrap allows the restorationists to keep the neighborhood safe from any incidental lead from the restoration. It also allows them to keep working even when it is rainy, as it was earlier this week.
posted by ayse on 06/10/17