Trial by Water
We decided to try out some microsprinklers by buying a kit from Dripworks.
There are some assumptions behind that statement, so I'll explain them.
First: we have sandy soil. Not sandy loam, but sand sand sand. Sand is what is called a coarse soil, with large particles and lots of air space between them.
Second: soil holds water in a film around the particles, so the more particle surface area you have, the more water the soil can hold. Therefore sand has a lower capacity for holding water than clay.
Third: air space can't hold water. Gravity will do its thing for any water than is not clinging to a particle with surface tension. So sandy soils tend to drain faster than clay soils.
Fourth: drip irrigation tends to apply small amounts of water at a particular spot. This is great for clays, where the water can wrap around all kinds of small particles and slowly move through the soil, sideways as well as downwards. In sandy soil, water from a single drip applicator tends to go down and do it fast, so designers tell you to space your emitters closer. The sandier the soil, the closer the emitters.
Fifth: but they can't get too close to each other or the system doesn't work right.
Sixth: in our soil, the emitters basically had to be right on top of each other, and there are two solutions to that: put in two systems overlapping each other, or just install sprinklers rather than mess around with drip.
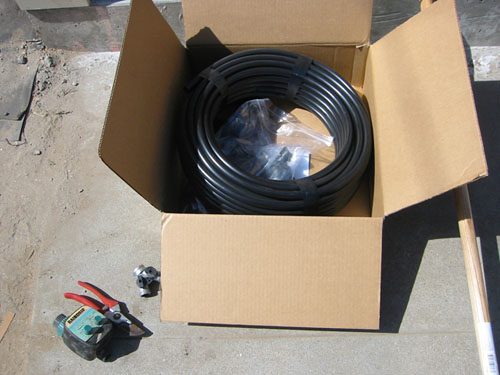
OK, so. Given that, I went looking for microsprinklers. Dripworks has the stuff I wanted, and they happened to have one kit that had literally everything I needed to get the rose bed irrigated. So I ordered it and last week it arrived in its lovely box:
The only tool I need to add to this was my secateurs, for cutting the line (heavy scissors would have worked as well). I also used a Y adapter for the hose bibb, a sprinkler timer, and some zip ties.
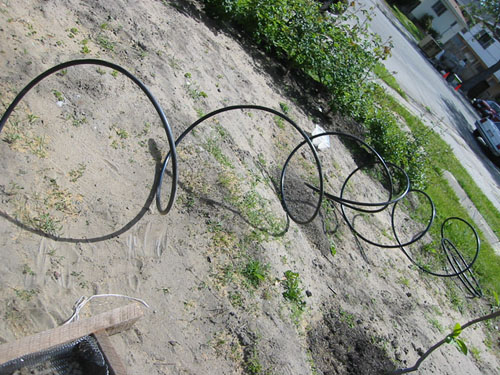
The system comes with 1/2" main line and 1/4" feeder line, and the recommendation was to lay the stuff out in the sun and let it relax into a straight line from the heat. Worked OK, actually, although the 1/4" line basically uncoiled itself into a huge knot.
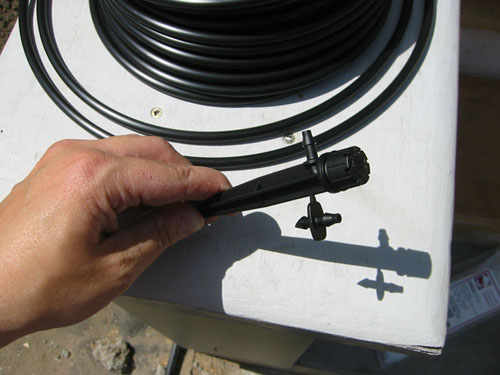
The rose kit came with twenty of these things: the "Shrubbler." A Shrubbler is a bubbler that sprays a bit out (up to 15" but more realistically 12"). Attached to the side is a little barb that you break off and use to attach it to the main line.
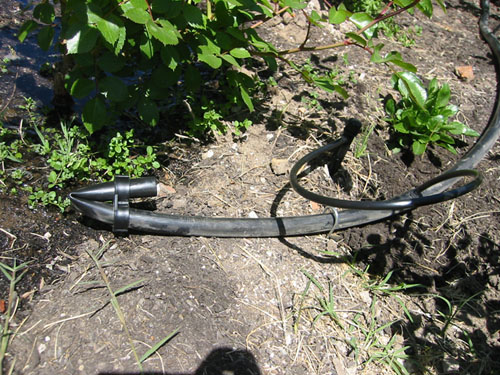
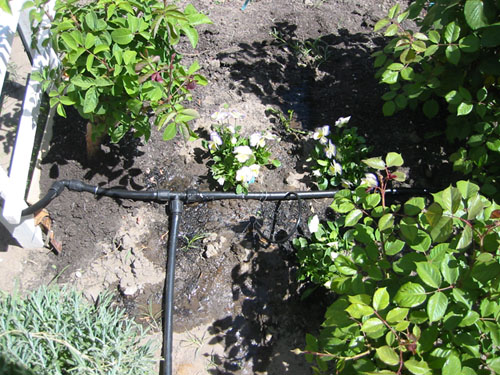
Installation went very fast. I laid out my main line in a T, flushed it, then stuck the Shrubblers into the ground where I wanted them. Then I worked my way across the bed, attaching them to the main line. It was a bit tedious, but very very easy and much faster than expected.
Then I flushed the system again, and capped the ends. The ends are designed to uncap easily so you can flush the system, which is important because basically clogging is the number one enemy of a drip or micro system.
When it was all installed and flushed, I turned the system on and adjusted the flow of the Shrubblers, then watered the roses for half an hour. Now to get that timer working so it will operate automatically.
Technorati Tags: gardening, irrigation, landscaping, roses
posted by ayse on 05/14/06