Finishing the Basement Manifold
Yesterday Noel brought me a present: a car full of PVC pipe to finish the irrigation project. I'd spent most of the day adjusting and testing sprinklers in the orchard, so we left it there for the night. This morning Noel came to help me figure out how and where to install the brackets for supporting the manifold. There was a long span with no place to screw the bracket in, but Noel agreed that we could just attach a block of 4x4 there to handle it.
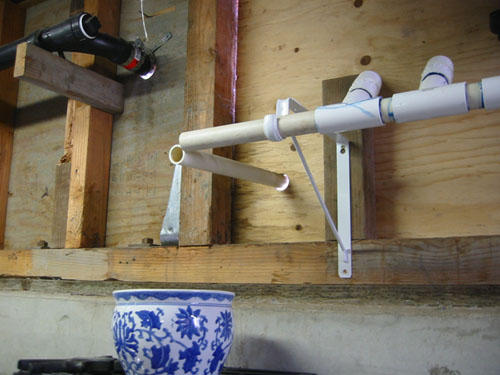
Here we are half an hour later, with the support brackets installed. As you can see on the left, the pipe coming from the outside has been capped, and it's a lot longer than it really needs to be, so I had to chop it off. The small goldfish bowl there is to catch the drips. This proved to be slightly less than effective.
I cut off the end of the pipe and shortened the end of the manifold pipe to meet up. There's a lot of play on both sides of the joint here, so I was not too worried about fitting perfectly. In the process I managed to get soaking wet and splash a lot of water everywhere, but most of it went into the fishbowl.
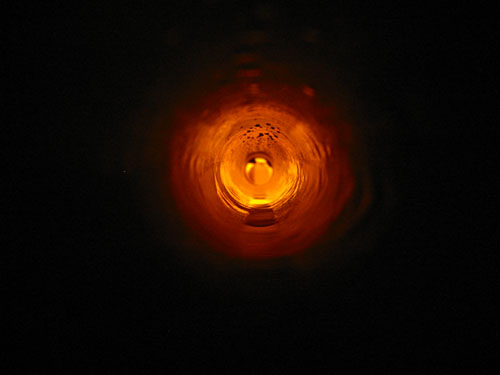
Here's something you don't get to see too often: this is the view down the pipe to the outside.
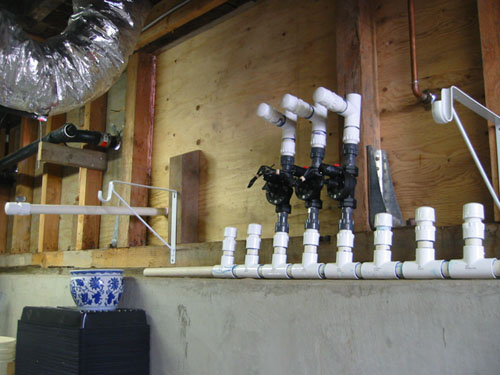
Once the pipes were joined, the manifold stiffened up nicely and stopped trying to fall on me every time I moved it. So I began installing the connections to the top of it. These are 1" elbows with 1" to 3/4" reducers in them; the pipe that runs across the ceiling will be 3/4" reducing to 1/2" when it gets far enough away (to maintain water pressure over the long spans). The tees just above the valves there are cleanouts. It is always a good idea to install a lot of cleanouts.
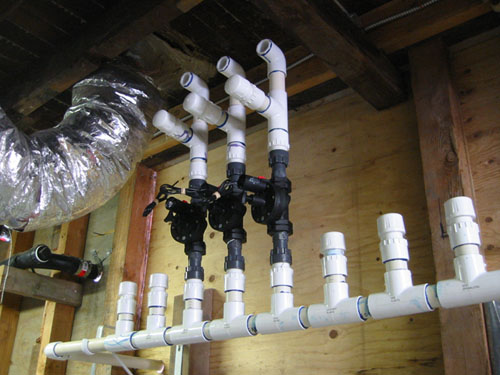
The easy part is running the pipe across the ceiling. No cutting, and all the fittings are very simple. We ran three pipes almost all the way across the basement in a half an hour.
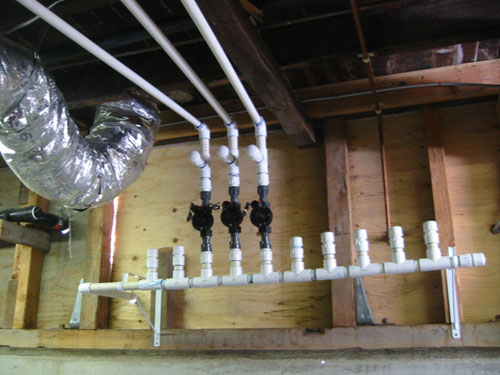
PVC pipe is very saggy, so Noel devised this little support for sets of pipe running next to each other: a bit of strapping screwed into a little block of wood that acts as a spacer, so the pipes run on each side nice and parallel. That screws neatly into the joists.

That was about where we had to stop because of prior commitments today. More valves are due to arrive tomorrow, Noel has offered to work on it some during the week, and I'll be back to work on this on Friday. We'd like to get the circuit for the Fern Walk up and running by next weekend.
Technorati Tags: irrigation, plumbing
posted by ayse on 06/24/07