A Treatise on Wallpaper Removal
We worked most of the day yesterday and got to a reasonably good place, but not as far as we wanted. Noel took down the picture rail, which turned out to be over three layers of wallpaper (it appears to date from after WWII) and was clearly not original. Also, it has a layer of grey battleship paint on it which means it has to go: that stuff does not strip off and it loaded with lead (not that that is a huge problem at ceiling level, but you know).
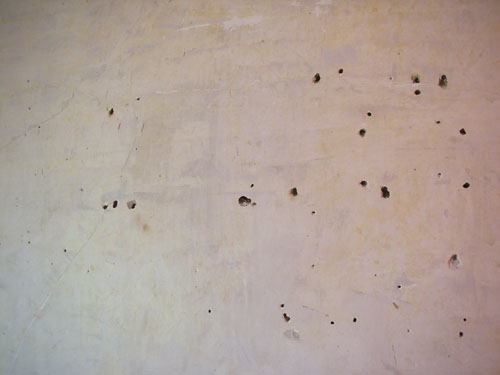
We got all the remains of the wallpaper off, and worked on stripping off the layer of wallpaper paste, used as a sizing, over the plaster. Where the walls are grey, there is paste; the yellow is the original paint colour (and, coincidentally, close to the colour we were planning to paint this room).

Fitz asked about hints for removing wallpaper from plaster, so here are some more details. To begin with, removing wallpaper from plaster is much easer than removing it from drywall. Plaster has a nice smooth surface and scrapes clean, and can be washed without making a huge mess. Not so drywall, which has that layer of paper on it and is a bit softer.
Here's our assortment of tools for scraping:
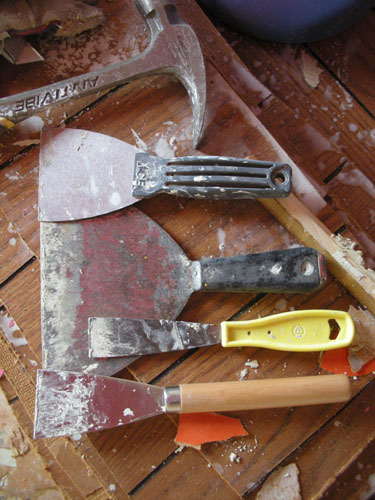
I find it useful to sharpen the edges on these regularly while working, because the scraping dulls them.
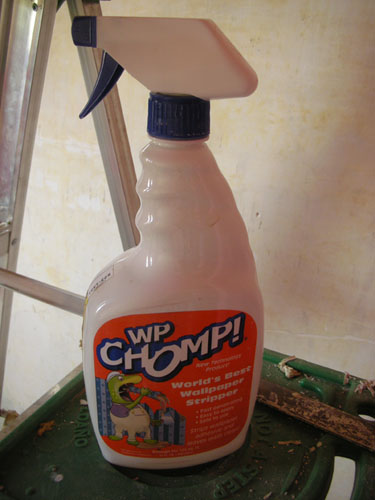
We also use wallpaper paste dissolver. You can use a steamer, but those are very heavy and hot and I always burn myself with them, plus renting them can get expensive if you work slowly. When you have any layers with paint on them mostly scraped off, you can spray this dissolver on the wallpaper and it will loosen things up to make it easier to scrape. When there's a patch that's very firmly stuck to the wall with paint on top, I will sometimes spray this along the edges to loosen it up.
Most old wallpaper comes up fairly well, especially if it is sagging to begin with, as all ours is. If it seems really stuck, the hardware store will sell you a little piercer tool that you roll over the wall to poke holes in the paper and allow it to absorb steam or dissolver.
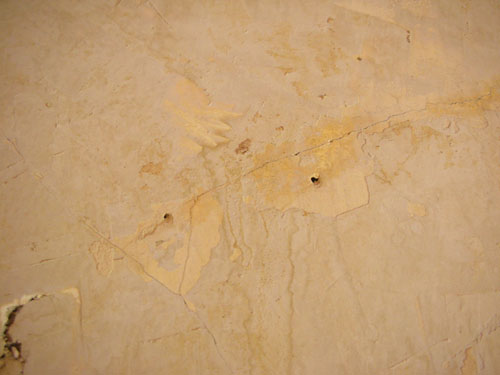
The real pain is cleaning off the wallpaper paste underneath. On our walls there is almost 1mm of paste under there, and you can't paint on it (well, you can but it will shed the paint). In this photo you can see where it has flaked off to show the wall underneath.
To deal with that paste, I use a two-pronged approach: warm water sponged or sprayed on with scraping, then scrubbing. The paste comes off more easily when it is moistened, so first I either sponge it or spray it with plain warm water (by this point we've got a bunch of empty bottles from the paste remover so I use one of those), then scrape off the majority of the stuff. If you don't already have a ton of loose wallpaper shreds all over your floor by this point, you want to put down a dropcloth, because this is messy.
When you've mostly scraped it off, use warm water and a scrubby sponge (I like the ones that are sponge on one side and scrubber on the other) and scrub the rest of the paste off, wiping down as you go so you can see where you've been. You can scrub it all off but that means a lot of trips to the sink to change the water.
Even if you don't have handy paint underneath to let you know when you're done, you'll be able to tell by the texture of the wall. And if you wash with a TSP substitute before painting, that will remove the last remnants of the paste.
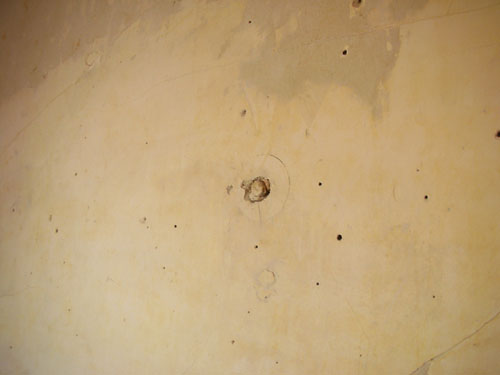
For us, the next big fun after we finish the paste removal (IF we finish the paste removal) is repairing the plaster. You can see that there was a particular level on the wall where people liked to hang pictures.
And this little belly button is the old gas lamp pipe, which is a little proud of the wall and might take some real work to cover up.
But for now? We scrape.
Technorati Tags: plaster, renovations, wallpaper
posted by ayse on 12/17/07