First Step to the Auto-Door
We want an automatic door for our chicken house. This would allow us to go away for a weekend, stay out late of an evening, or sleep in, without having to go let the chickens out or close them in securely.
After some discussion, Noel agreed to design the hardware to automate the door, while I came up with the basic door itself. Since the project is so small, we used scraps of stuff we had hanging around for the whole thing.
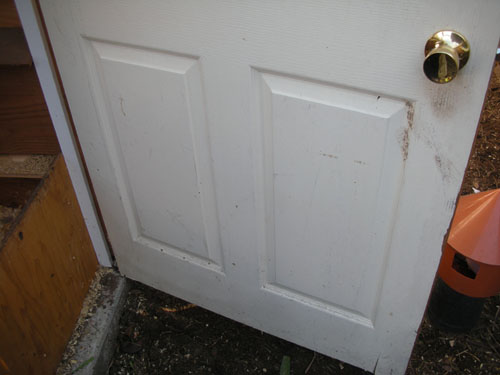
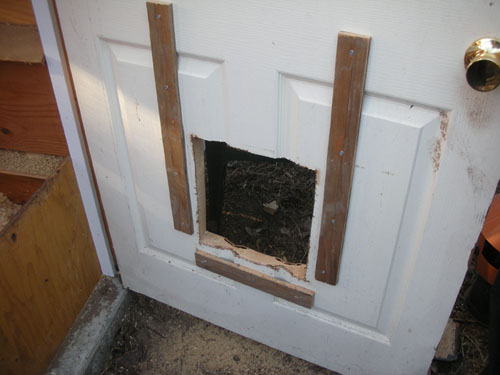
The basic design is like many automated chicken coop doors: a hole with a guillotine-style door that is raised and lowered by an electronic winch. The door will be inside the current door. I thought this would not be possible with the automated stuff, but Noel assures me that with enough travel in the cables, we can make it work just fine. So we decided to put the opening right in the middle of the door. The door on the chicken room is solid-core, so we knew it could handle having a hole cut in it.
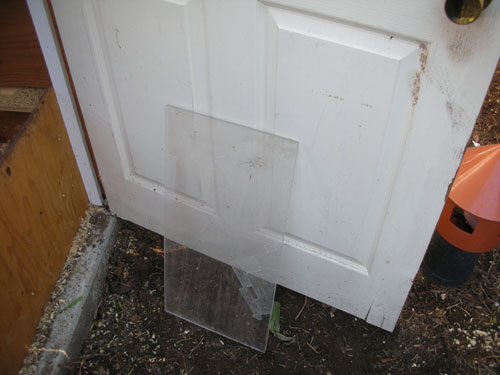
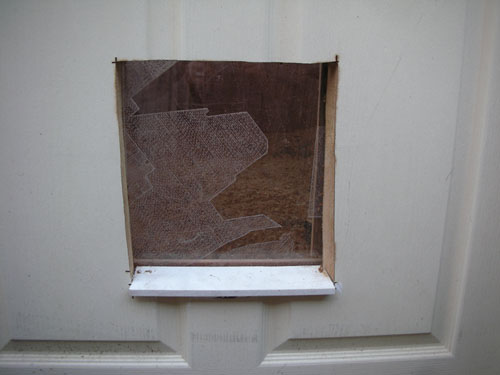
We decided to use a piece of plastic left over from some early exploratory work I did on my thesis last year. This one was etched to show various usage patterns in a neighborhood. I'm sure the chickens will enjoy that. It's 3/16" acrylic, as well, so it's pretty tough stuff. The entire piece is 12" x 24", and we wanted the hole to be at least 9" x 12", giving us a decent overlap on each side to hold the door in place.
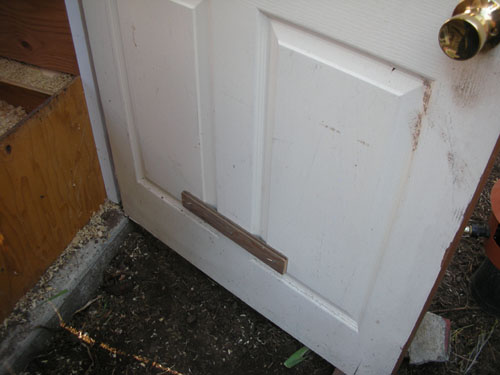
I'm super fussy about how holes get cut (I like nice, clean, neat edges). So we made the inside track along which the door would run be the guide for cutting. First we attached the bottom stop just below where the bottom of the door opening should be.
Then the two side tracks.
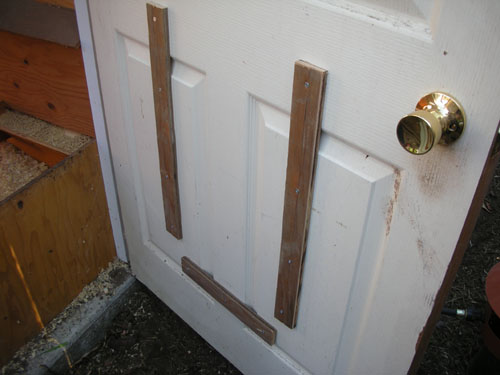
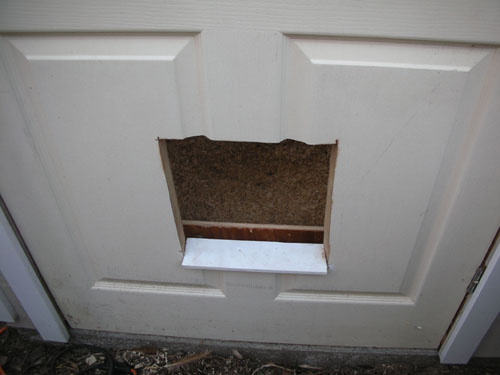
Using the bottom stop and the side tracks (and a temporary upper board) as guides, I cut out this hole, large enough for a chicken to comfortably go in and out of the house. You can sort of see to the left in the photo that the hole is a bit lower than the height of the board I use to hold the bedding in the chicken room back from the door. We had a brief interlude in which we removed that board (which involved some surgery because the little roof covering the feeders was blocking it from being removed) and cut it down.
With the board cut down, I installed a little sill on the bottom of the door, mostly to keep water out of the inside of the door. I used great gobs of silicone sealant, and when that has cured up I will caulk over it with the latex caulk I used around seams.
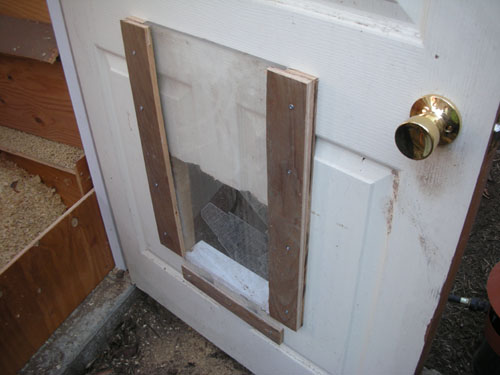
We tested the door panel in place, and it worked really well.
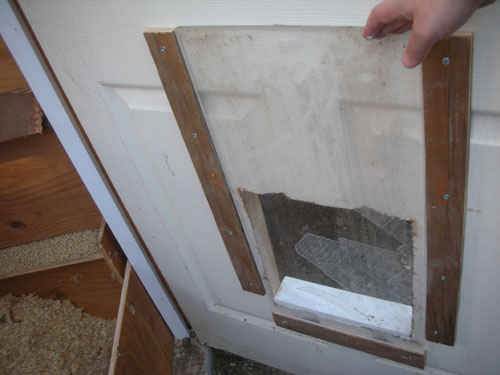
So we installed the guides that will keep it pushed up against the opening. We don't have the hardware to make the electronic winch part of the equation yet, but in this configuration the door is as safe as it can be (actually, not quite as safe as it will be as we will be installing a little latch to lock the door against raccoons).
We'll also need to make the chickens a little ramp to get them up to the door, so we don't have head-on chicken/door accidents. But I'm quite happy with how it came out, and I think they will really like having an automatic door.
The best part is that apart from the electronics to operate the thing, we didn't have to buy any pieces for this.
Technorati Tags: automation, chickens
posted by ayse on 11/23/08