Making a Template
This afternoon, we made a cutting template for the pergola crosspieces.
Noel bought 2x6 redwood for the pieces, and we plan to make an arched piece through a bit of trickery that relies on the cross pieces having no structural value.
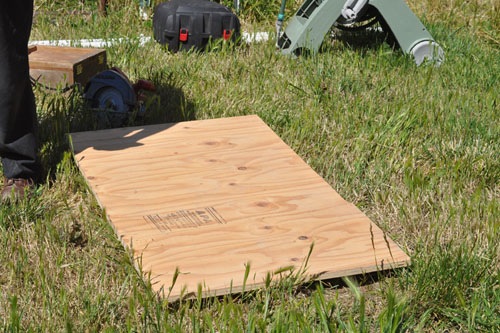
So today we made a cutting template so that we could cut out a bunch of boards quickly and easily. We started with a piece of scrap plywood.
The width of the arch is actually 50", and the plywood, being standard plywood, is 48", so we cut it off at a diagonal to get a longer edge.
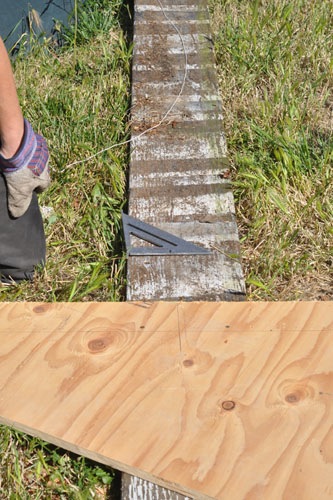
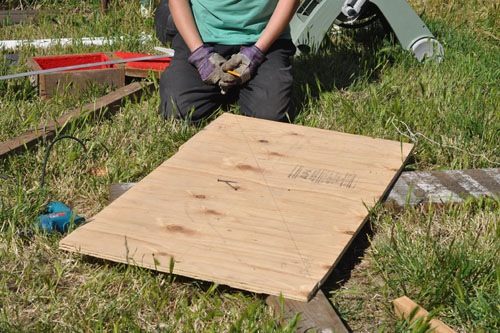
Then we marked the two sides of the arch, and used a string and pencil to mark the arc itself. (I will spare you a description of the two of us trying to backwards-engineer the sort of casual geometry most carpenters take for granted. Suffice it to say that in retrospect it was kind of funny.)
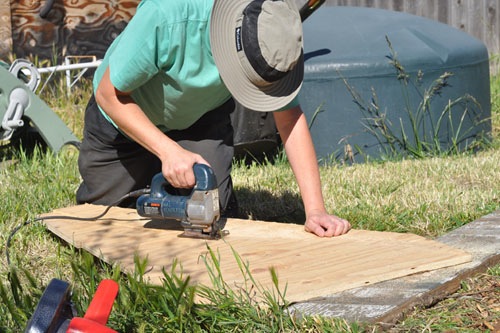
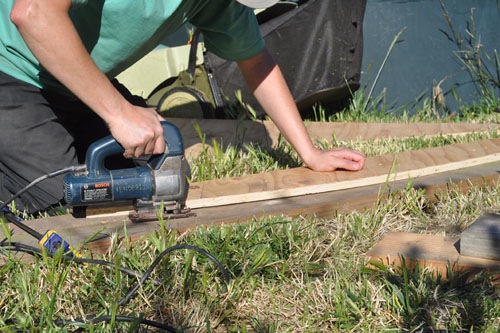
Then Noel cut out the arc with a jigsaw.
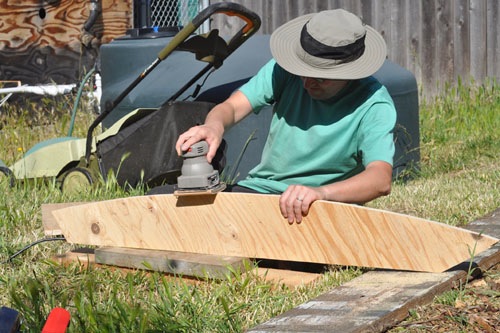
And then he sanded the edge smooth. The plywood was pretty knotty, so the edge needed a lot of work.
(We got the lawnmower out because the stupid grass kept getting in the way while we were marking the arc. So at least a small part of our lawn is mowed.)
When the template was all cut out and put together, Noel cut out a sample from a scrap piece of 2x6.
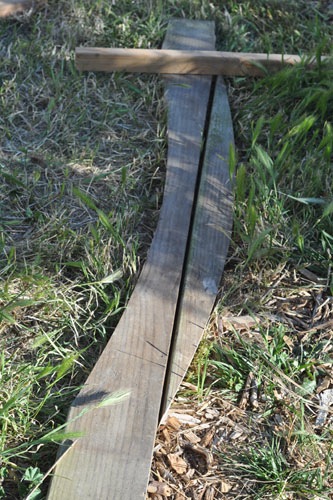
And there we are. With the final pieces, we'll dowel and glue the top curve onto the bottom.
One thing to keep in mind is that most lumber you buy is faced, which means that the edges have been knocked down. With a faced piece of lumber, the joint will have an obvious gap. But the lumber we bought is rough cut, so we'll have to do more work with it, but we can make that gap disappear.
posted by ayse on 05/29/10