Pergolatory
We had an... interesting weekend working on the pergola.
We haven't been getting much done around the house this summer because it's been an endless stream of social engagements, so this weekend we decided to try to make some real progress on the pergola.
Try being the operative word.
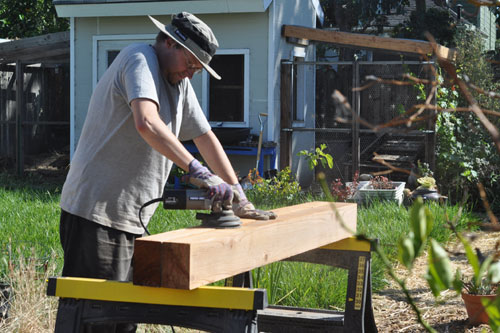
Yesterday, Noel cut the 12-foot long 4x6 beam into two 6-foot pieces, then sanded them to get the mill grease and dirt off the outside.
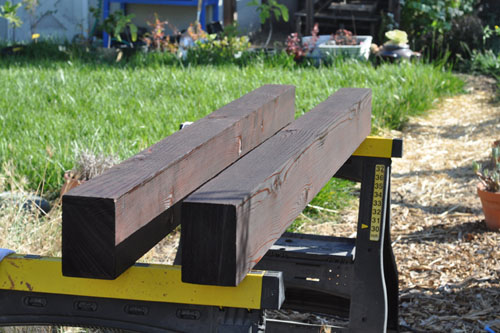
Then I did the staining/sealing, which went very smoothly and mostly cleanly, especially given how big of a mess I usually make while staining wood.
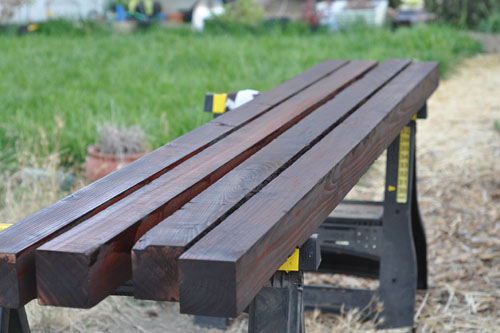
Ditto for the 4x4 posts. And that was yesterday's work on that. (We also made bread and pizza and moved some books around inside, and found the kittens' collars which had disappeared again; it was a fairly productive day.)
In the evening, Noel washed and cleaned the labels off the various metal ties we will use to put the pergola together.
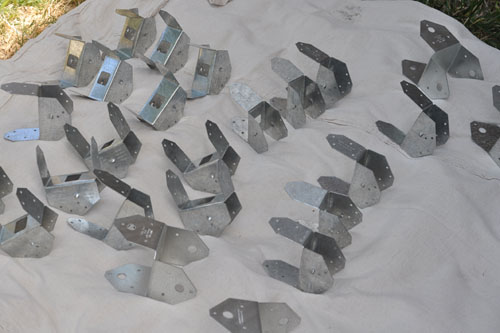
This morning I took those ties and laid them out on a tarp.
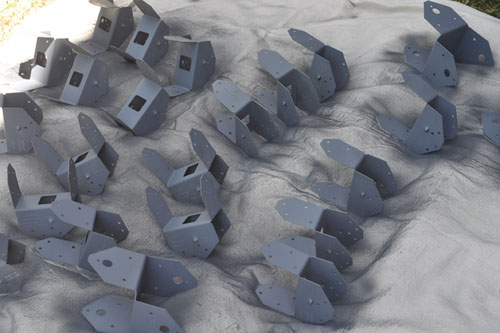
I primed them with metal primer.
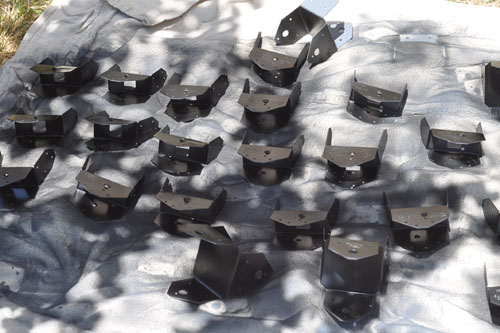
And I painted them. I didn't have enough paint to do the insides, but that's not too big a deal since they are already galvanized. The paint is just to make them look pretty on the pergola.
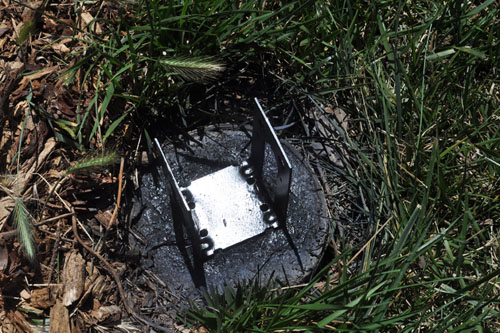
I also painted the bases of the posts. (And some of the grass.)
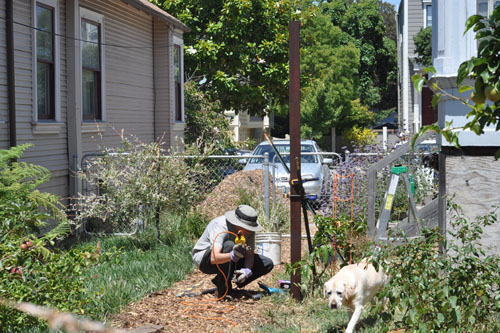
In the meantime, Noel began placing the posts in the bases, which looked pretty fun from over on the painting tarp.
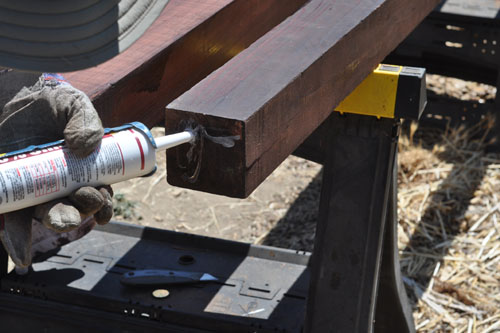
To keep water from being a huge problem, we sealed the grain on the end of each post with silicone sealant. This means that if a little water gets into the base, it doesn't wick into the wood. Yes, the wood is also sealed. Braced and belted, as they say.
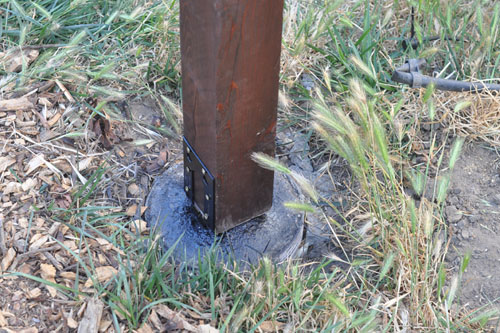
I think the posts look really nice in the bases. I love the stain and the black base. Very fancy look.
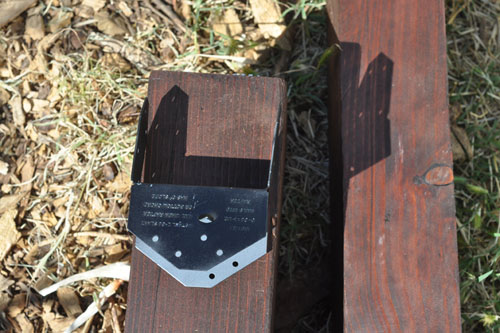
And then we ran into our problem. Our almost show-stopping problem. The 4x6 beam we got from Economy Lumber is unfaced, which means it nowhere near fits into our Simpson Strong-Tie fastening hardware, which means we need to trim the beam down (really, honestly, we have considered every alternative and none of them work as well as quickly as trimming down the beam).
Except we have no tool that can handle this. The band saw we got from Noel's parents is not large enough. Our table saw is not large enough. The circular saw is not large enough. The radial-arm saw is not large enough. Nothing we have can cut a 6 1/8" deep beam in the tall direction without two passes and some serious planing work.
We have a few phone calls and e-mails out to friends who might have such equipment, though, so we will hold out hope. If necessary, we can always rent the right tool, right?
At this point, we could have given up, but Noel pointed out that this was a rare day this summer that was both nice and sunny and not too hot (mostly it's been dark and foggy and cold here, which is really unusual), and we might as well get as much done as possible.
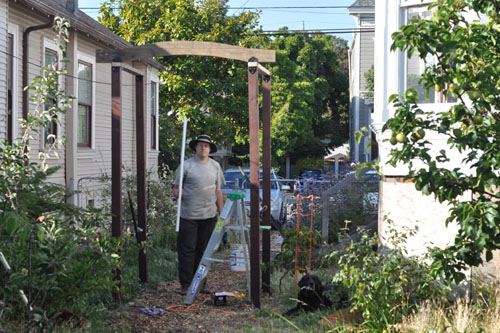
So we put some scrap 2x4s in the slots for the 4x6es, then screwed our single sample cross-beam in place, and now we can see the finished pergola, sort of.
Yes, it's very tall. This is going to have a passiflora vine growing over it, and they are aggressive and large, so we decided to err on the side of oversized, especially as we'll lose the top foot or so of head space to hanging vines. Also, we got kind of lazy on trimming down the posts. Mea culpa.
Also -- and this was a bonus I didn't even think of until we tried out various heights for the pergola this morning -- this will block the view from our dining room window into our neighbor's bedroom window, which means no more accidentally seeing her in her underwear during breakfast, and that's a big win for us.posted by ayse on 07/25/10