Formwork, the Saga Continues
Noel's back is feeling much better, so today we set out to do more work on the formwork. We are lining the front side of the formwork -- the part that will be visible when the walls are backfilled -- with EPDM to make a smooth surface. A couple of weeks ago I ordered a 10'x10' 45 mil pond liner, and today we got it out to line some forms.
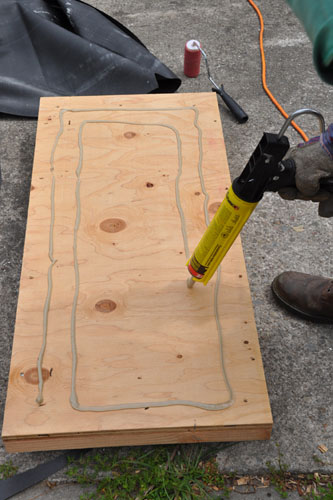
The first step was to apple the glue. We're using a polyurethane construction adhesive, which may or may not the the right thing to use. Pagano's didn't have any EPDM adhesive at all, which surprised me.
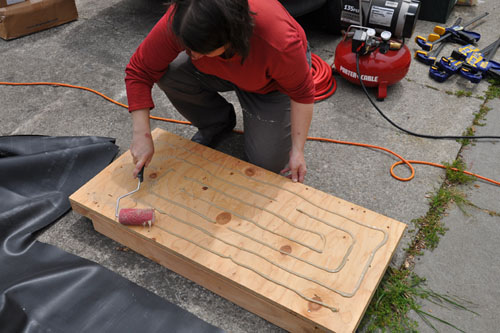
After applying the adhesive, I rolled it out with a hard roller to get a smooth surface of glue over the form.
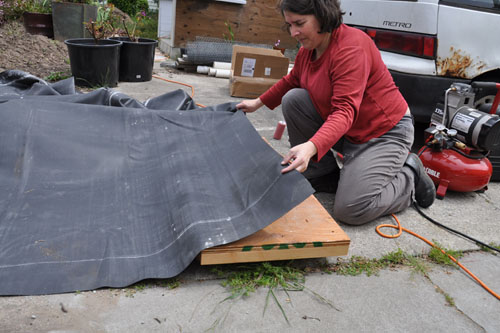
Then I pulled the EPDM up and laid it out over the piece nice and even. This was not fussy at all, though EPDM is very flexible and wanted to slide around in the glue quite a bit.
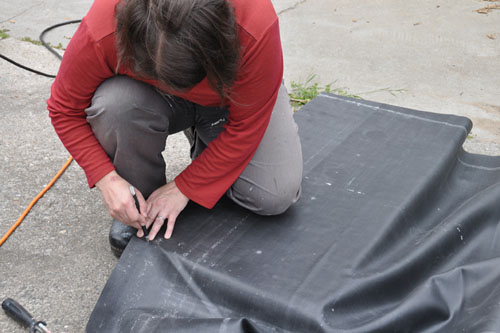
I used an Xacto knife to trim the liner to the form. I suppose you could use something more construction-y, like a utility knife, but the Xacto is nice and sharp, easy to use, and did the job just fine. I'm kind of notorious for using art supplies to do construction work; I even rolled the EPDM smooth with a linocut ink roller.
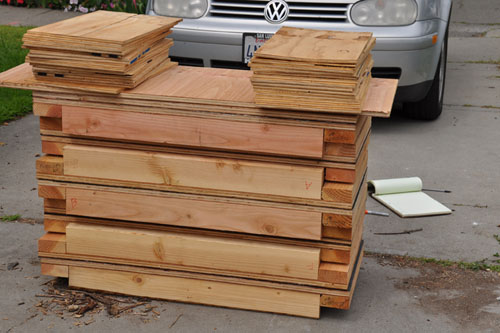
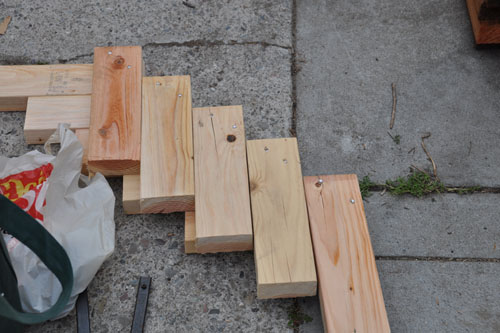
As we finished the forms, we stacked them up to dry with weights on them. Because each sled fits a particular spot in the walls, we made a key diagram and labeled them before taking the walls apart to do this work.
By the time I finished the gluing, I was covered in construction adhesive. I need to remember to get a pot of hand cleaner the next time I'm at the store, because mere soap was not going to get that stuff off. I started by rubbing my hands on the driveway, then I realized I could pull weeds and it would help rub it off, which was a little more efficient. But while that made my hands not so sticky, it also basically glued dirt to my skin. Hand cleaner with pumice would be have been ideal.
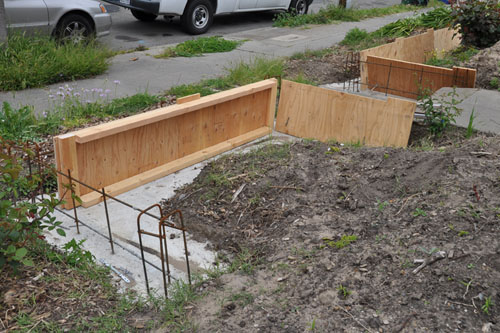
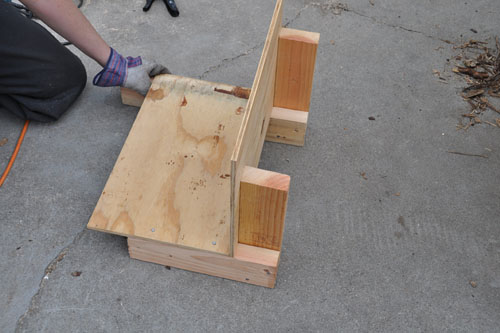
Then we spent some time working on the back formwork. It's much simpler than the front, so we basically just had to line stuff up and nail it, and mostly it came out very nicely. This is the formwork partway done; we got all the back formwork on the small side, and up to the diagonal section on the large side finished today.
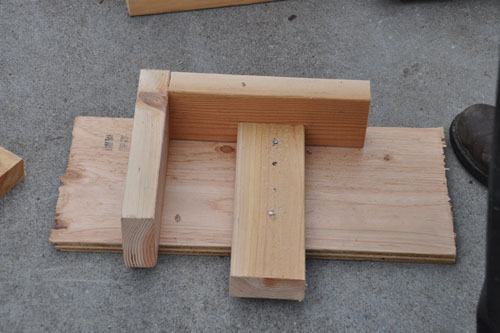
The last thing we worked on was the formwork for the columns at the corners, where we need formwork on two sides (the in-line columns only need forms in front). We made this jig so we could nail together the walers (those are the 2x4 supports along the outside surface of the forms that keep everything together when the weight of the concrete hits the wall).
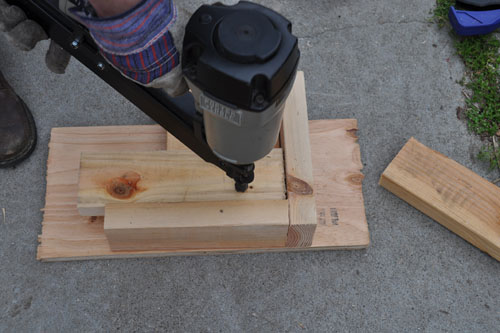
Those walers are very simple: just a pair of 2x4s nailed together at a right angle. And that was much easier with the jig.
We very quickly made ten sets, two each for five of the columns (two more outside columns will only have one set of walers each, but we didn't make those today).
Then we were able to assemble the column forms very quickly, nailing on the plywood faces.
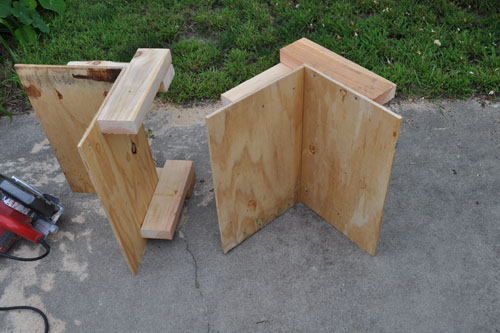
We checked them against the rebar column shapes, and only one will need adjusting (basically untying the rebar and shoving it into place). These will nail into the sides of the sleds and the back formwork perfectly.
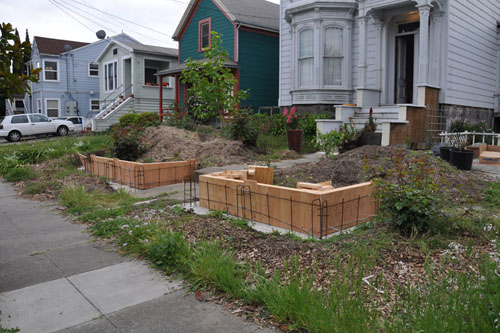
I haven't shown an overview of the site lately, have I?
Now we're letting the glue on the sleds dry overnight, and tomorrow we might be able to squeeze in some more work in between being social butterflies. We could probably have kept going today, but Noel was actually being sensible about not pushing himself too hard and doing further injury.posted by ayse on 04/23/11