In Place
This morning we had a few final things to do before the concrete truck showed up. I went through and oiled the wood part of the forms, and resecured the tape that had come loose on some of the seams. Noel added some bracing to the front of the frames.
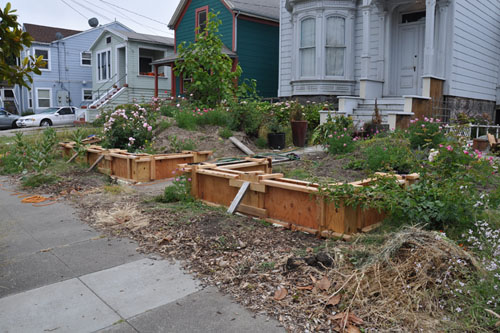
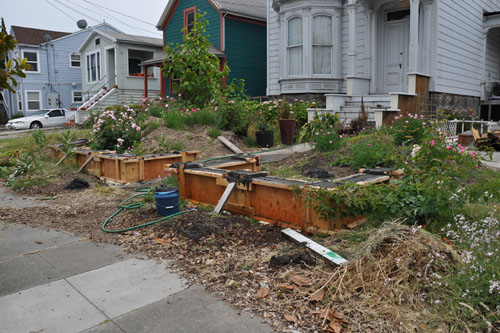
By the time we finished that, we had about fifteen minutes to wait around for the truck. One last look at the formwork.
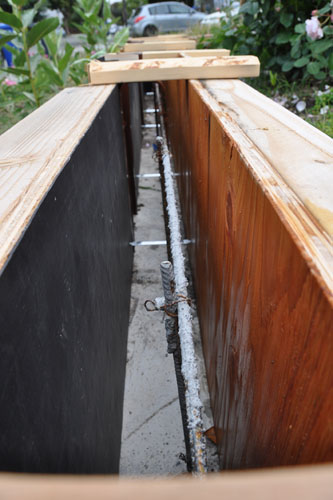
Here you can see the many ways this formwork was held in place: the bottom form ties, the 2x4s nailed across the top, the support on the sides. This stuff was going nowhere. (Will we be able to get it off? Who knows.)
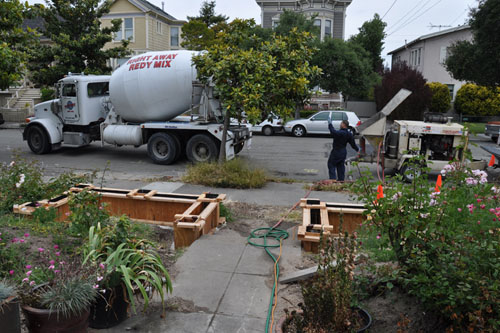
The concrete truck itself was a little late, but we had an hour and a half window for the job and only 1 1/2 yards of concrete to place, so we weren't too worried.
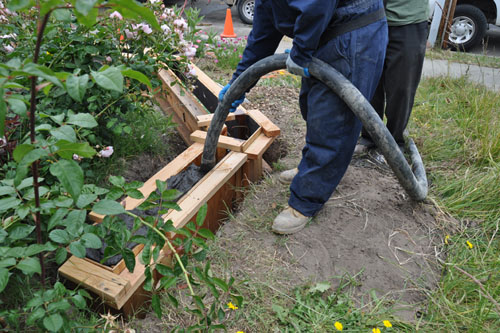
This time we chose to get a pump, which is kind of spendy ($280 base charge) but made the placement go much faster and easier in our narrow forms. Plus, the pump operator was willing to direct the pump end for us, so I could use the camera briefly.
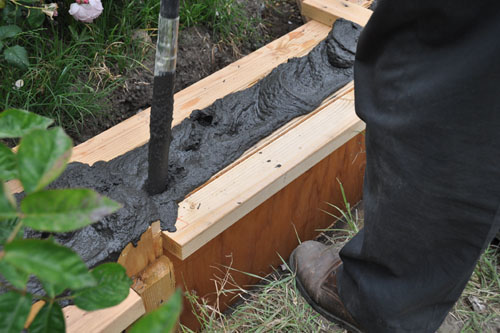
Noel followed behind him vibrating the concrete into place.
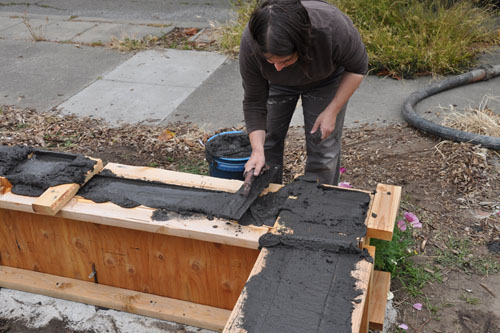
Then my job was to screed the top of the forms flat, making sure we had enough concrete in all parts of the forms.
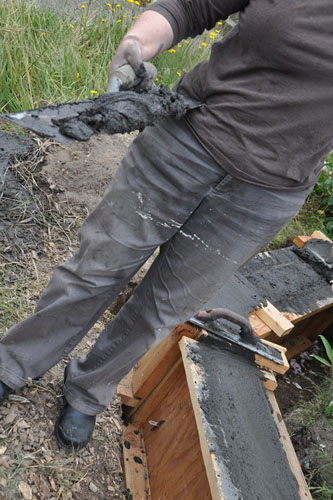
I dumped the excess in little piles to be cleaned up later.
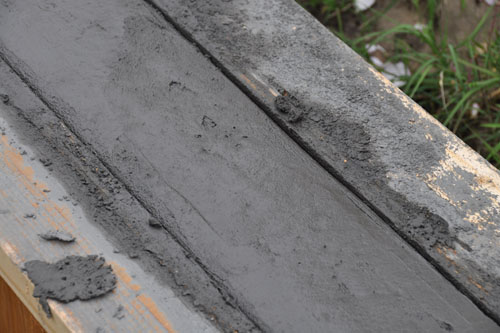
I made three passes across the walls: my first pass was to screed the concrete level and make sure we had enough everywhere. My second pass was to smooth out and flatten the tops a little more. The last pass was to shape the top of the wall. This photo is after screeding, when everything was still pretty rough.
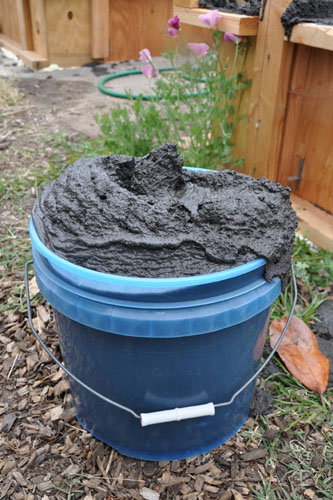
Just in case we needed more concrete, the guys pumped us a bucket full of bonus concrete. Of course, this bucket weighs over 100 lbs, and I hardly used any of it, so I'm not sure exactly what we will do with it.
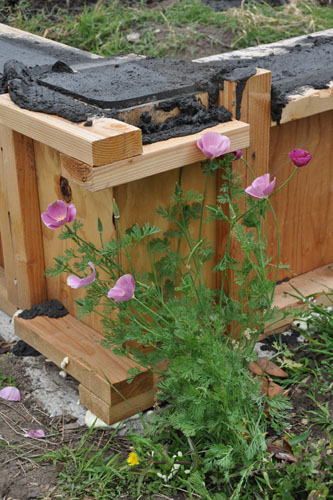
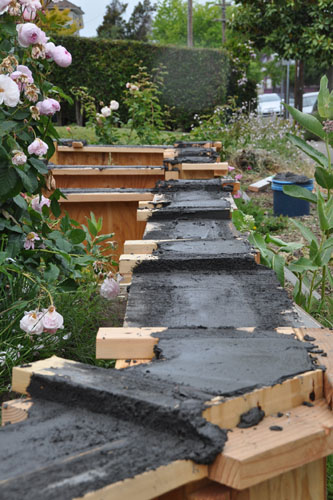
Here's a corner of the wall after my smoothing pass, before I put the edge on. Noel had to leave to go to work at that point, and I was covered all over with concrete, so no awesome photos of me edging the wall.
But it still came out pretty nicely.
We can take the forms off tomorrow.
You might have noticed that the concrete is a little darker than normal. We got tinted concrete, in a charcoal gray. I think that will help it blend into the landscape better than a very bright concrete-coloured wall. I'm hoping it also hides my multitude of sins in concrete finishing.posted by ayse on 06/03/11