Put the Box into the Room
So, the bathrooms. Did you think we'd forgotten about them? Not quite. But this weekend we managed to squeeze in some time to get back to work on them.
When we left this project, this had happened:
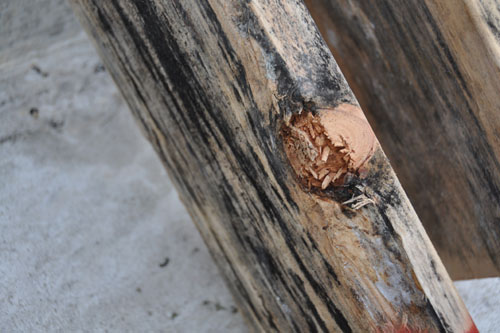
That's the wood we bought for the project in October, and it was riddled with molds. The black mildewy stuff is dramatic, but the white stuff looks like a wood rot that could travel through the house and cause serious problems.
That was where we got derailed in December. What I should have done, if I were a more aggressive and assertive person, was complain to Economy Lumber about them selling us wood that is so utterly craptastic. Instead what we did was just take the bad stuff outside and save it to use as scrap or firewood. Then I spent a couple months feeling bad about not doing anything about it. And finally, this weekend we bought more wood, and I went along this time to make sure it was in good condition.
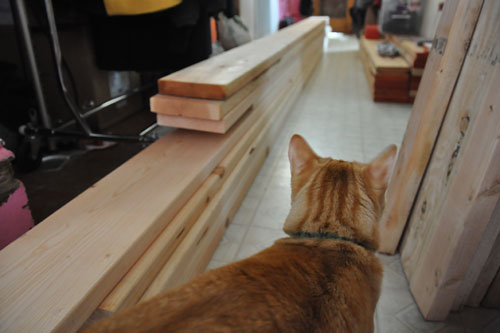
Yes, the cat is pretty much certain that when I get the camera out it's to take his picture.
They didn't have wood in the sizes we wanted, but we had the truck so we could take 16-foot lengths of wood just as easily as 8-foot lengths.
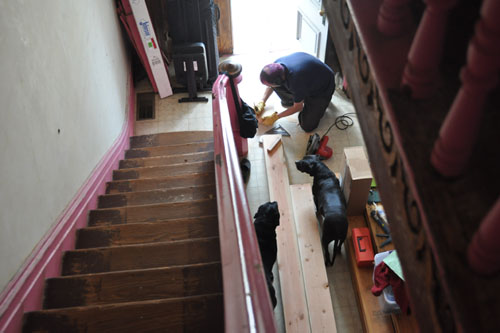
Of course, 16-foot boards are a bit unwieldy and after a brief interlude in which Noel considered taking them upstairs before cutting them, he settled on just cutting them in the front hall. We might have discussed cutting them outside but it was a weird weather day, where it alternated being sunny and spitting rain, so power tools outside were not an option.
As you can see, Rosie and Beanie were very interested in the goings-on, though less so when it got loud and dusty.
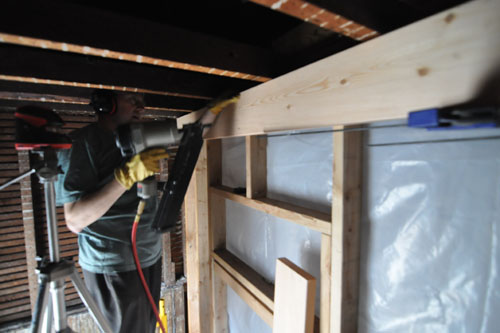
We followed a pretty basic procedure for getting the boards into the right spot: using the laser level we determined the lowest corner of the room, which was probably not coincidentally the only corner in the room with two non-exterior walls. Then we put a board up tight to the existing ceiling at that corner and nailed it in place. Then we used the laser level to get that board level, and nailed it in a second spot to hold it in position. Then Noel could nail the whole thing in place along its length.
We're dropping the ceiling a little in this room because the original ceiling is not strong enough to meet current code for ceilings. This would not be a big issue (it was holding up a plaster ceiling just fine until recently) except we are also putting a couple of large and heavy recessed lights and fans into that ceiling. This new ceiling will have enough depth to keep those lights below the level of the attic floor, which is a bonus since we want to lay some sheets of plywood out in the attic to make walking around up there less perilous.
Here's the process in animated gif:
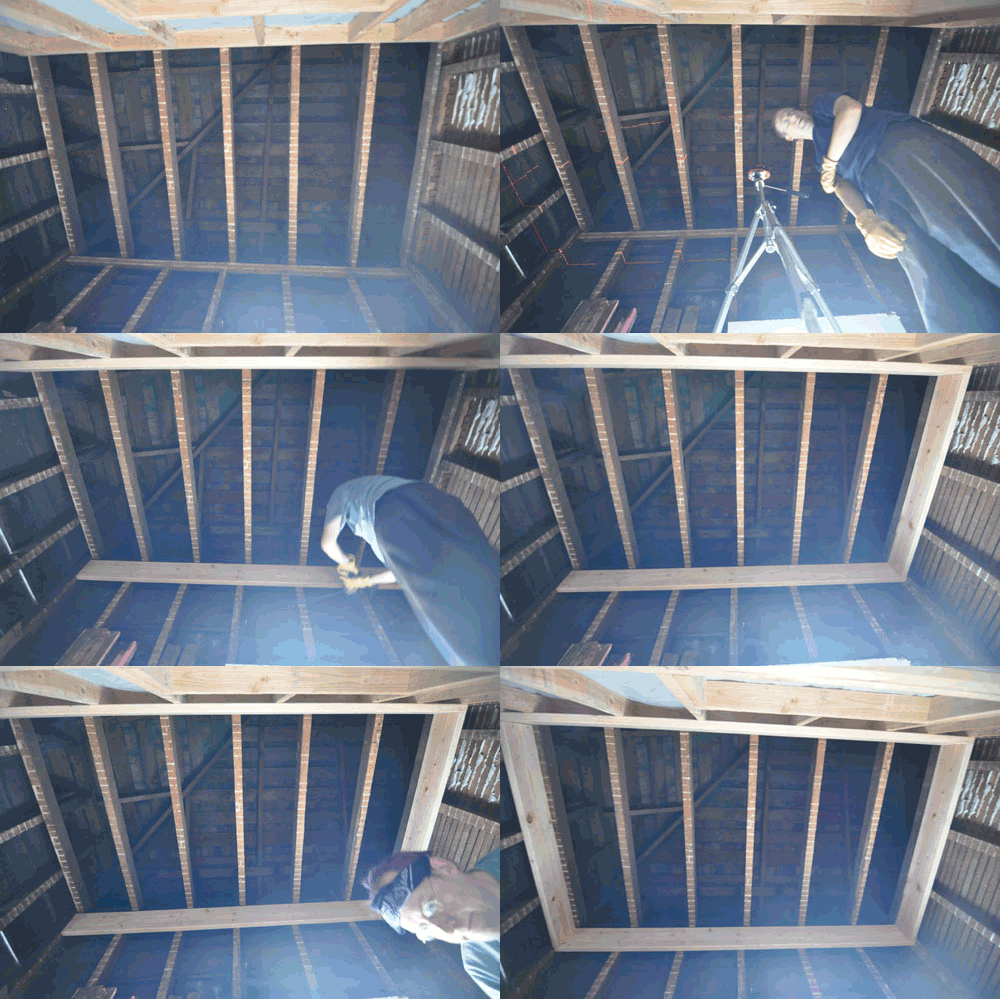
(Will it upload correctly? Jacking up animated gifs was kind of a speciality of the old software, so this is a test.)
We didn't get too far today because we had a late start and then I spent a bunch of time ripping apart some irrigation, but it really only took 20 minutes to do this, and we figure we should be able to get the whole ceiling in place tomorrow despite having a bunch of other things we have to get done as well.
posted by ayse on 03/30/13