Nothing is Straight
I had a family emergency last week (it has been one heck of a year, let me tell you) and had to go away for the weekend, so Noel basically spent a bunch of time doing more framing on the downstairs bathroom and taking pictures, but not posting anything about it.
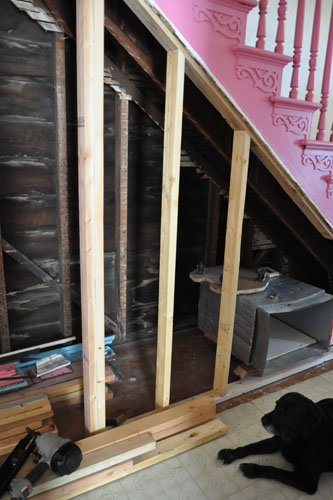
He installed a couple studs. I think he had Rosie check them for level.
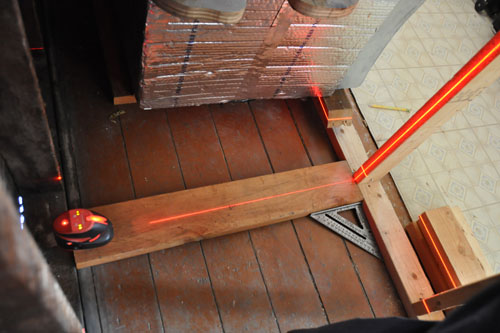
Then he went to install the wall that will hold the in-wall toilet tank. The hallway side wall is a little wonky, because the side of the staircase is a little wonky, so it took some fiddling and shaping to get the wall footer right.
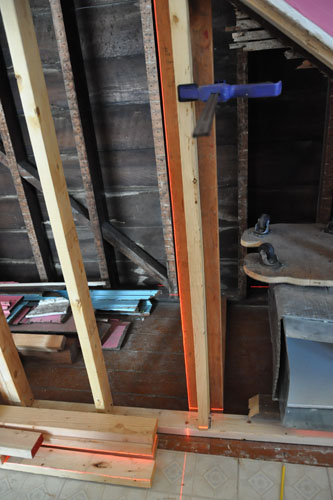
Then he tried it out with one of the studs, clamping it in place to see how it would work.
The in-wall tank can be installed in either a 2x4 or 2x6 wall, but I chose to put it in a 2x6 wall for sturdiness; one of the biggest complaints I hear about wall-hung toilets is that they feel loose, which is not a good feeling. Besides, we had the room for it, so why not.
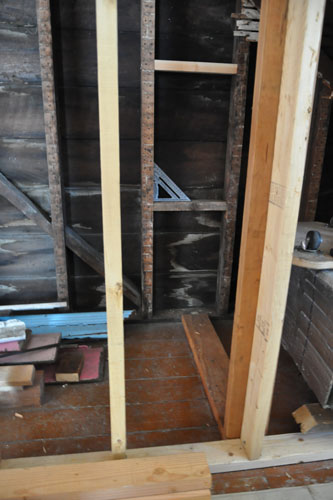
He added some blocking to the exterior wall, to secure the studs on the other side.
Before he got everything installed and had a tragedy, it occurred to him that he should see what the floor framing looked like. The toilet drains out through the bottom of the tank wall, so it can't sit on top of a joist.
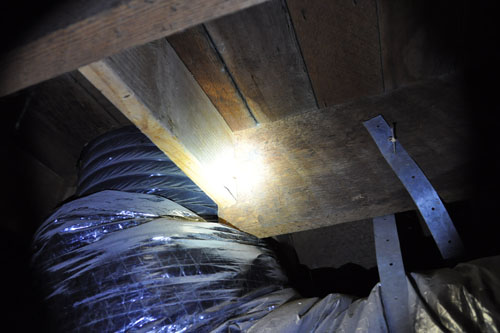
This is what the floor framing that Rising Star Heating & Air did looked like. That is some of the stupidest wrongness ever. This just makes me angry all over again at douchey contractors. I mean, I knew this existed, but seeing it all over again just pisses me off. These were the same geniuses who were smoking while doing gas line work. I'm just glad we replaced all the work they did with actually good plumbing.
Anyway, he wasn't sure where the tank wall line was, and working alone makes figuring out a little harder.
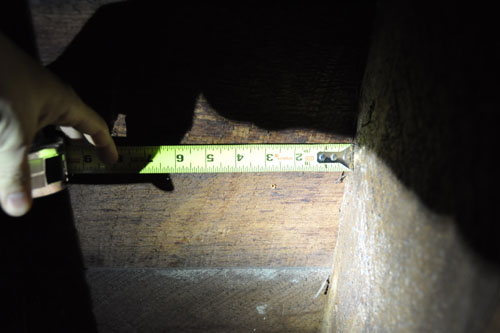
He drilled a little hole where the planned edge of the wall was, and measured out from the joist. It was a little too close, but the wall could move a little further into the bathroom -- I planned it so there was at least 3" worth of wiggle room.
(The wall couldn't move away from the center of the room because the ceiling would be a little too low for comfort over the toilet.)
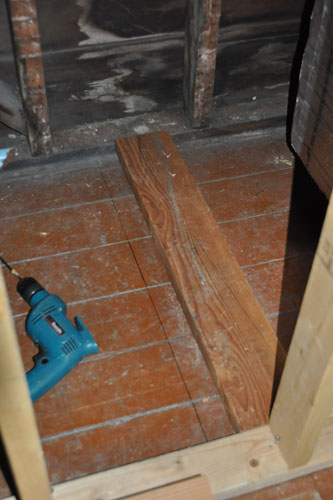
Once he determined exactly where the wall needed to go, he drew the line on the floor just to make nailing it in place easier.
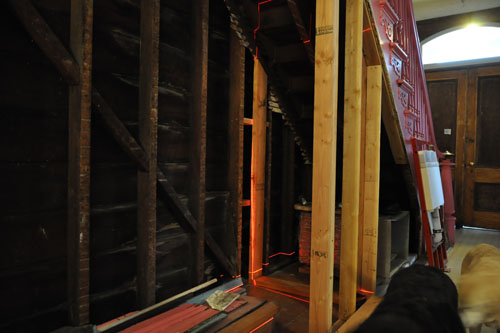
This evening he spent some time framing up the wall while the dogs pretty much ran around underfoot.
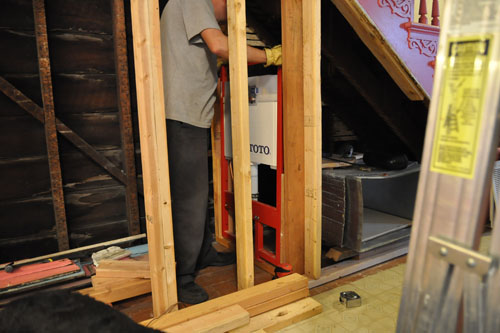
The fussy bit was getting the tank centered on the wall. There was a little bit more than just enough room for a pair of studs on either side, which is nice and frustrating. So Noel cut out a shim from 1/2" plywood to close the gap.
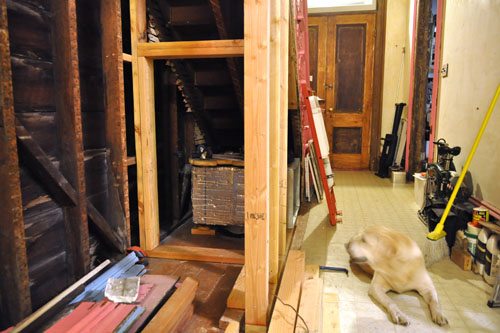
And then the headers nailed in place neatly. We probably (definitely) don't need a doubled header on this wall, but stiffness and strength do matter, and anything worth doing is worth overdoing.
As this wall gets built, it gets harder to take photos that show everything, which means we are making progress.
posted by ayse on 10/14/13