It's Dark in the Basement
This morning Noel built the floor of the new hall closet.
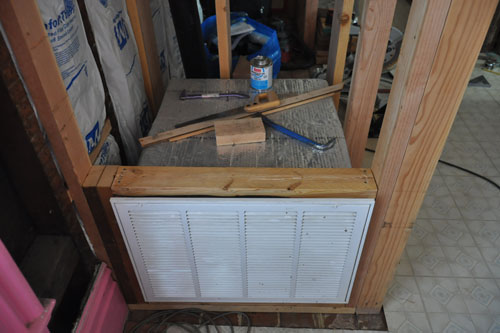
The closet, as a reminder, is going above the relocated air return. We measured our coats and the space and it should not be a problem for everything to fit and be reachable. This being California, it is not boot season year-round here, so the hall closet is really only for coats.
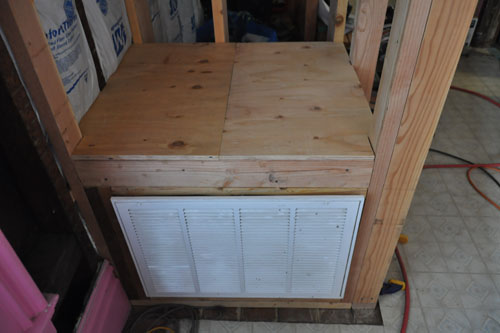
And there's the floor. Mr Kitty and I tried it out. It is a pretty nice little space for cats or for people who like to hide in closets.
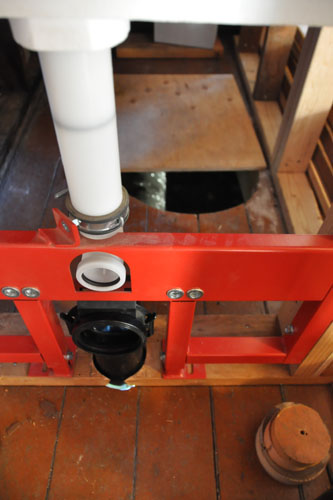
After Noel finished the closet floor, we decided to do some more work on the plumbing drain lines. Noel used the hole in the floor from the old location of the air return to pass me tools in the basement.
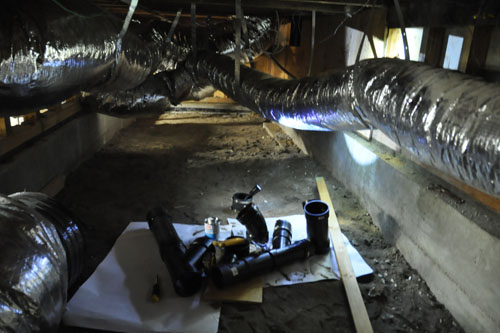
Plumbing is actually quite simple, so there weren't too many tools required. I also had him pass me a couple sheets of old redlines from work so I had somewhere clean to set pieces as I glued them together. You need to keep glued pipe joints clean, or the quality of the joint will be compromised. It's more of an issue for plumbing under constant pressure, but trust me, you do not want to compromise your drain lines at all.
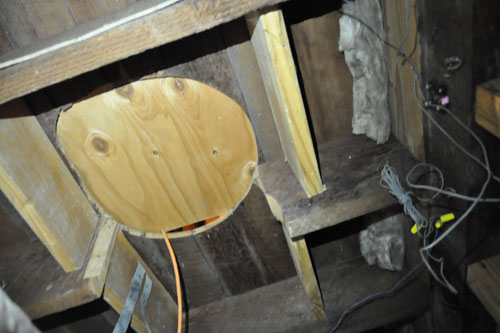
While I was downstairs I took a better photo to show you what those jackasses at Rising Star did with our floor framing. You can see they hacked the floor joist and left the ends dangling, then stuck some pieces of wood in there for... who knows what. They certainly don't support anything.
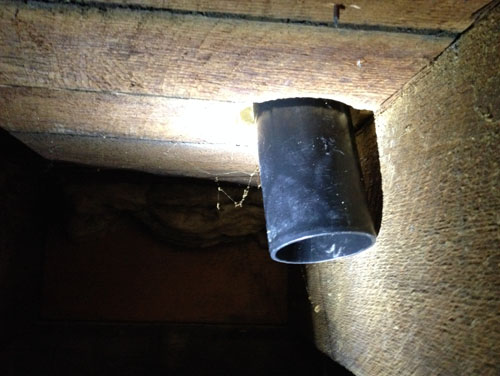
We started by gluing a straight connector onto the end of the toilet bend that came with the Toto in-wall tank. As installed, its end is right about level with the bottom of the floor. That's a bit tight for making a good attachment, so Noel dropped it down for me.
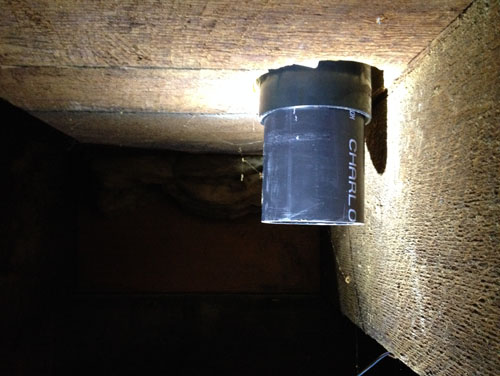
And here it is, the straight connector and a short length of 3-inch pipe glued in place.
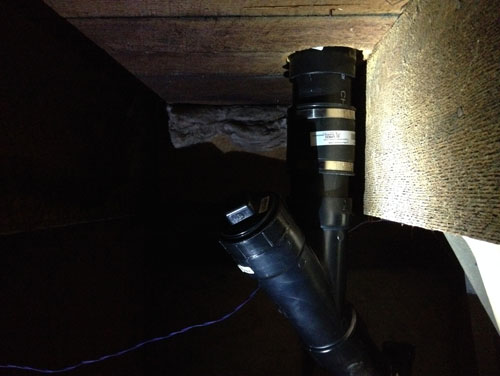
Then I used a flexible connector to attach the cleanout and vent assembly I'd made upstairs. I like having a lot of cleanouts and we have lots of them in the plumbing. They're cheap enough and you will never regret having more access to the kinks and folds of your plumbing.
Also, mysteriously, we had to drive out to what I call Pagano's-by-the-sea (their second location out at the beach) to exchange the first two 3-inch flexible connectors I bought, because they did not fit on the (3-inch) pipe. We got two more that were the same brand from the same store, but actually fit. (We brought a piece of pipe with us to the store to be certain.) I have no idea why that happened, but they were also by far the stinkiest pieces of pipe I've ever encountered, too, so maybe that was more relevant than I thought.
That visit was my THIRD visit to Pagano's today. Supporting local businesses, yo.
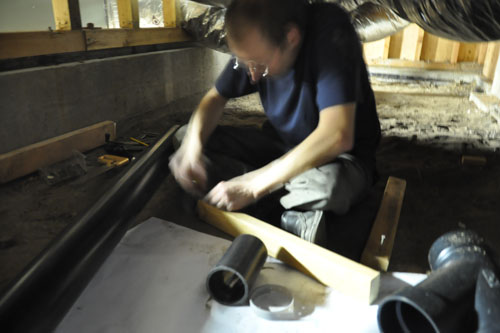
We spent a lot of time -- a LOT of time -- trying to figure out how we were going to get the downstairs toilet and the main drain line to connect cleanly. In the end I'm very happy with the way it came out, but we spent a LOT of time working on it. Where I'm sure a professional plumber could be pretty much done with this whole job in the time we spent, for us, not so much. Did I mention we spent a lot of time on it? A LOT.
We also spent a bunch of time figuring out how we would support the pipes. It's much easier to work on the pipes if the ones that run mostly horizontal (there should be no actual horizontal in plumbing) are being held in place already. What we ended up making was a piece of wood (cut from one of the 2x3 pieces that were the old hallway closet framing) with plastic plumber's tape on the end to go around the pipe.
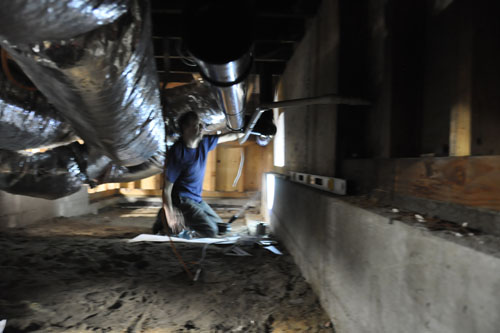
You can sort of see the major problem we had with the route of the drain in this photo. The upstairs drain comes down about 4 inches from the wall. The downstairs drain is about 16 inches away from the wall.
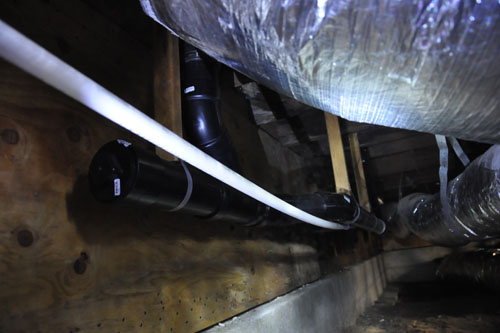
What we ended up doing was jogging the pipe over using a couple of 45-degree bends. This photo above is from almost directly under the closet (note the enormous air return duct right over my head) looking towards the front. That white pipe is the irrigation plumbing, and that is a huge mess that I'm contemplating replacing with something cleaner and more out of the way.
Anyway, where the irrigation passes under the drain, the drain is jogging into the house a little to meet up with the downstairs toilet drain.
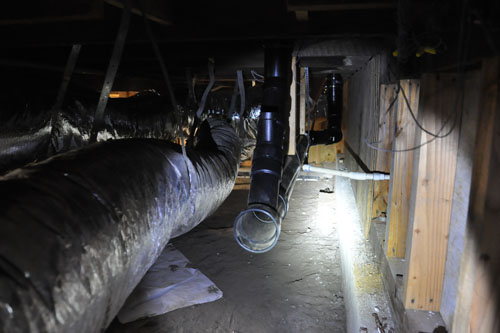
And from the other direction. God, nothing makes you hate forced air heating like working around a bunch of puffy ducts.
At the very end we realized that when we glued the main drain in last week, we made it too long. Rather than try to make a perfect glued connection, we cut it off high and glued a short piece into the drain we'd made today, then connected them with a 4-inch flexible connector. I bought that connector on a whim last weekend, not because we needed it but because I thought, "Oh, this will be handy to have. I'm going to buy one just in case." And indeed it saved us a run to the store or having to stop work at a weird spot today. It just goes to show that you won't go wrong when you impulse-buy plumbing fittings.
posted by ayse on 01/25/14