Framing and Plumbing
The reason the drain plumbing is going slower than ideal is that we have to figure out where everything needs to be for every fixture, and that involves a lot of head-scratching.
The reason the framing is going slower than ideal is that all the loose ends from other work need to be picked up at this point, so we can work on top of where that stuff is. So to do one thing we have to finish off three or four other things that we didn't totally finish for any number of reasons.
So today was a bit of work that doesn't look like much but took us all day.
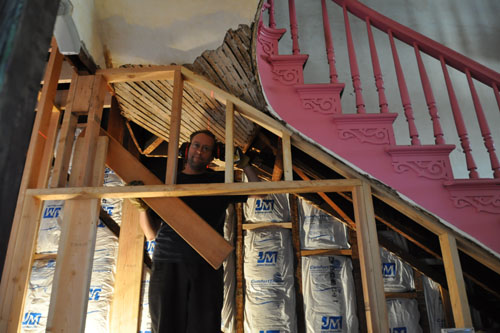
Noel started out by doing work on the framing for the wet wall and the ceiling. He set up the laser level (you can just barely see the red line coming up behind his head) and fitted the pieces that the ceiling joists will hang off of.
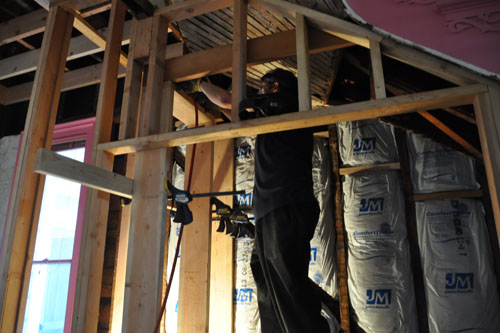
There's one of the boards nailed in place, and he's working on a bit of the wet wall. (A wet wall is a wall designed to be thicker than a regular partition wall for the purpose of carrying the large drain lines you need for multiple fixtures.)
You can see he clamped a 2x4 onto the studs to hold them flat, so the wall doesn't get built with a bulge or depression in it. The board is above both of our heads, but a taller person would be clocked by it. Keep that in mind, tall burglars. Also keep in mind that we basically have no valuables except maybe that toilet in the hallway, and I think even awesome toilets are hard to fence.
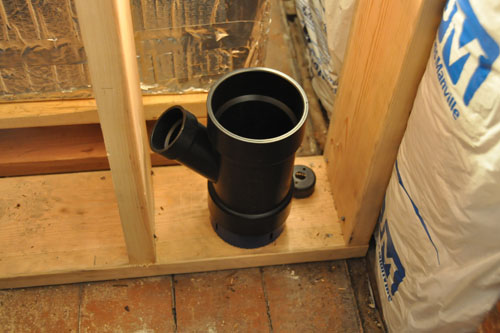
Then I stole Noel for a while to help me with my plumbing work. I was starting to assemble some parts of the main drain line, and I was stalled because I needed to install some of them in place, around that wet wall.
There was an hour-long interlude in which I went to the original Pagano's to get a 5" hole saw, which they did not have, then drove over to the new Pagano's where they set a hole saw aside for me, then home, then BACK to the new Pagano's because the hole saw I'd bought without looking at it was actually a 6" hole saw, which was too big, then ten minutes of searching the shelves (with the help of a really nice employee) before we found a 4-3/4" hole saw that would work (the 4-inch pipe has an outer diameter of 4-1/2"). I also got another piece that turned out to be the wrong thing but by then I was so goddamned tired of going to the store that I just brought it home and we can deal with it later.
Anyway, in the photo above under the large plumbing fitting is our new hole saw. We already had the 2-1/8" hole saw.
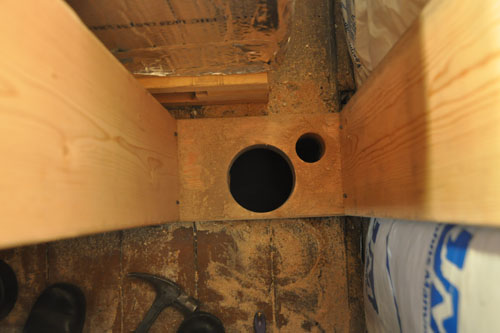
And after an extended remix of sawing and chiseling out wood so the saw could go down further, there are our new holes.
I fitted my piece in place, then went down to the basement to hold the piece of pipe in place while Noel glued it together.
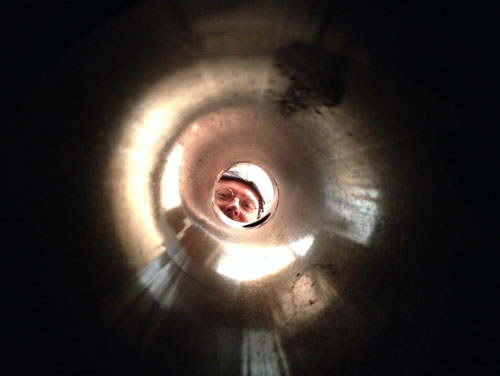
The pieces went together nicely, but it is clear that we should glue the larger pieces together first, since the process involved Noel putting all his weight on the pipe and me supporting it from below with my shoulder.
I decided against gluing on the turn in the line, which I left in the basement, because it really needs to be vertically supported and I was not into doing that today.
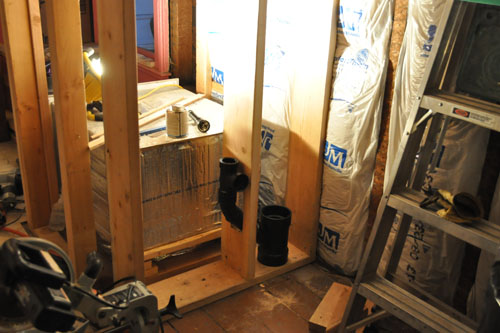
And there's the rough-in for the bathroom sink downstairs. Vent to be installed at a later time.
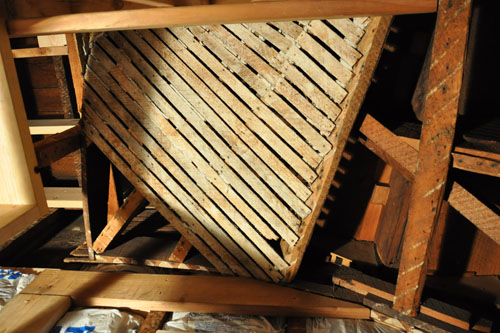
Noel also finished installing the two boards for the ceiling joists. We had to put in a couple pieces of insulation we hadn't done yet, which was nice and exciting, another loose end wrapped up.
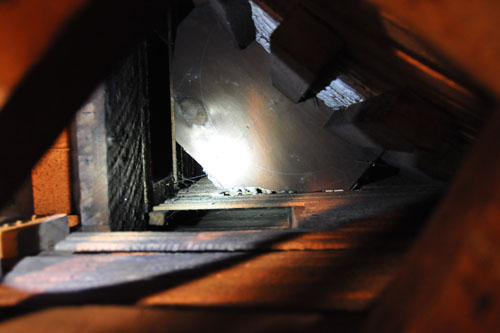
And now we have this little puzzle. This is the way we want the drain and vent pipes to go to the attic. That triangular platform there is the bottom of the stair niche. Somehow we're going to have to fit the drain through that space without busting a hole in the niche. Fortunately, you can see the arc of the niche drawn on the board in pencil, which is a handy little guide.
posted by ayse on 01/19/14