Framing Prep
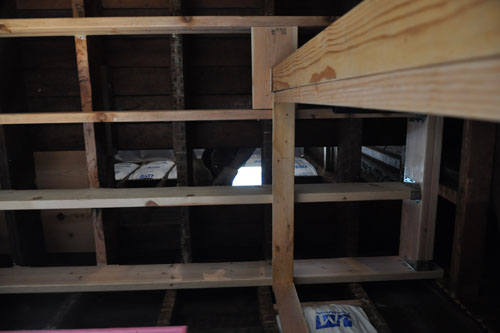
The big holdup on the upstairs bathroom has been framing the wall with the toilet.
Originally, we planned to just set the toilet on the floor like regular people, but we liked the wall-hung toilet downstairs so much that we got another one for upstairs. It also makes the waterproofing easier. But the actual installation is a lot more complicated.

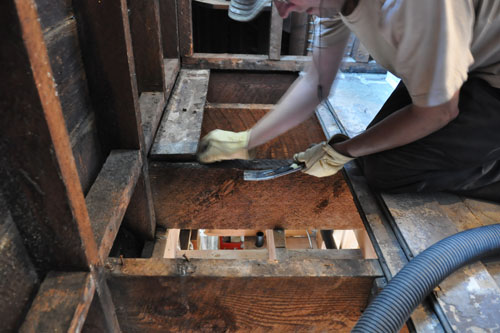
We started the day by removing floor boards to get a better look at the framing.

We pulled up one board a few months ago but it's all getting real now: once we get the plumbing in place we can put the slope into the bathroom floor. Then it's only a few short steps to getting waterproofing in place.

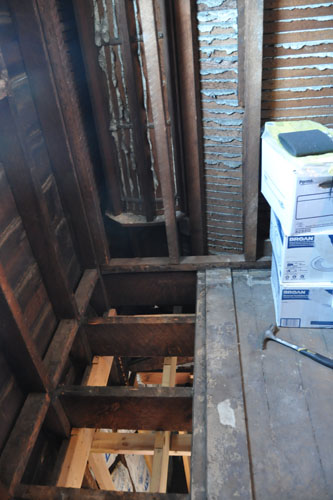
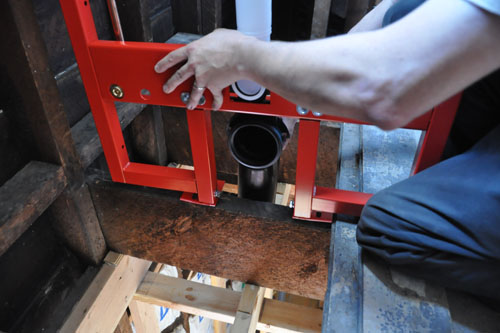
Here's what it looks like opened up. We spent a fair amount of time today making a plan for how the framing for the toilet tank will go in, and what we will tie it into. You can't screw around with in-wall tanks, because they hold a fair amount of weight: the weight of the toilet, the weight of the person sitting on it, and a few gallons of water. The tank needs to have good, solid, positive connections to a load-bearing part of the structure.

And guess what? The tank also needs to drain out the bottom, not-so-cleverly. So we will be setting the tank in this case on one of the original, existing floor joists, with blocking to widen it bolted in place. We tested it out for fit on another joist and it looks about right.
We are going to start tearing things apart tomorrow and see how that goes.
posted by ayse on 08/17/14