Paneling the Subpanel
Thanks to everybody who has volunteered to be notified at possibly the last minute (well, it won't be the LAST minute, but it will be short notice) to help us with the siding. You are all terrific.
And now a catchup post. A couple of weeks ago, Noel finished the paneling in the upstairs hall.
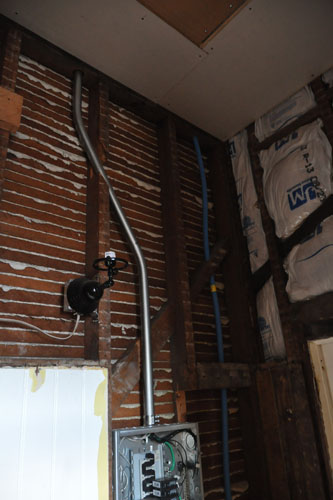
First he installed a length of blue flexible conduit from the attic to the basement, for running non-electrical wires like ethernet or cable or whatever. We don't have any direct need for that right now, but this is kind of a backup so we don't have to reopen walls.
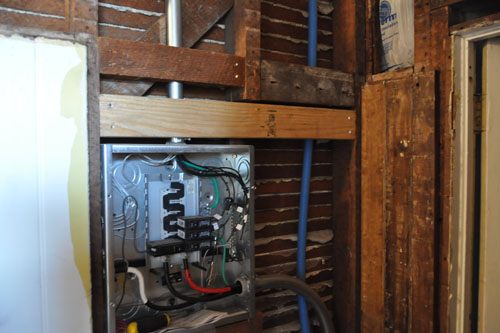
Then he installed blocking over and under the subpanel, to attach the paneling to. You can see that the space originally had paneling in the upper position; we had to cut that out to put the wires up to the attic in place.
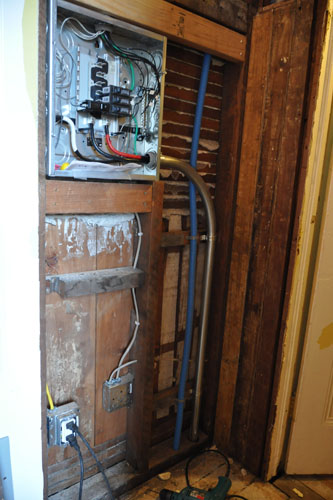
The paneling below the subpanel will be nailed into the sill plate at the bottom, but needed a block under the subpanel to attach to. You can see, on the other side of the wall, the blocking that the bedroom paneling is attached to.
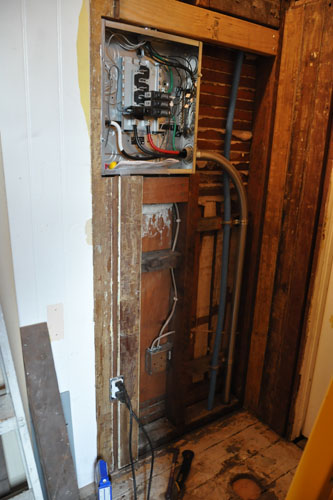
By code we have to have outlets every so often, and by common sense you want a lot of them, anyway. This is where we put the one for the hallway.
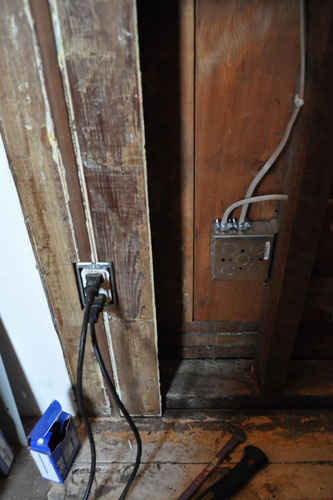
When we open up electrical outlets around the house, I hate seeing them done half-assedly. I know nobody sees it, but sloppy cuts around outlets feel like a sign that other things were done shoddily, to me. One or two I can see making a hash of -- I'm not an impossible perfectionist -- but I dislike seeing sloppy work as a routine, just because it will be covered up.
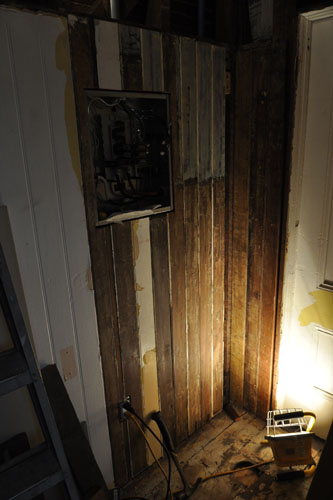
Installing the paneling did not take too long. Getting it all stripped and ready to repaint will be the longer project, but that is not work that requires a permit so it's not a priority right now.
posted by ayse on 08/19/14