Typical Flashing
One thing I puzzled over was how to flash around the openings in the wall. You inevitably have a lot of odd little openings: hose bibbs, irrigation, vents, and in California, you often have plumbing coming out through the walls because people in this state love their exposed plumbing (I do not get this; I think it looks super ugly).
There are a lot of approaches for this, but I wanted something simple and easy to maintain, and also not too complicated to install.
So this is how we handled the flashing around the wall penetrations.
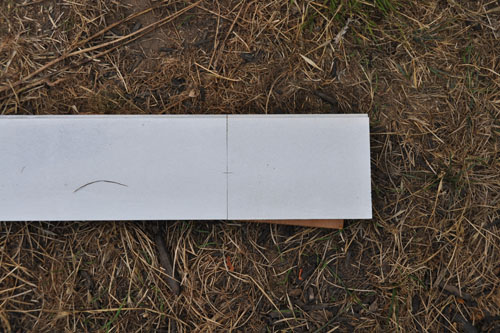
This particular penetration was a hose bibb on the west wall of the house. We marked where the hose bibb was on the board, then sliced the board vertically. Then we marked the height of the center of the hose bibb.
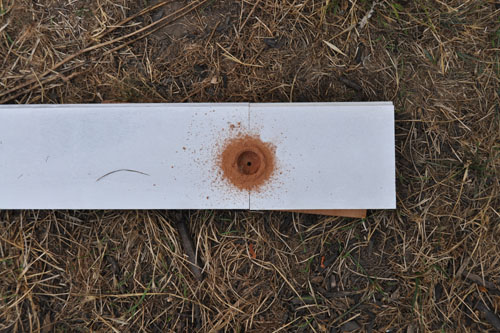
Then we drilled a hole centered on that point.
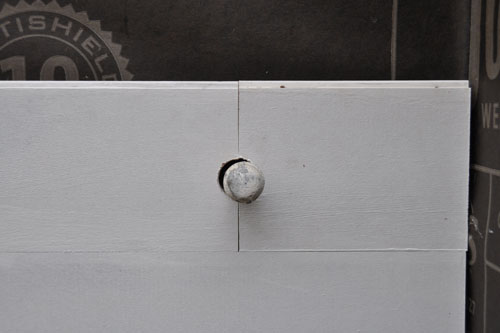
The board could then be installed around the hose bibb. This was more critical on connections where you could not easily slide a board over the penetration, but it actually made for a better install even in this case.
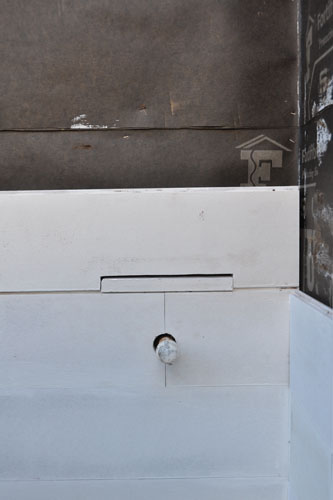
The flashing goes over the penetration and has to lap under the weather-proofing, so we cut a slice out of the next board. As we worked we tested to make sure things were coming together right.
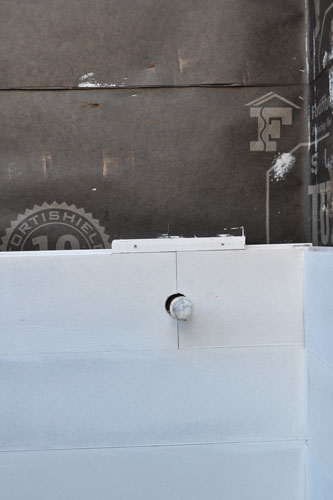
First we nailed the little slice in place. That will help support the flashing.
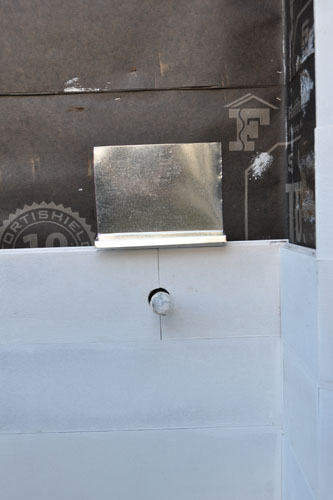
Then we manufactured a little piece of metal flashing to redirect water from the surface of the wall.
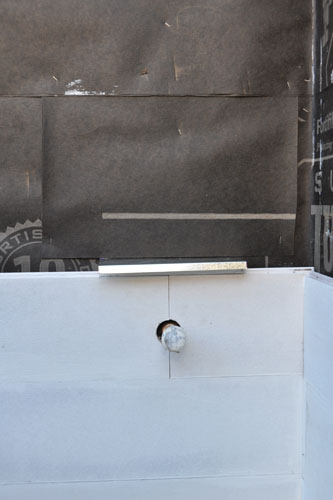
That, in turn, is covered in building paper that is slid under overlapping building paper and stapled in place. You want to have no reverse laps to collect water that might be running down the wall behind the siding.
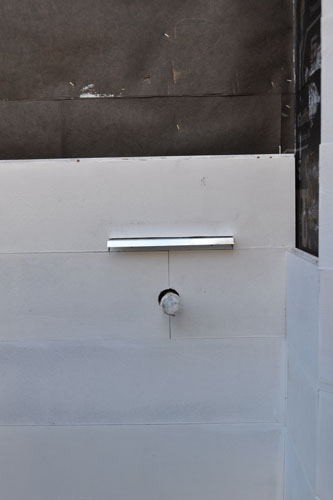
Then the upper board gets nailed in place as well, holding the flashing in place.
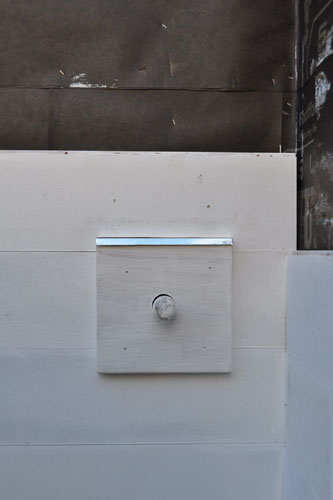
The last piece is a flashing block that is nailed over the slot in the siding. Then we will go around and use an exterior latex seal around each penetration to seal up the gap. This whole piece can be painted.
And finally, a little update on progress:
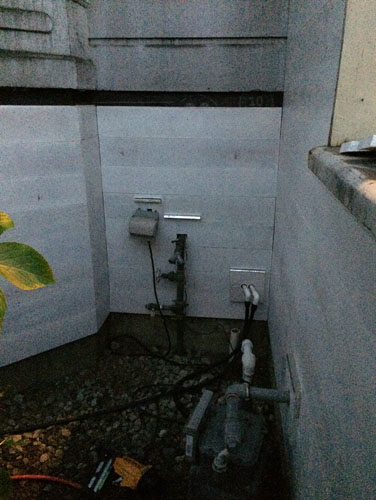
That's a whole lot of flashing details around a lot of odd little holes in the wall.
posted by ayse on 10/09/14