Preslope
Today was all about getting the preslope done in the bathroom. We'd wanted to get this done Saturday, but that was just not in the cards, so it had to get done today.
Basically, the way a mortar bed works is that there's a layer of mortar at the bottom that has a slope to it and a waterproofing layer on top of it, and any water that gets into that layer drains into little weep holes in the drain body. So that mortar bed needs to have a slope in all directions to the drain.
But let's go back a step or two.
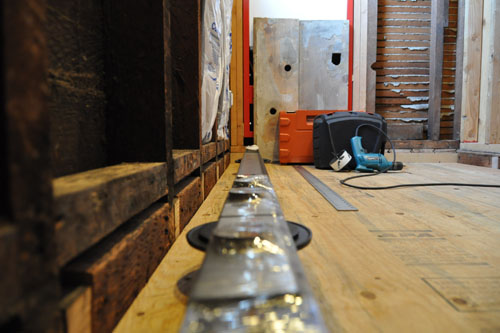
This is our linear drain. It's by Infinity Drain, and the most convenient version of this -- the one that doesn't basically have to be made to order to fit anything but a new house -- requires that the drain be set in a mortar bed.
Noel took it out of the package and laid it out on the floor to get an idea of where it should be -- we discussed it a little last night and then had a brief texting conversation while I was at work.
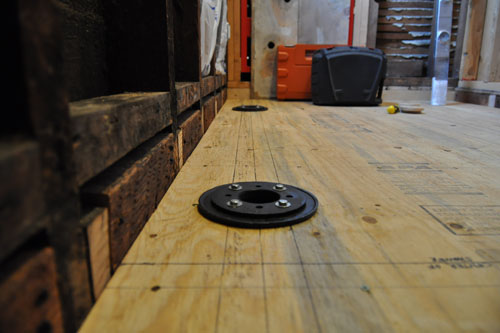
Based on that he located the drains like this. Basically, you need to leave enough room to get the waterproofing material into the clamping rings on the drains, so they can't be right up against a wall (well, they can be up against a wall, but that requires that you build the wall out, and we need all the space we have).
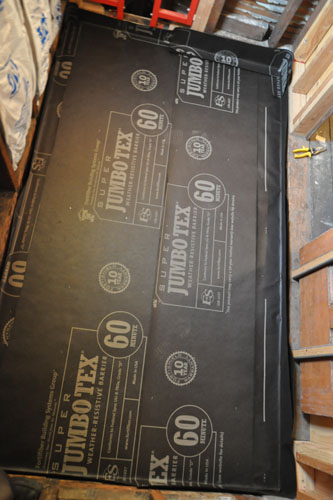
With the drains located and installed, he put down a layer of building paper. That's what's called a slip coat, to keep the mortar from bonding to the plywood subfloor. If it bonds, it will flex with the house and crack like mad. Mortar does not flex very well.
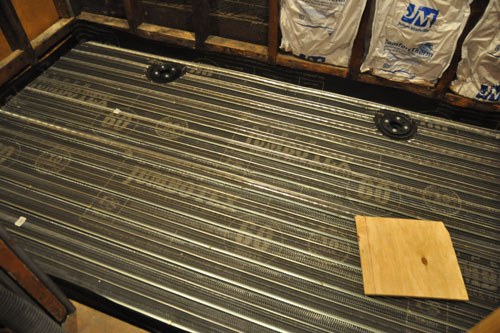
Then he screwed a layer of wire mesh down. The wire mesh is to reinforce the mortar bed.
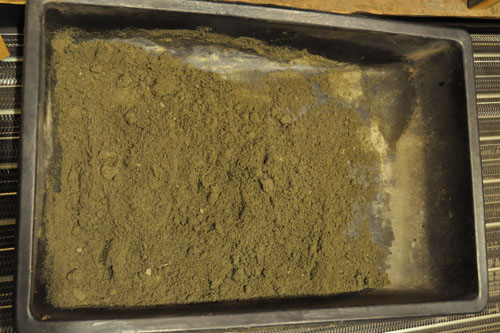
We mixed the mortar in the kitchen, weighing the materials on the bathroom scale. Like professionals. I think our scale may never recover.
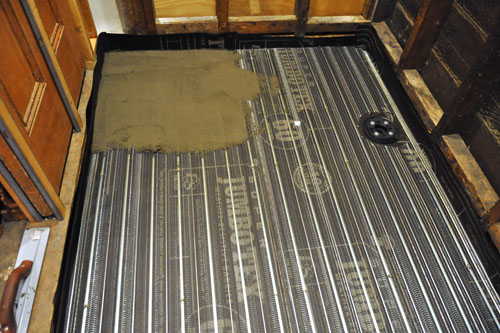
I was responsible for making the preslope. This is what you learn when you study art in college: real, practical skills like how to handle a sandy mortar mix.
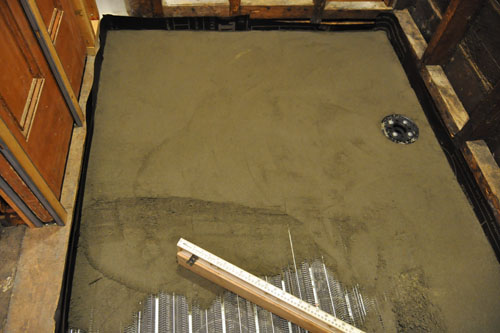
Noel made me a little slope level, which was a bubble level tied to a 2x4 with a slope cut into it. I could place it on the mortar bed and see right away if it has enough slope.
My strategy was to start in the far corner and work my way across the room, then when I got halfway through the doorway, I started in the other corner. This was to keep me from working myself into a corner. Thank you, Three Stooges for that life lesson.
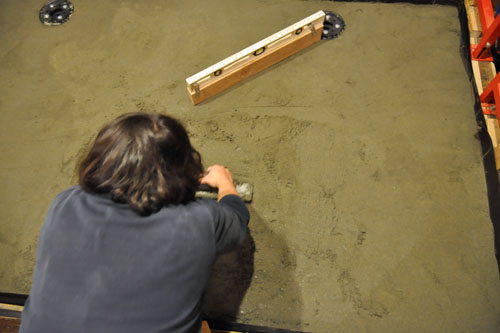
And for your reference, Noel took this photo of me nearly done with making the slope, really putting my back into the last bit of sand. The mix we used was very dry, and while that meant it wasn't oozing all over the place, it was a bit tougher to just move around.
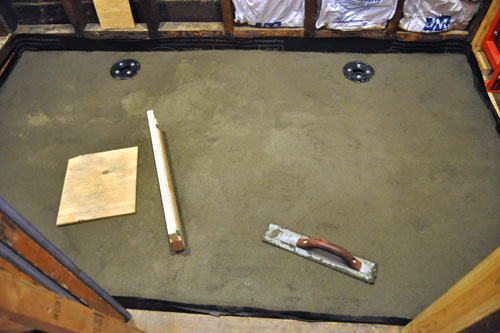
And then it was all done. We gave it a light spray of water, then laid plastic over it to help it stay moist while curing. In this climate, dry mortar mixes may well dry out before they cure up, which doesn't help anybody.
posted by ayse on 11/17/14