Up the Stairs Into the Attic, Up the Stairs Onto the Roof
So this permit we've been working under expired yesterday. We were a little panicky about it the week beforehand, and didn't post much because it was all hands on ship working until I was literally too tired to do anything but fall asleep. That was pretty exhausting.
But since there was no way we could get all the inspections we needed done, Noel went into the city and talked about it, and the deal was this: after our last inspection last week, he would take the inspector's notes and go in and they would issue a new permit for the work. Then we'd have more time to get things finished up. That happened, and now we are on a new permit and the fact that we are getting delays on tile and sink deliveries is not as critical.
In the meantime, we are feeling pretty much done with this whole permit and even though the pressure is off in many ways, we are still pushing forward to get it done. More friends have helped us out this weekend, including Kevin, who we Tom-Sawyered into painting a bunch of trim, and Eric, who came today and helped enormously with the drain installation.
So let me tell you about the drains, which were the focus of much of our work this weekend.
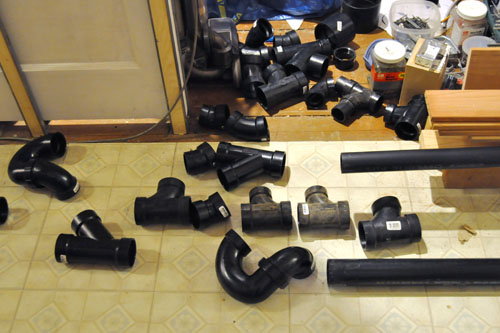
We had our stash of ABS fittings, and some that we scored from Dan, so we laid them all out and did some figuring on what could go where. This is a critical first step for us: planning things out and getting our supplies together.
With everything laid out and how things should go together worked out, we dry-fitted sections of the drains together and worked out a bunch of kinks before gluing it all together.
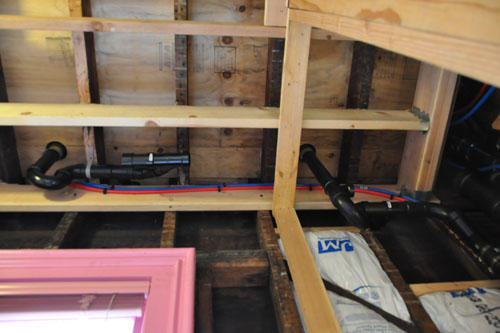
The two drains in the upstairs bathroom were complicated by a bit of code we missed, which is that floor drains -- our second shower drain is considered a floor drain because it's not close to the shower head -- need a trap filler. That's a little piece of plumbing kit that drips some water into the trap every time another fixture is used -- in this case, the cold water faucet at the sink -- to keep the trap from drying out.
(Dry traps = super duper stinky house)
That we had done by the middle of last week.
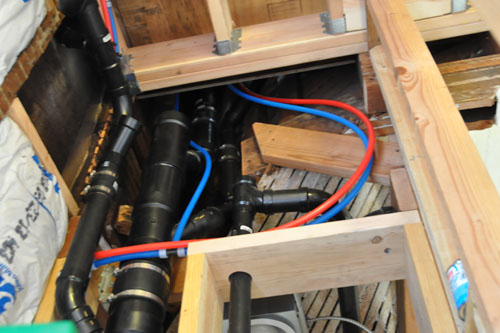
This weekend, we ran PEX up to all the upstairs bathroom fixtures, and Noel and Eric got much of the drain plumbing installed for the floor drain and the upstairs sink. It's starting to look super complicated in there. (Noel and I did more work in there tonight but taking photos of dark pipe in a dark hole at night doesn't work really well.)
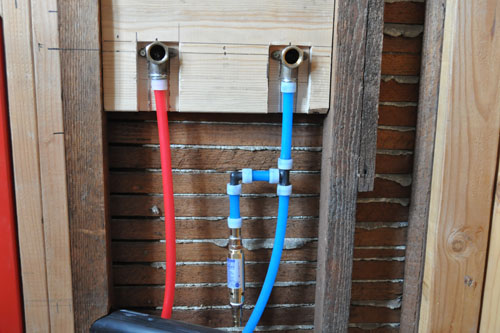
In the meantime, I finished as much PEX work as I could today. I managed to run out of 1/2" connection rings. You can see them above: the white rings are needed to make each connection, and I finished off our stash, and used up all the extras in Dan's box of PEX fittings that he's loaned me for backup. So we're on hold with finishing the supply plumbing until the new bag of connectors I ordered tonight arrives.
(You can see there, attached to the blue cold water supply, the trap filler, the requirement for which meant we didn't have enough connector rings.)
(Since we weren't going to have enough rings, anyway, I installed it in a more ring-intensive way than strictly necessary so it would be guaranteed to hang vertically, rather than have to strap it in place.)
(I still have to strap it because you should not leave heavy things hanging on anything plastic.)
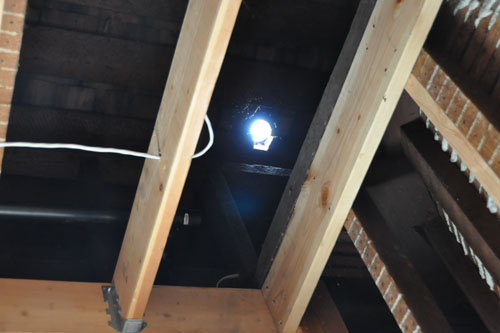
Eventually Noel and Eric got up into the attic with the vent lines, and it was time to do the hole through the roof, which was not shaping up to be a one-person job at all.
Noel drilled the hole through the roof from the underside, through several layers of wood shingles and three layers of asphalt (classy!), ending up pretty much perfectly.
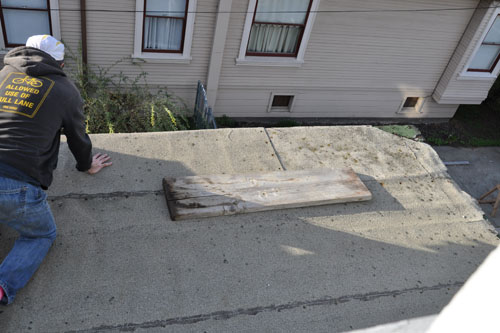
Eric got out on the side porch roof and pulled up the extension ladder that Noel handed up to him.
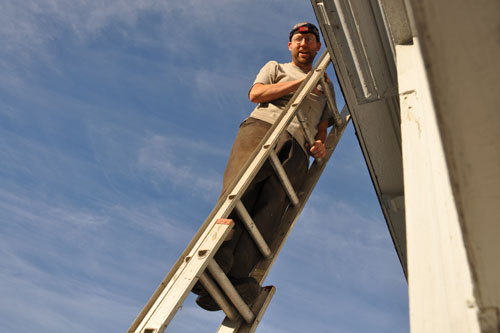
They wrangled the ladder into place next to the upper portion of the house, and Noel climbed up to check on things.
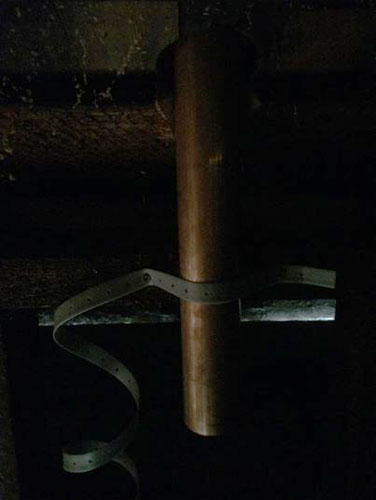
We don't have any photos of what came next because I was inside in the attic while we attached the flashing, and Noel had his hands full of roof tar. And Eric was stabilizing the ladder.
But basically Noel slathered the pipe flashing with roof tar and slid it into place, then I pushed the copper vent end -- the exposed pipe needs to be copper -- through the flashing and screwed it into the framing below with some plumber's tape. And then we had a roof vent. Eric had to take off, but Noel and I got a good start on vents for the upstairs sink and toilet, plus connecting up the vent for the downstairs sink and toilet.
More work needs to be done, but we are edging up on being done with roughs as soon as those PEX connectors get here. Once roughs are signed off, we can close up walls which will be amazing.
Oh, and last week we did have some inspections, and the rough electrical was signed off. I thought I would show you some fun things:
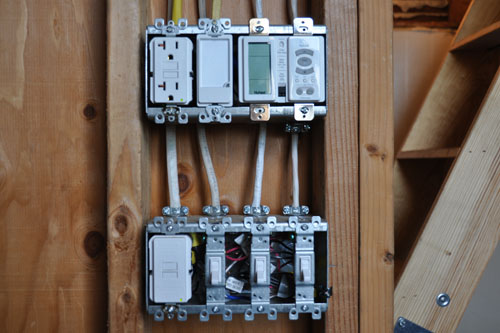
That's the switch bank in the upstairs bathroom. From the top, left to right, we have the mandatory GFCI outlet within 36 inches of the lavatory, a cute little nightlight that is really just filling an empty spot, and two slots for the thermostat for the floor heat, then on the bottom we have a GFCI button for the lights, the switch for the fans, the switch for the light over the sink, and the switch for the overhead lights. When you lay it all out it makes sense and everything (except the nightlight) needs to be there, but it sure does take up a lot of room.
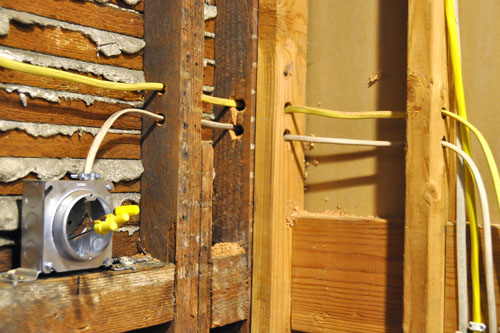
And look at this. That is some badass wiring, my friends. Noel drilled those holes and ran those wires around a corner. Bow before him.
posted by ayse on 11/23/14