More Trim Restoration
Sorry for the glacial level of progress lately. The process of restoring the outside of the house is kind of slow and hard. I have had many thoughts about when we should have started this part of the process, but in truth I'm not sure it would have worked to have Woody working on the outside of the house at the same time as the general contractor worked on the back and inside. I think it would have caused more trouble than it was worth.
That said, I admit that I am beyond overjoyed that the restoration process has taken a massive step towards completion in the last couple of weeks.
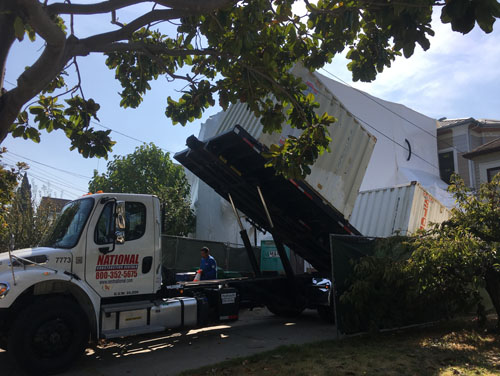
For one thing, the storage containers that had been in the driveway left. We had one of them full of pieces of trim from the house. The other was being used by the general contractor, but his team has packed their tools off site so it was pretty much empty. So they arranged pickup, which gives Woody more room to work in the driveway. That's convenient.
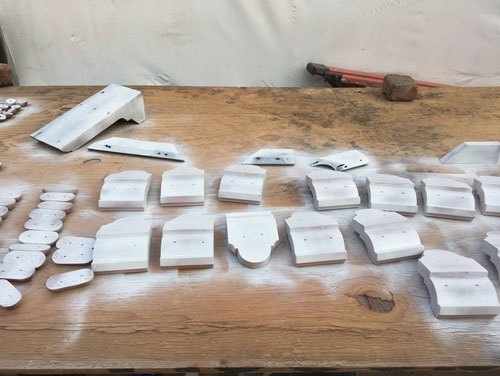
One thing he did was prime all these little pieces of trim. They go under the brackets at the roof.
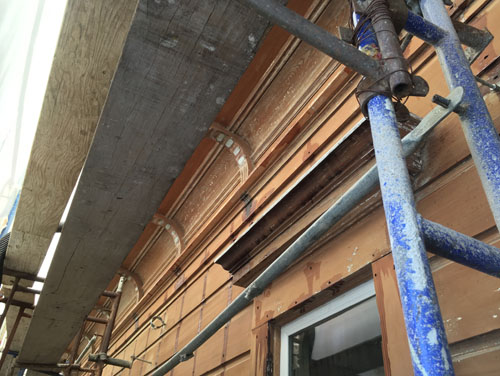
That would be these brackets. Can you see the dark spots where the little mini-corbels went?
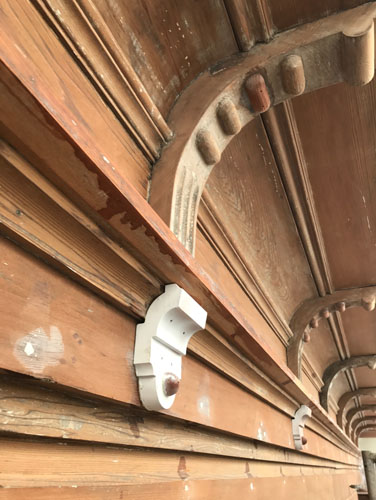
And here we go: the bracket, with replaced decorative lozenges, plus the little corbel with its button.
This is a tedious process, but holy cow photos like this make it worthwhile.
The other thing that is happening how is that the crew is applying epoxy to the wood.
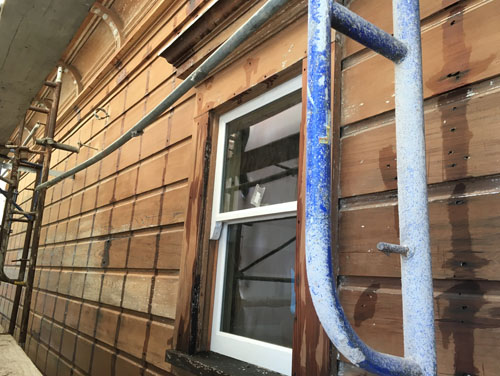
They start by applying it to places where the rust from the nails has eaten away at the wood.
They use a couple kinds of epoxy. This is a cold-weather epoxy that sets up fast, used in areas where there is damage to the wood. They'll then fill holes with another epoxy, and then the whole thing will be treated with a warm-weather epoxy that sets up slower and allows them to do larger areas before the epoxy is too hardened to accept paint any more.
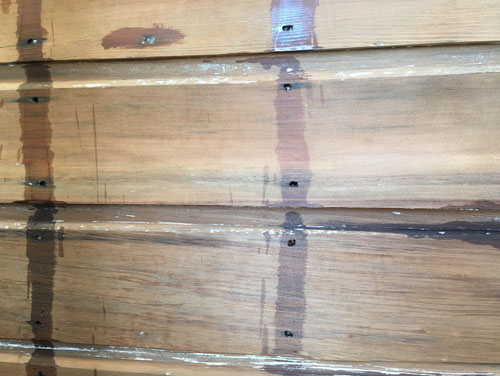
The siding has to be re-attached to the house, because the old nails have rusted away. Woody will use stainless steel fasteners to reattach it. He has pretty strong feelings about using anything else, and to be honest the difference in price is hardly worth quibbling over.
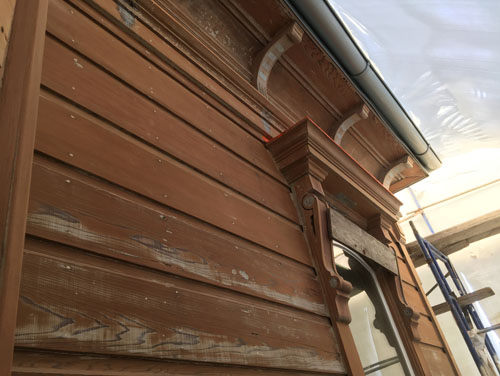
The metal window hoods need to be primed, as well. It's a little difficult to see here, but the primer is a ridiculous orange. I mean, it's just primer, but it is tempting to use that colour all over the house just to scare the neighbors. People need to be kept on their toes, right?
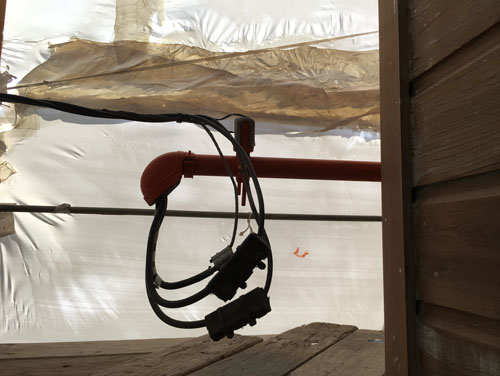
Woody also primed the weatherhead, which is where the electrical service enters the house. This usually gets painted, but because the pipe used to make it is galvanized, it often gets crackly or flakey and looks terrible. Properly primed, it will handle painting well and not look like garbage.
And now some photos I took by hanging out windows around the house just to give you some idea of how things are going:
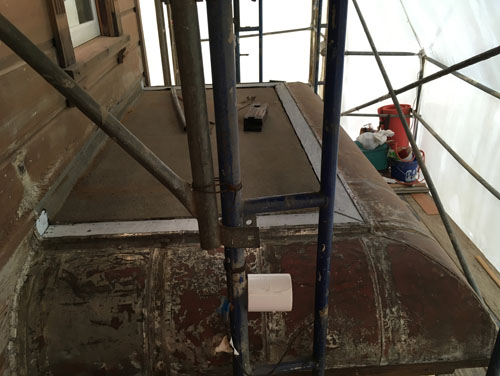
Here's what the front porch roof is looking like right now. You can see where the railing was taken off; that area is now primed.
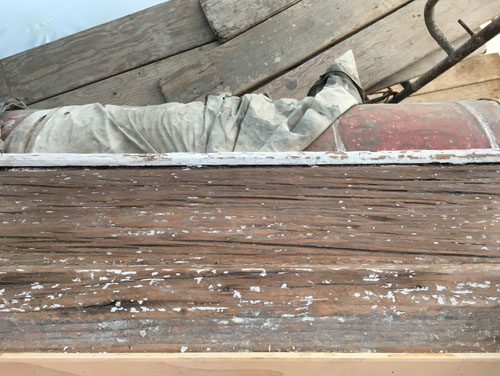
This is the windowsill of the front bay upstairs. The wood here will need a lot of repair and filling as part of this process, but we're focusing on the area around the driveway right now.
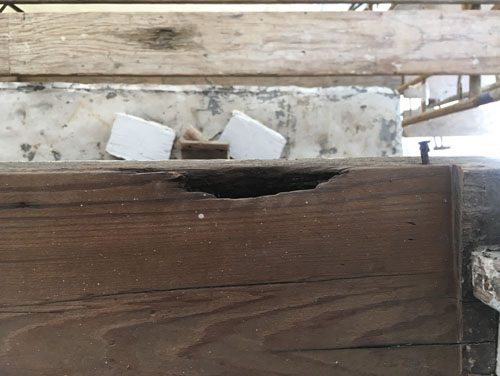
This is the windowsill in our bedroom (previously the back bedroom but now merely indecisively middle bedroom), where there's more weather damage to deal with.
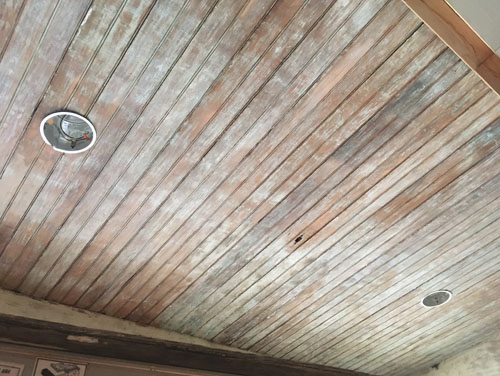
And finally, they finished stripping the paint on the side porch ceiling, which looks pretty good given how much it has always leaked (that leak is fixed now, of course, because we finally have some slope to the roof).
I guess I better finalize the colour choices for inside and get some window coverings ordered if this is going to actually happen.
posted by ayse on 10/18/17