Plaster Stabilization: Now with Pictures
A couple of posts ago, there was a brief discussion of the how-to of repairing plaster. I don't claim to have the perfect solution, because most of what I'm doing is stabilizing the plaster to keep it from falling on us should there be an earthquake before we can remove and replace it.
(Yes, I get lots of hate mail from plaster lovers on this subject. No, they will not change my mind. I remember all too well what it felt like to have the living room ceiling come down on my head, and I was wearing a hard hat during that event.)
Anyway, here's a little photo essay I did as I cough screwed up the plaster today.
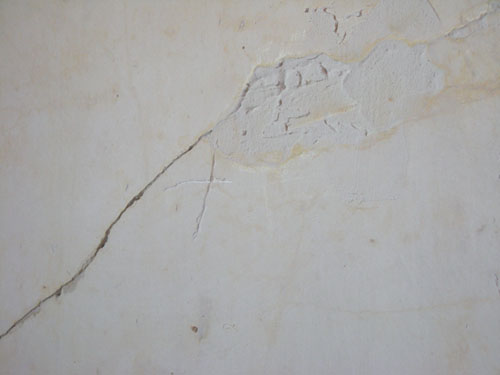
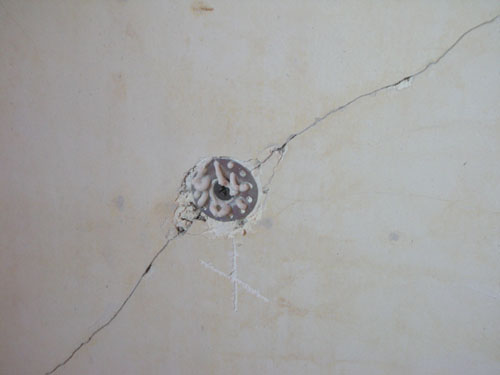
The first thing I did was to go around the room and mark the places where the plaster needed tying into the lath. There are a remarkable number of these, but I try to be strategic about them, because the plaster washers are 25 cents each, and that does add up. The worst spots are, like this one, next to a place where somebody bashed the wall with a hammer or other blunt object.
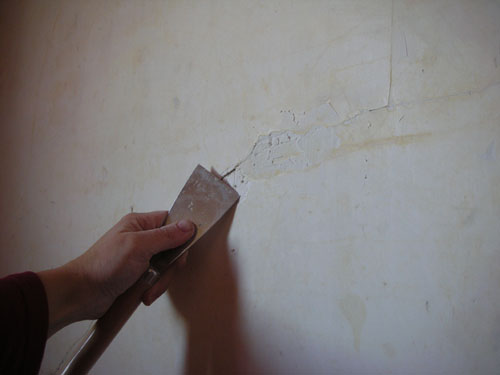
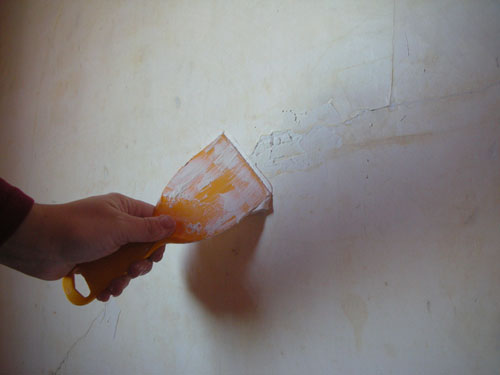
Using a stiff scraping tool, I scratch an indentation about 1/16" deep to accept the plaster washer. I used to just screw the washer in on top of the plaster, but you end up with a lot of big lumps in the wall, and while I'm not going for perfectly flat like some people we know, I do try to make an effort.
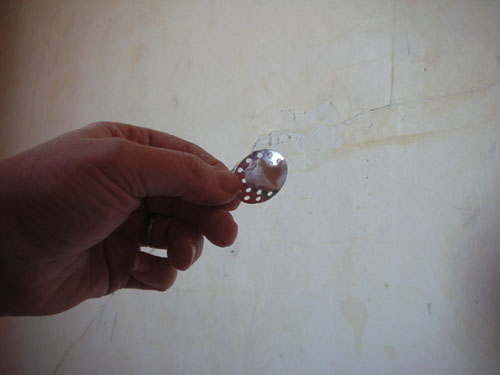
I try to make the indentation bigger than the washer, because I am a clumsy, sloppy person, and it's not likely to go in exactly where I wanted it. When I think I have the indentation right, I compare it to the washer.
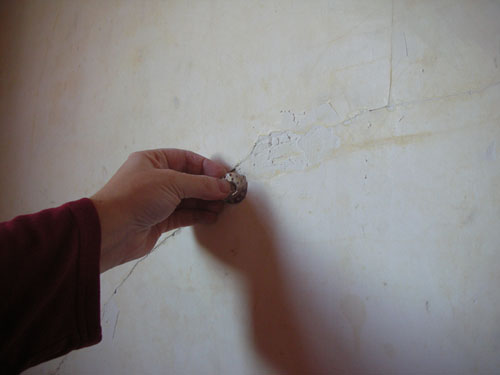
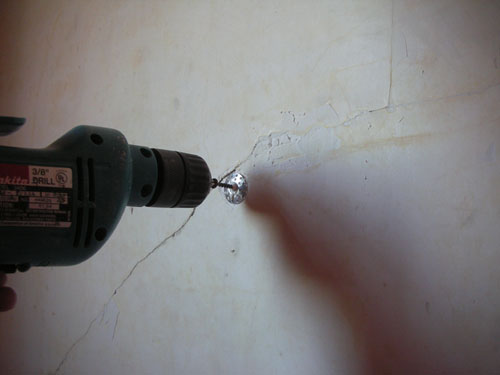
My secret trick is to put a little blob of drywall mud (I'll go into why I use drywall mud instead of Authentic Plaster later) on the washer to hold it in place while I use the drill.
Then I screw the washer into place with a drywall screw (long enough to go into the lath, and grabby enough to stay put). The idea with these washers is that they help replace the missing keys on the back of the plaster, holding it to the wall. So you must get into a piece of lath.
In this case, the first time I screwed this into the wall, I missed the lath. So I pulled it out, moved the washer up a bit, and re-did it. When the washer is all the way in, it kind of dimples and flattens out, pulling the wall against the lath. (This one is not as nice as some others turned out.)
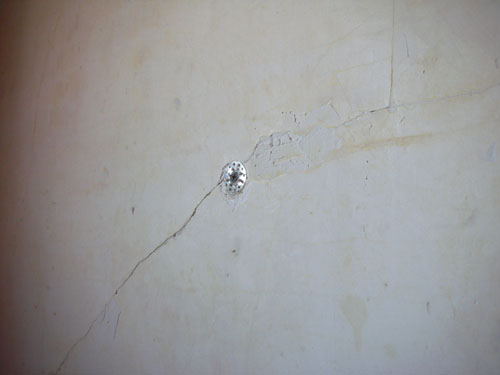
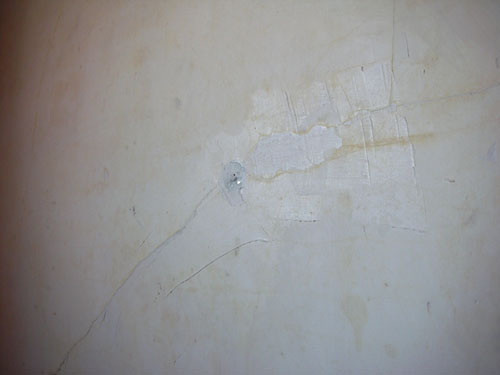
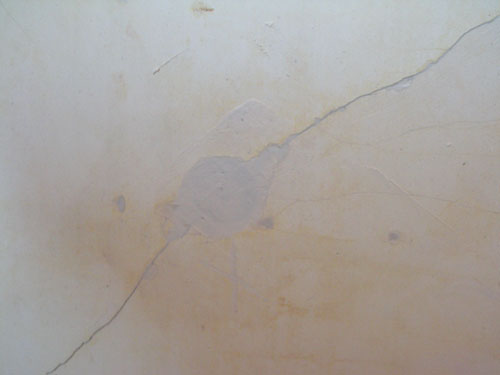
Then I take a spatula full of drywall mud and give a preliminary swipe to cover the washer.
When the mud is dry, I'll come through and put another layer over it to smooth it out.
So. A little bit about why I use drywall mud instead of traditional plaster. First, mud is a lot easier to work with. I can buy a gallon of pre-mixed lightweight drywall mud at the hardware store, and it stays moist and ready for a very very long time. I can use only a tiny amount at a time without wasting tons of material. I don't have a strict time limit on working the stuff when I've got a trowel full of it. And even more important, it is very soft and sands out nicely to a smooth finish. It's all about workability.
Here's another washer in place. This one went right into the lath and ended up nicely flush with the surface. Does this remind anybody else of the Fuzzy Pumper Barbershop?
When the washer goes in the right way, you can hardly tell it's there when you're done with the plastering-over part.
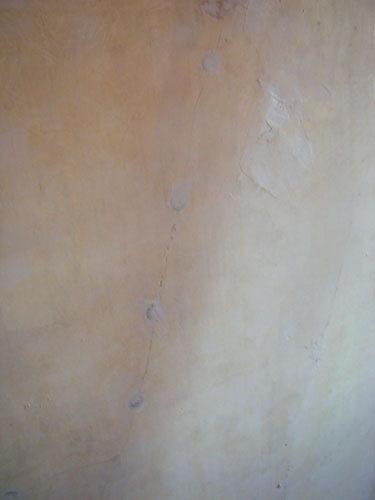
The thing is, there are a lot of washers to be applied to these walls. Most of the plaster keys are missing in this room (remember kids, friends don't let friends install fake wood paneling), which means in some places I'm putting in washers as close as every six inches just to hold the wall in place. As I said, I'm trying to be strategic: I find that if I put washers in along a bad crack, that tends to firm the wall up substantially. But still, it's a lot of fiddly work. Then I get to look forward to sanding.
So if you need me, you know where to find me.
Technorati Tags: plaster, renovations
posted by ayse on 01/18/08