Making it Stick
One of the things you really learn in architecture school is how to glue stuff. So today I set out to glue the ceiling paper in the Accordion Room back up to the plaster around the edges.
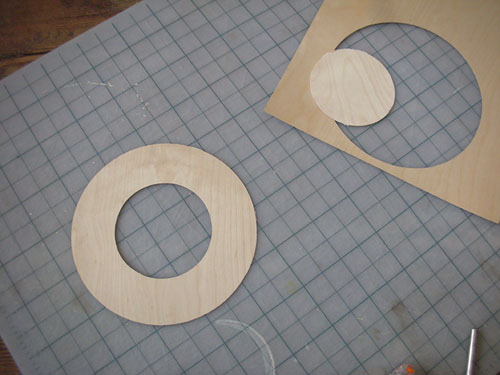
The center of the ceiling has a big hole in it where the ceiling fixture was. The paper around that was kind of loose, and the hole was a bit larger than the fixture actually would conceal, so we decided to stick up a sort of thin flange that would both support the edge of the paper and conceal the extra width.
We used 1/32" plywood because I had some sitting around.
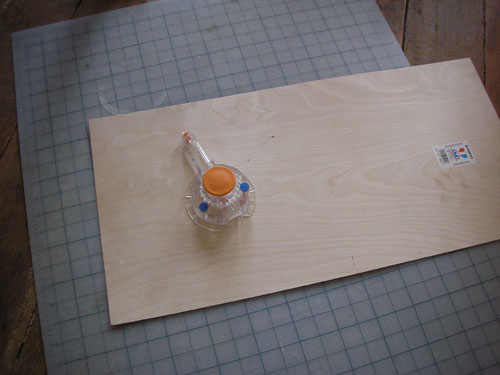
A hole cutter made easy work of it, and I tidied the edge up a bit with a craft knife.
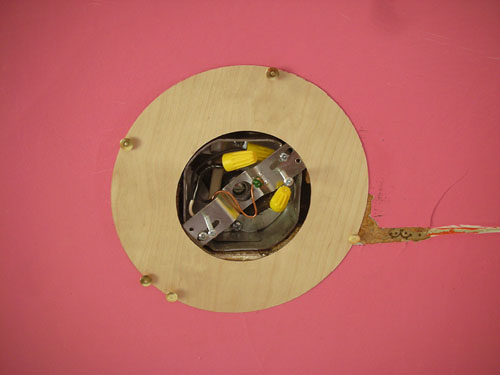
And here it is, glued in place and tacked to stay put until it's dry. I used rubber cement because it has good behaviour under stress: it will stretch rather than break like a white glue will.
The next stage of my work was a little less successful.
The edges of the ceiling paper are sagging around the room, so I wanted to put glue under them and tack them in place, as well. But the paper is really brittle, so just sticking the brush under there was not working.
I grabbed a glue injector. You can get these in assorted sizes and tip shapes (you cut the tip to determine the amount of glue that comes out) at art supply stores. I usually use them to apply minute amounts of white glue to models, but it seemed like it might work for this project.
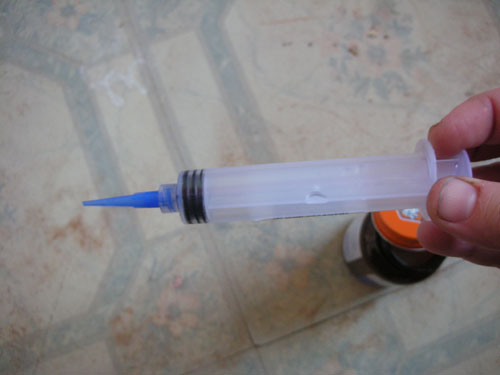
They load up like any syringe, and operate the same way. The only real caveat I have with these is that they rarely last more than one or two uses: they are very very difficult to get clean.

So how did that work? Not great. The syringe tip was still too straight to get far enough under the paper. Had I had a curved-tip one in my toolbox I might have tried that, but nope. So I'm going to take another approach with the edges of the ceiling paper.
Technorati Tags: gluing, renovations, wallpaper
posted by ayse on 03/01/08