Home Stretch
Savvy readers will realize that we're finishing up the front parlour just barely in time to destroy our dining room and hallway at our Demolition Party this coming Saturday (you can still RSVP!). Indeed, the original date for the party was this Saturday, but like all construction projects this one expanded to fill the extra week when we had to reschedule. As it is we will get this room done with minutes to spare.
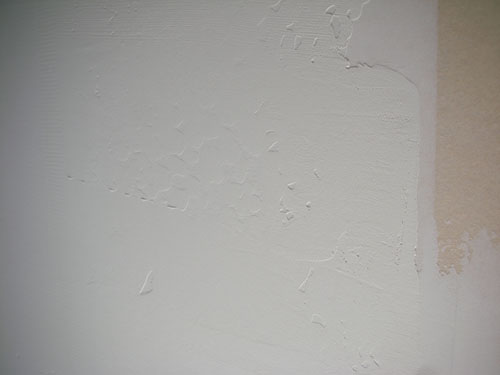
Here's where we left off yesterday evening: second coat of mud on, but many patches of uneven work. My task today was to go around the room and sand, then use a thinned down mud to make everything smooth and lovely. This took me five hours.
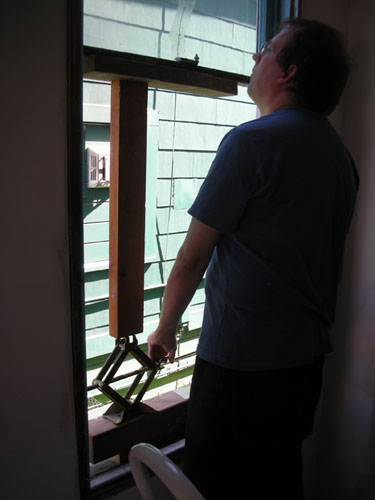
While I was doing that, Noel fussed with the side window. This room has the bay and the one side window, looking into the Fern Walk between our house and our closest neighbors. The window there is in bad shape, very heavily rotted. We already removed it once to have it measured for replacement by a local firm that just never could seem to get around to our job (and we had to file in small claims court to get them to return our deposit after a year). The only thing holding the upper sash in place was a drywall screw below it into the window frame (we are all class here).
Today Noel removed both sashes and spent some time getting the glass to be seated properly in them. He used the jack to gently push the upper sash into the slot at the top, which it has not been in for ages (we had stuffed the top with some loose insulation to stop the air blowing in), then fixed it there with L brackets. So now the lower sash can be opened, which is nice for air circulation, and there's no odd gap at the top.
(Actually replacing these windows with fully functional ones will cost more money than we have at the moment. They're so badly rotted that repair is no longer viable; they would be mostly epoxy.)
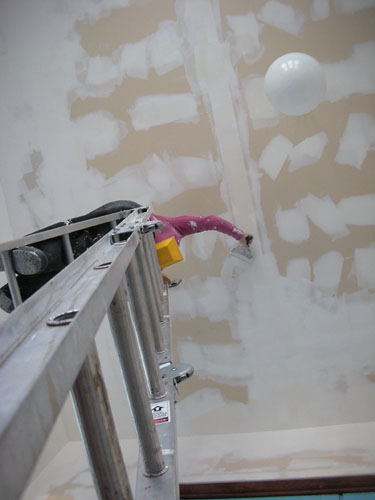
This is where I was for much of the day. You can see that I was working my way across the room, first sanding the odd ridges down, then putting that thin coat of mud around the edges to feather into the surface. It's not perfect, but it looks pretty nice now. It was a lot of work. By the end of two days of mudding, I looked like I'd taken a face dive into a plaster bath.
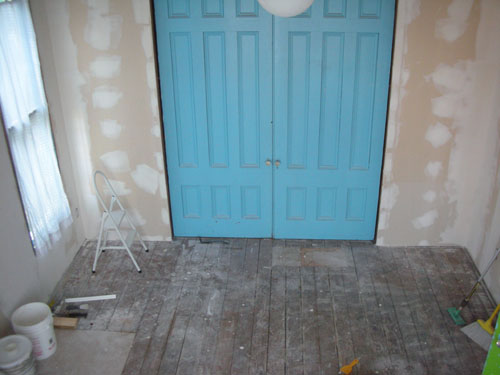
And here's the view from the top of the bay. I think I need a wide-angle lens to take this shot and have it show the whole room. And OK, so maybe I don't quite want to match the trim paint. That might be a bit overwhelming.
Tomorrow I'm going to do a quick sanding, then a couple coats of primer. Hard to believe, isn't it? After only six and a half years of this room being in chaos, we've got the end in sight. Noel is already daydreaming about shoving the piano into its permanent spot in the bay, and I've got bookcase locations mapped out. And since we have until Saturday morning to get everything out of our dining room, lower hall, and upper hall, it's not going to stay artfully bare for long.
Technorati Tags: construction, drywall, plaster, renovations, sanding
posted by ayse on 03/22/09