Lower Steps (Mostly)
It was nice to have a long weekend so we could get a lot of things done. Even if it was like having two Sundays in a row in terms of places where we get supplies being open.
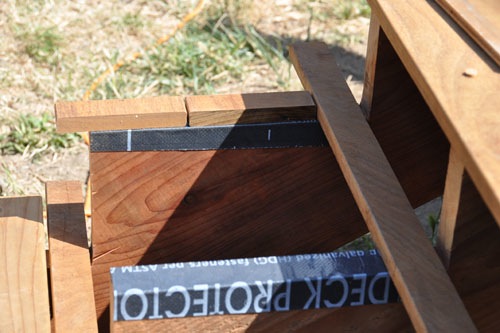
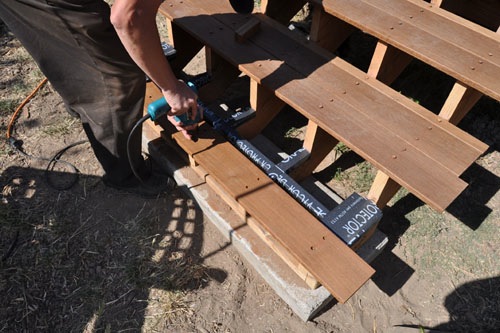
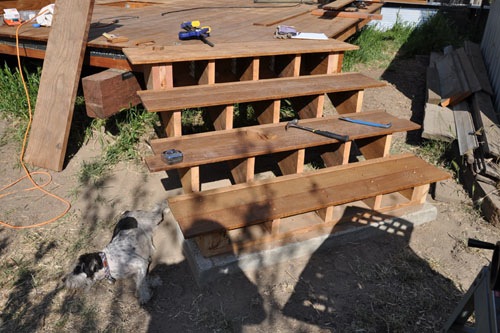
We started today by laying out the lower stair treads. We knew that in order to get that 12 inch run, we needed to use a partial board, so it went at the very back of the step. With that done, Noel cut the partial boards and routed a new edge on them, and went right to work getting them installed.
The only hitch in our plan was that on the next to last step, we ran out of the Vycor. None of the places that carry it were open today, but our neighbor probably had some extra from doing his front stairs. I ran across the street to see if he was home, but nobody answered the door. So we moved on; no sense getting stuck on something simple when you have plenty of other stuff to get done.
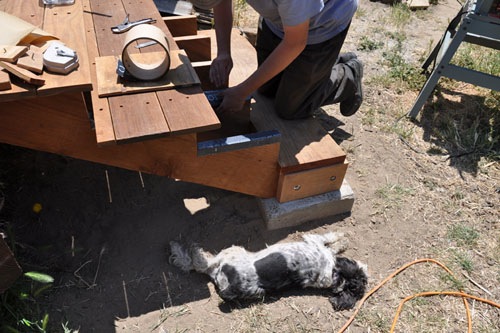
You may notice a certain schnauzer puppy making repeated appearances in today's photos. He could not seem to stay away from the work, and got himself stepped on at least a couple of times. And he LOVES the camera. But don't worry, apart from exhaustion, no puppies were harmed in making these stairs.
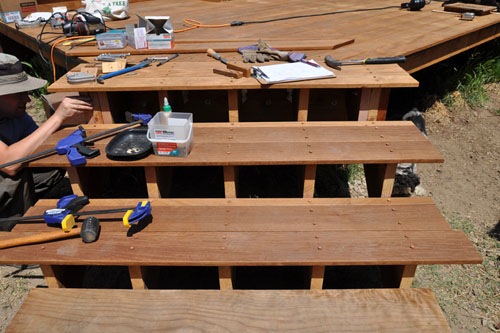
Noel added more blocking to the top step to take another railing post. Last night we realized we had miscalculated where we would need posts because the stairs are actually different from my original design: the upper part of the stair is flush with the deck rather than being a step down. So we need two more posts and more blocking for those posts in order to get the railings to fit.
Noel actually suggested taking the steps off and redoing them, but I nixed that. The pain and suffering involved in that, plus the delay since only a real lumberyard carries the 2x12 stringer stock in redwood, was not worth the extra cost of the extra posts. There are some other advantages to this design, as well.
Then we moved on to the extension of the upper landing. We're getting new lower siding put on the house later this year -- when we can get the whole thing lined up and scheduled and all that. And the installers will need access to the wall behind the deck. So we made this extension so we can give them that relatively easily up at the top of the wall, where the trim is.
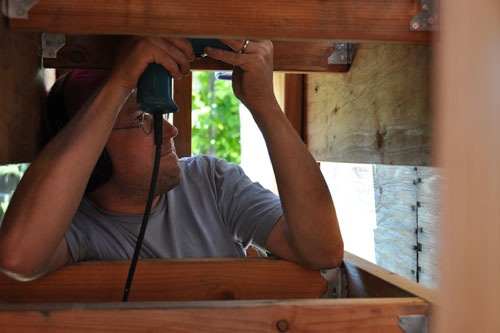
We started by drilling out the holes for the bolts that will hold the extension in place. We clamped the board against the deck framing, and Noel climbed under the deck and drilled a hole between each joist.
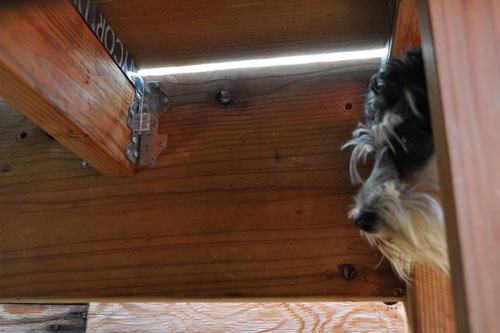
As you can see, this was a matter of some interest to George.
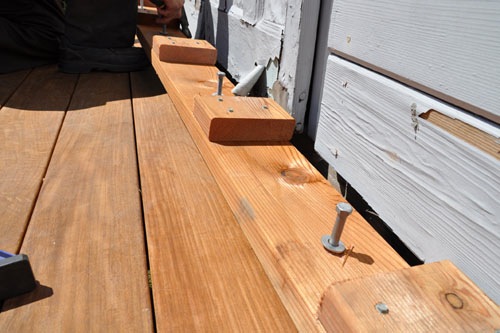
The extension is not very big, just a couple thicknesses of 2x stock wide, with a bit of an overhang. The only reason to do anything elaborate is that it is right where people will be stepping out onto the deck.
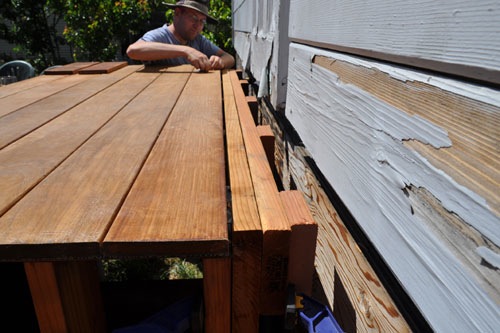
We bolted it in place, then attached a deck board to the top, which you can't see because I ended up with a series of out-of-focus pictures of George's butt instead.
As we were doing that, I heard our neighbor yelling something to his son, so I popped across the street to get more Vycor from him. He did in fact have a little leftover from his stairs, and minutes later we were back in business attaching the last of the stairs treads.
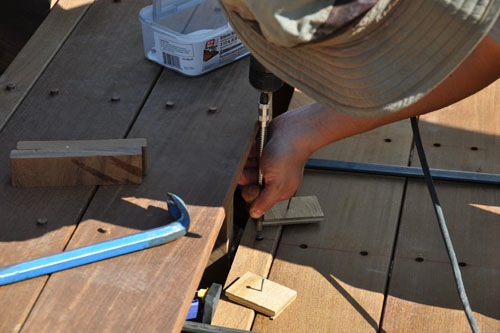
We had one tool failure: at the beginning of the day Noel ran out and got an attachment for the drill that would let us use it to screw in the tiny pieces of decking at the back of each stair. It's a kind of flexible shaft extension, and it broke clean in half partway through the bottom stair. That's after screwing in maybe 9 screws.
posted by ayse on 05/28/12