Two Valves
Today we started what looks to be a long fun downstairs bathroom faucet installation.
The faucet is by Hans Grohe, and despite the German company and the reputation that German design has, I must say that the installation instructions are super terrible. On the one hand, some parts of the design are super-slick and go together perfectly. On the other hand, whole steps are missing from the instructions, and we had to do quite a bit of problem solving to figure out how things had to go together.
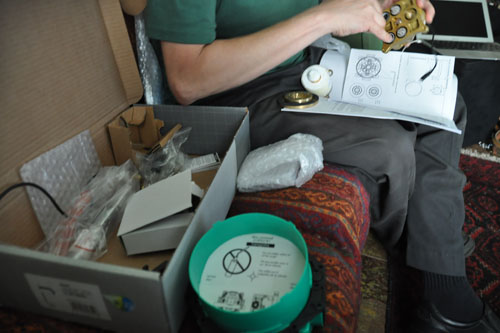
So the first part of the morning was spent like this, taking things out of the box and figuring out where things needed to go, and in what order. Comparing them to the drawings in the manuals. Comparing the manuals. Yeah.
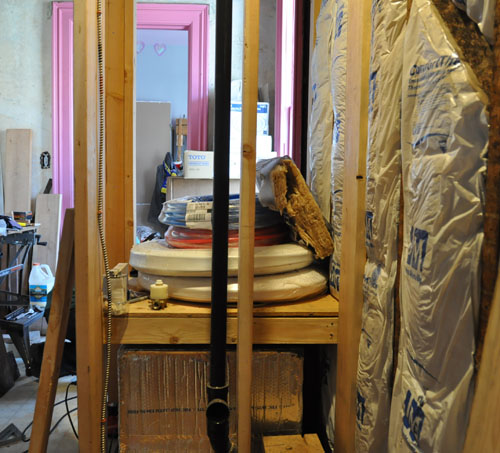
Here's what that wall looks like. The faucet is going to go right in the middle of the wall, pretty much right in front of the vent stack there. The little round support the faucet itself will hang off of is sitting on the top of the air return vent next to the piles of PEX there.
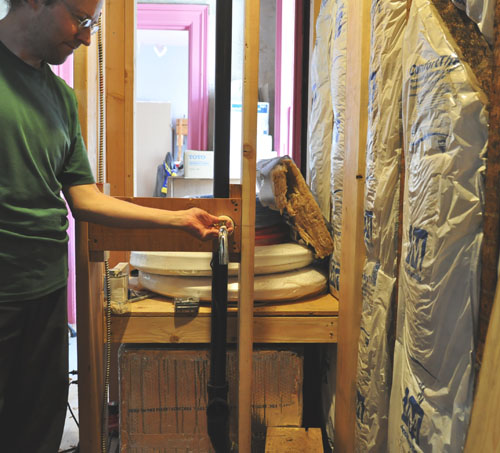
We spent more time than you might expect making a support structure for the faucet support (Hans Grohe has its own name of these things but trust me, that name would not clarify things). Here's where the faucet will end up. My worst fear is that we'll get it in place and it will be obviously too low. I guess it wouldn't be the worst thing in the world to have to move it, but it would suck.
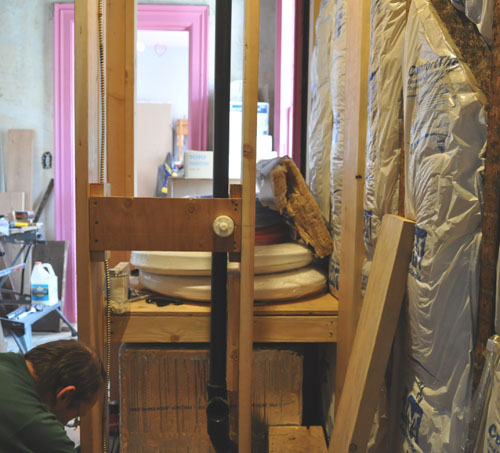
And just the faucet support installed. There's a styrofoam plug in the end and then a little white plastic seal that will both be removed when the faucet can be installed, but first we need to get the rough plumbing all in place and flush the valves out.
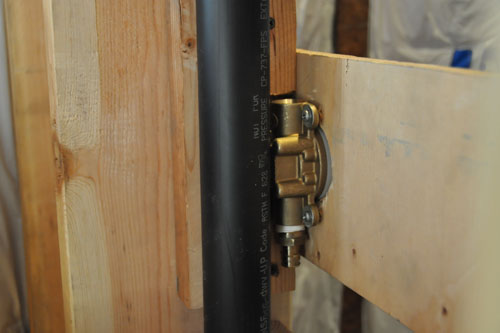
The faucet support has to be where the faucet will end up, and that is pretty much right where we put the vent stack (because we installed that with a different faucet in mind), so fitting this all together in the right place was actually a pretty tight fit. There was trimming of wood and carving around the fixture pieces, but it all worked out. It's sturdy enough now, though I recommend against putting your whole weight on the faucet (never a good idea).
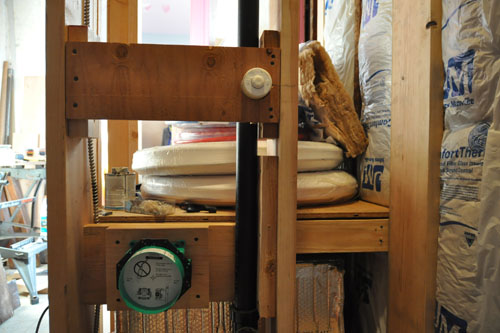
After that, the thermostatic valve part went in relatively easily, only having to be installed and removed twice. That's the big green thing; Hans Grohe calls that the iBox (see why I said the names are not very useful?) -- the same box is used for showers for the most part, but we'll be taking advantage of its thermostatic valve to control the temperature of the water in our faucet.
In the process of this installation it became clear that I needed more plumbing parts, because of course this went together differently than the Toto faucet I'd originally ordered. So I need to get back on the PEX Supply web site and order more parts this week. Fun fun fun. I don't know why the laws of nature say that no matter how carefully you plan and prepare for a project, you will always be missing a part, but there you have it.
posted by ayse on 06/08/14